
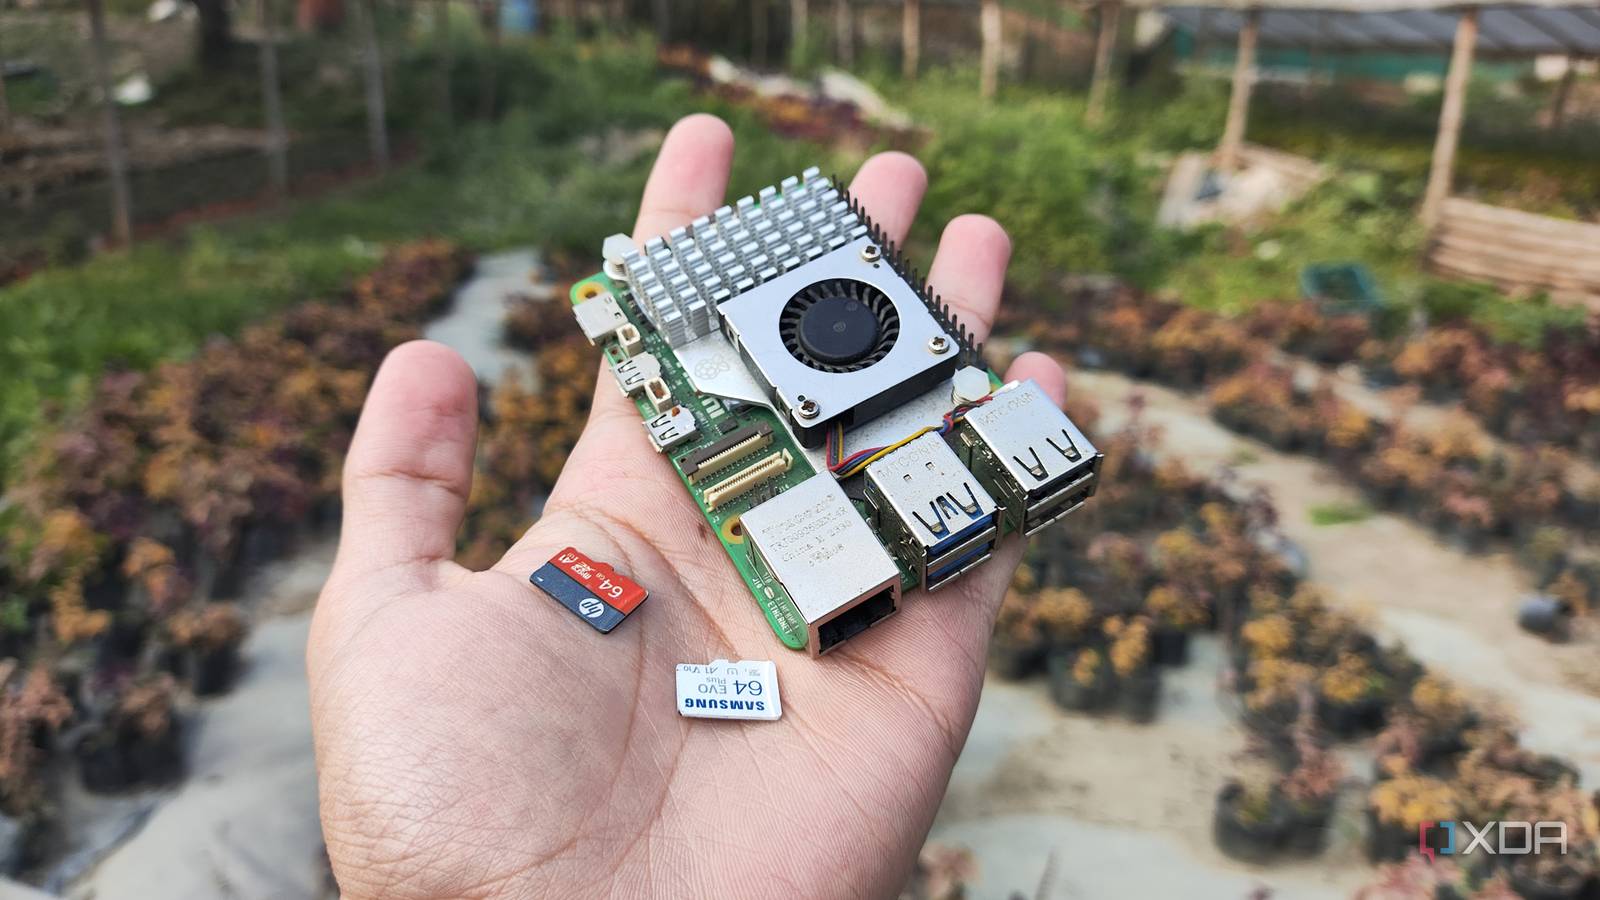
Published Sep 26, 2026, 11:00 AM EDT Ayush Pande is a PC hardware and gaming writer. When he's not working on a new article, you can find him with his head stuck inside a PC or tinkering with a server operating system. Besides computing, his interests include spending hours in long RPGs, yelling at his friends in co-op games, and practicing guitar. MicroSD cards are the quintessential accessories for Raspberry Pi single-board computers, and for good reason. Unlike cases, HATs, and other optional accessories, you can’t build a Raspberry Pi project if you don’t arm it with some storage provisions, and the cheap price tags on microSD cards make them fairly economical. In fact, I’d bought several microSD cards over the course of my Raspberry Pi journey, and I didn’t have too many problems with them until I finally started working on more complex projects. After a couple of trips to Raspberry Pi forums, I decided to use a spare USB-powered external SSD with my tiny tinkering companion. And I have to say, the speed boosts weren’t the only benefit I got from this transition. MicroSD cards can be too slow for complex Raspberry Pi projects SSDs are better for projects that demand high performance On paper, there’s nothing wrong with using microSD cards for your first Raspberry Pi project, especially if you’ve got one of the cheaper RPi Zero boards that wouldn’t benefit from a faster drive. However, the utility of these tiny storage modules takes a massive hit on the speed and reliability fronts when you try using them for more demanding projects. On regular GUI distributions (including the humble Raspberry Pi OS), ditching microSD cards for faster SSD boot drives makes the overall UI significantly more responsive on my RPi 5, and the same holds for the game loading times on 3D emulators. I often deploy Docker containers on my Raspberry Pi, and although a microSD card can handle simple environments, it will deliver a sluggish experience on apps that constantly modify databases or run similar write tasks en masse. For reference, the average microSD card in my arsenal can only handle sequential write tasks at 40 MB/s, and that’s under normal projects where I don’t have wacky services running in the background. If we compare this number to the average USB SSD into the Raspberry Pi, these numbers go up to 300-350 MB/s – which is a huge difference when we’re talking about database-heavy tasks. And that’s before I even mention the more concerning metric: lifespan. The real deal-breaking aspect of microSD cards is their limited endurance SSDs are a lot more robust than the average microSD card Although the superior responsiveness was definitely a welcome change, I consider the extra endurance of my SSD boot pool the better perk from this transition. I’ve had quite a few microSD cards work perfectly fine one day, only for them to ascend to tech heaven the next. Yes, that applies to SSDs as well, but the write endurance of the average microSD card is extremely lower than that of the former. And this becomes a huge problem when you go down the Raspberry Pi rabbit hole and work on projects that aren’t disposable. Take my Docker hub, for example. Running containers with constant database write operations will erode my microSD card’s lifespan pretty quickly. Frigate is just as deadly for them, as NVR solutions typically involve a lot of write cycles for the video footage. Then there’s Home Assistant, which is already infamous for logging all the entity states, automation triggers, and database transactions involving my smart gizmos and IoT paraphernalia. But you’ll have to tweak certain settings before you can boot from an SSD By default, every Raspberry Pi is configured to use the microSD card as the default boot device instead of the USB interface. Since these boards don’t have typical BIOS menus like x86 machines, you can’t just mash the Delete key when you want to change the boot settings. Luckily, the official Raspberry Pi Imager app ships with a dedicated image that lets you switch between microSD card, USB/NVMe, and network boot modes, and it’s located within the Bootloader section of the Misc utility images menu. That said, microSD cards still have some utility in Raspberry Pi projects Although I prefer using SSDs wherever possible, I can’t end this article without discussing the perks of microSD cards. For the average Raspberry Pi project, where you can recover everything with a handful of packages and aren’t concerned about high latency, it makes sense to opt for microSD cards. For example, if I were to build a dashboard from a Raspberry Pi and a tiny DSI screen, using an inexpensive microSD is definitely better than spending extra money on an overpriced SSD. Likewise, anything involving circuitry components, light emulators, and even simple sensors (provided I don’t go too wild with the logging aspect) is fair game for microSD cards.
I gave my Raspberry Pi a USB SSD instead of a microSD card, and performance gains weren't the only benefit
Full Article
Original Source
Read the full article at Xda-developers →KhanList aggregates and links to publicly available news content. We do not host full articles from third-party sources. Always verify important information with original sources.