
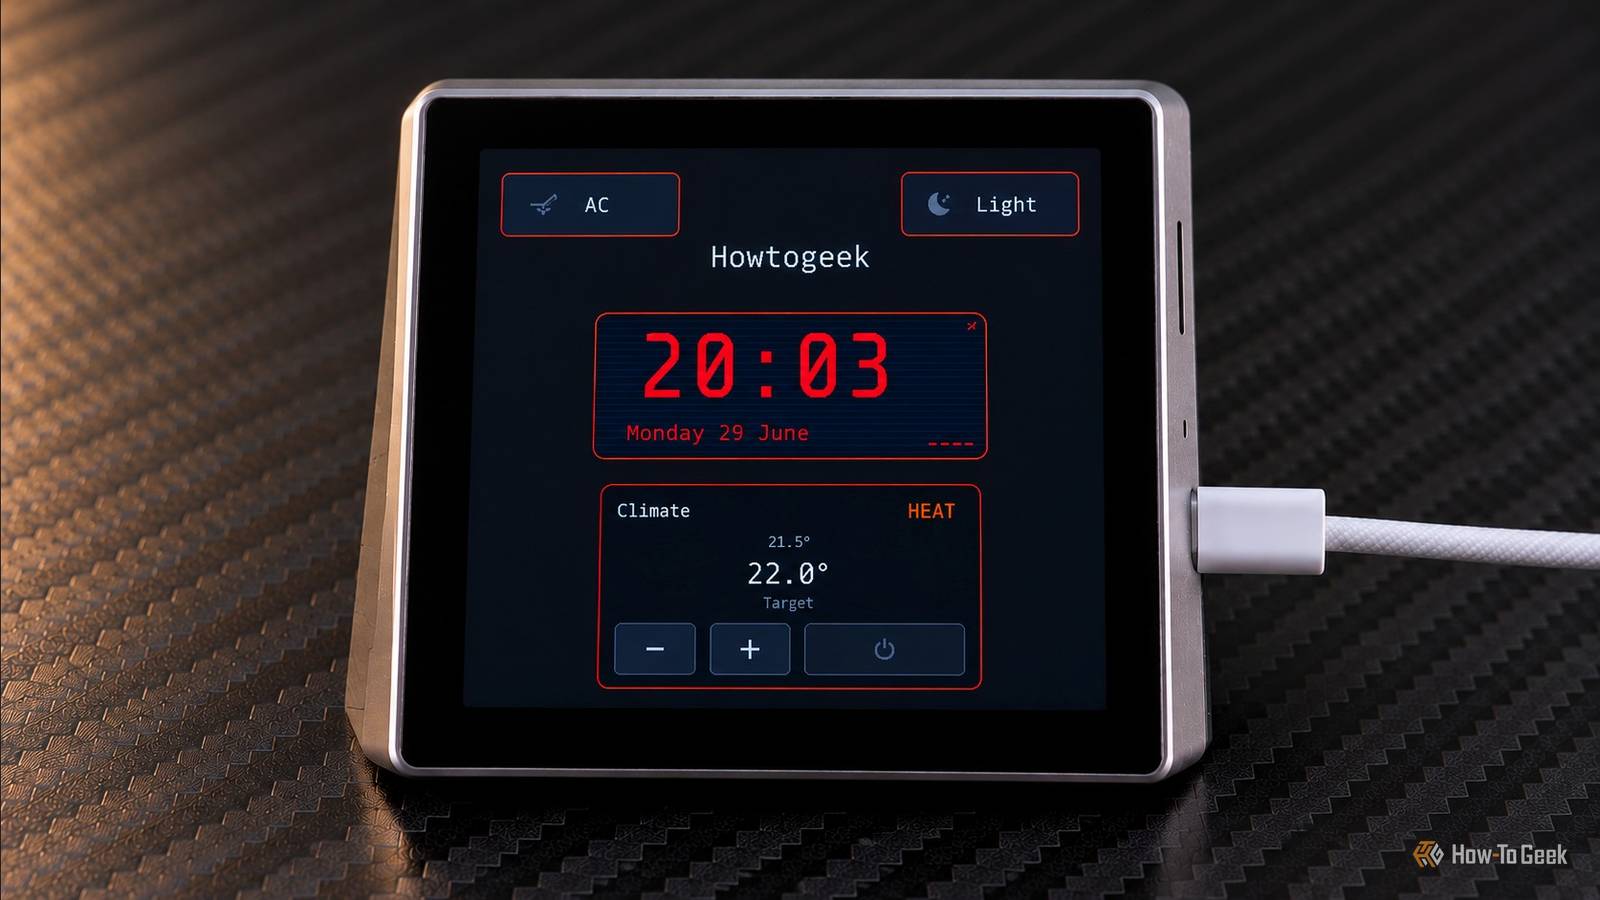
Published Nov 1, 2026, 7:00 PM EST Umair Khurshid is a technology writer and developer with a strong focus on Linux, FreeBSD, cloud infrastructure, and automation. Before focusing on writing, Umair worked as a developer and DevOps engineer building and automating cloud-native systems. A dedicated smart-home control panel makes Home Assistant easier to use. You can tap a screen to control your lights, check the weather, or adjust your thermostat without reaching for your phone. The trouble is that dedicated smart displays can cost considerably more than the hardware inside them. Cheap ESP32 touchscreen displays offer an affordable way to build a Home Assistant dashboard, but creating a custom interface can require some programming. vESP Cloud simplifies the process with a free, open-source visual editor that lets you design your dashboard in a browser and generate the firmware without manually writing the entire interface. Design dashboards in a visual editor Drag widgets around instead of fighting coordinates The hardware behind the project is the Guition ESP32-S3-4848S040, a touchscreen display module with a 480 × 480 RGB screen, an ST7701S display driver, and a GT911 touch controller. It's available through online marketplaces such as AliExpress, where comparable listings can make a small smart-home control panel an inexpensive project, but vESP Cloud's main feature is its browser-based editor. Rather than defining every element's position and appearance through configuration files, you can drag widgets onto a canvas representing the physical display and adjust their properties in the browser. Each project starts with a Home page and a 480 × 480 canvas. You can add more dashboard pages, rearrange them, and create separate detail views for controls that don't need to remain visible all the time. For example, the main screen could display your room's temperature and lighting status, while a separate view contains more detailed climate controls. The editor supports several widget types, including text, digital clocks, buttons, icons, rectangles, lights, HVAC controls, weather forecasts, calendars, images, and to-do lists. Widgets can be resized and positioned to suit your layout. You can also organize content using tabs and conditional areas. Tabs let you place multiple groups of widgets in the same space, while conditional areas display different content according to Home Assistant states, time, or configured conditions. That makes it possible to build an interface that responds to what's happening around your home. For example, a media control area could display playback buttons when a player is active and show shortcuts for starting a playlist when it's idle. The editor includes retro and modern themes. Retro uses a black background with bright cyan and magenta accents, while Modern uses darker grey tones with blue, purple, and green accents. It's a small detail, but being able to choose the look is better than being stuck with whatever interface the firmware developer decided to ship. Connect the dashboard to Home Assistant Put your actual smart-home devices on the screen Getting your devices into the editor takes a little setup. The project includes a separate integration called HA Metadata Exporter, which exports your Home Assistant entities and their details to a JSON file. Import that file into vESP Cloud, and you can search for your devices instead of hunting through entity IDs and typing them by hand. There's one minor annoyance, though. The export doesn't update automatically, so you will need to generate a fresh file when your entities change. Once everything is connected, you can build a dashboard around the things you actually do at home. Put your lights and thermostat on the main screen, add weather information for a quick glance, or keep your calendar and to-do list somewhere you will see them. Buttons can also trigger Home Assistant services, with confirmation prompts for actions you don't want to activate accidentally. If you want important alerts to attract your attention, an optional notification overlay can display messages over the current screen. Generate and install the firmware Get the dashboard onto the physical display Once your layout is ready, you can generate the firmware and install it on the supported display. The initial installation requires a USB-C data cable and a compatible browser. If the display hasn’t been configured for your home network, it can create a temporary Wi-Fi network setup. Connect to it, open the setup page, and enter your Wi-Fi credentials. vESP Cloud keeps this process separate from the editor. Your Wi-Fi password is entered directly between your browser and the display, rather than being sent to the vESP Cloud servers. You will then need to integrate the ESPHome device with Home Assistant and ensure it has the permissions required for its widgets to work. Future firmware updates can be installed through Home Assistant. You can make changes in the editor, build the updated firmware, and install the update from Home Assistant without reconnecting the display to your computer each time. This is really useful when you are still refining the layout. You can adjust the arrangement, change widget settings, and update the firmware as your dashboard evolves. The editor is free, but cloud builds cost money Choose between compiling it yourself and paying for convenience You can use vESP Cloud’s visual editor and generate the configuration files for free. It exports the ESPHome configuration, including YAML and C++ files, which you can compile using your own ESPHome installation. That option makes sense if you are already comfortable with ESPHome and would rather keep the entire process under your control. You can inspect the generated configuration and make further changes without paying for the hosted compilation. If you prefer someone else to handle the build process, vESP Cloud offers a pay-per-build credit system. You buy credits and use them to compile firmware through the cloud service, rather than committing to a recurring subscription. The paid option is mainly about convenience. If you are happy compiling firmware locally, there’s little reason to pay just to use the editor. Is vESP Cloud worth trying? vESP Cloud tackles one of the more frustrating parts of building a DIY Home Assistant dashboard, which is turning an inexpensive touchscreen into something useful without hand-coding the entire interface. Its visual editor, widget library, entity integration, and firmware generation give you a more approachable way to build a dedicated control panel. There are a few issues, like hardware support being limited to the Guition ESP32-S3-4848S040 and the need to refresh the entity metadata when your setup changes. But if you already run Home Assistant and want a touchscreen for everyday controls, vESP Cloud is worth a look before spending more on a dedicated smart display.
This open-source web editor turns a $25 AliExpress display into a Home Assistant dashboard
Full Article
Original Source
Read the full article at Howtogeek →KhanList aggregates and links to publicly available news content. We do not host full articles from third-party sources. Always verify important information with original sources.