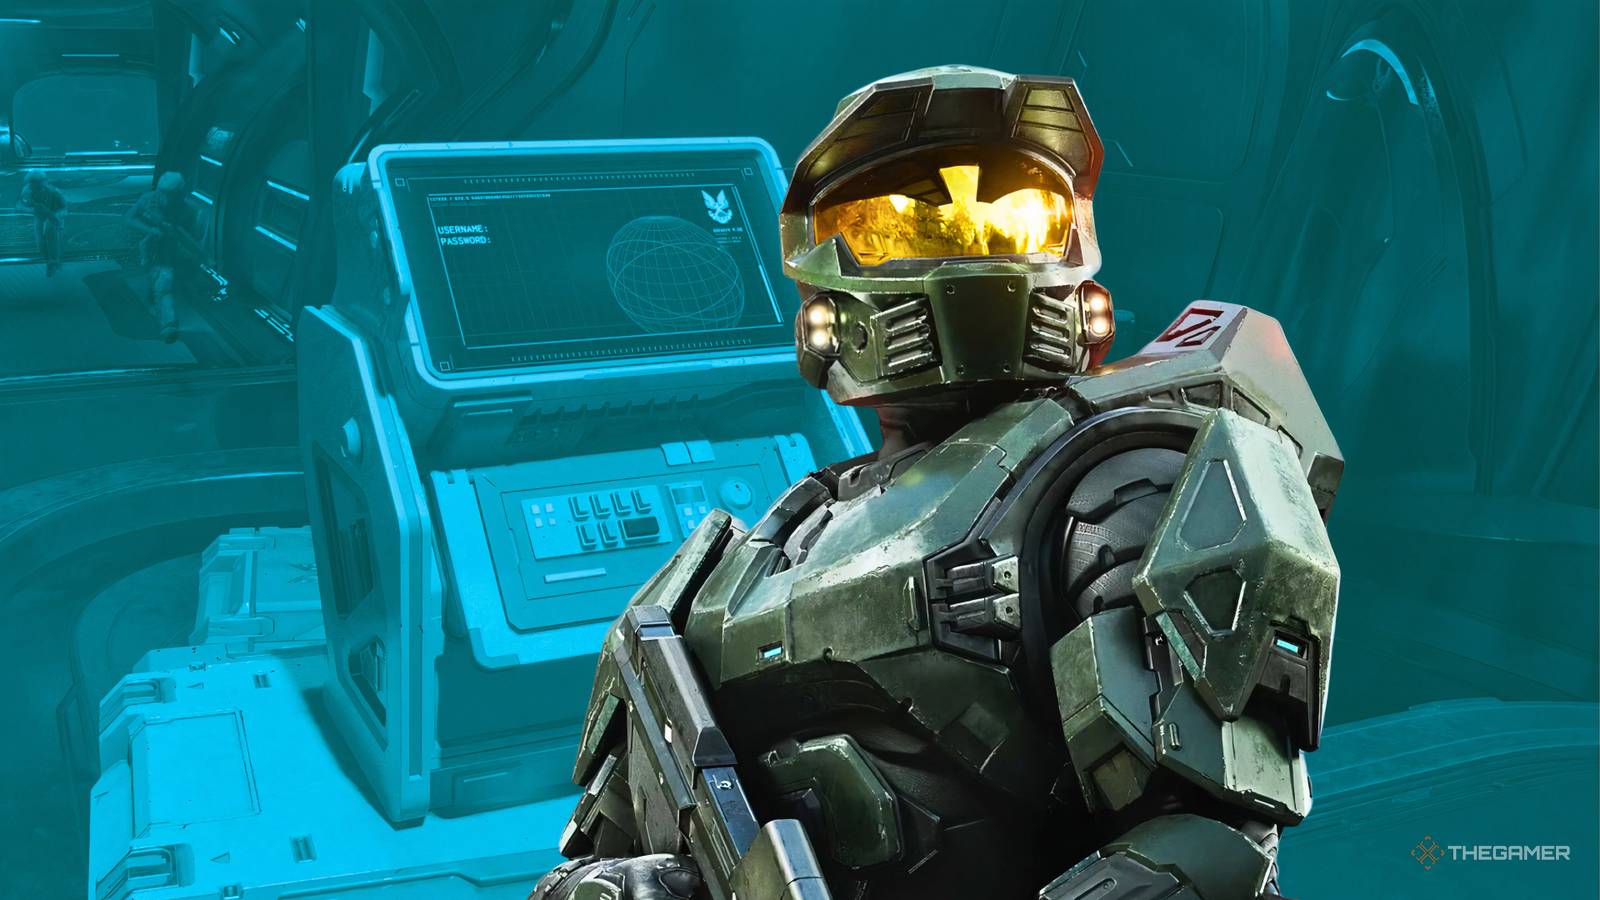
Published Jul 26, 2026, 6:00 AM EDT Although Kaitlyn grew up with a passion for both video games and writing, she never imagined she'd eventually combine them into a career. Now, with several years of experience in the industry across Guides, Features, News, & Reviews, Kaitlyn enjoys nothing more than continuing to deep dive into the games she's passionate about and share her findings with readers. In her downtime, Kaitlyn enjoys unwinding with her favorite horror films, despite being a major scaredy-cat. Terminals are one of the two main collectibles in Halo: Campaign Evolved. Unlike the other collectible, Skulls, which have multiples in every mission, you'll only need to find one Terminal per mission, including the Bonus Missions, for a total of 13 altogether. Thankfully, the Terminals are much larger than the Skulls and have a small glowing red light, so they are a bit easier to track down. That said, you need to find both the Terminal and the three Skulls in every mission if you hope to unlock all the game's achievements. Plus, each Terminal unlocks data entries for you to read in the collectibles menu for an extra bit of lore. Pillar Of Autumn Approach Terminal Objective: Evacuate the Pillar of Autumn Follow the mission's linear path until you reach the control room overlooking the cryo pods (where you started). As soon as you exit that control room, don't go straight down the hallway as intended. Instead, do a 180 and go through the other doorway there. This room will be mostly dark with a red light on the left side of it. At the back of this room, you'll find the terminal. Forgotten Terminal Objective: Search for the other UNSC lifeboats After you get the first warthog of the level, you'll enter a structure where Cortana will comment on the fact that the structure is not a natural formation. As you're driving down through the tunnel to the large room where you'll fight several enemies, you'll pass by an open window of sorts on your right side. Stop driving, get out, and jump just over the edge of the window to a narrow ledge. That is where you'll find this Terminal. The Truth And Reconciliation Inquisitor Terminal Objective: Rescue Captain Keyes from the ship's brig While searching the brig for Captain Keyes, there will be several detention center rooms with cells for you to search. In the one on the far right, there will be a room with mostly empty cells aside from a Grunt that you can free, who will be friendly afterward. In one of the other cells in this room, you'll also find this mission's terminal. The Silent Cartographer Status Update Terminal Objective: Locate the security system's override substation. Once you reach the room where you can override the security system, walk to the end of the platform on the other side of it, and you'll find the terminal on the other side of a small structure there. Assault On The Control Room Tangent I Terminal Objective: Head for the Control Center Ziggurat As you progress through the mission, you'll eventually reach an area with a tall metal structure in the middle that enemies will be pouring out of on either side. Make your way to the structure and head inside, where you'll find a ramp leading up to an outdoor balcony. The terminal will be tucked into the right corner of this balcony. 343 Guilty Spark Tangent II After you attempt to flee from the Flood using the elevator and realize you can't, you'll be forced to backtrack. When you do, go straight across the energy bridge and through the door that will open on the other side. As soon as you pass through the door that the Jackals emerged from, your intended path will be on the left through a door, but don't go through the door just yet. Instead, stop when you reach it and make a right into a narrow hallway, where you'll find the Terminal on the left side of the hall. The room that the narrow hallway with the Terminal is in also contains the first Shotgun of the game, so if you see that, you're in the right area. The Library Tangent III Terminal Objective: Delve deeper into the library When you reach the first area where you'll have two door controls, one on the left and one on the right to interact with. The one on the right is the correct path, but for the Terminal, interact with the one on the left. It will open a door leading to a dark room, and on the far left, you'll see a large mass of organic Flood material obscuring a door. Crouch through and follow the path until you find the dead marine lying next to the Terminal. Two Betrayals Alone Terminal Objective: Exit Halo's control center. As soon as you start the level, shoot down the four sentinels in front of you and then turn around to face the planetary projection. Run around the circular platform to the opposite side from where you were at the start, and you will find the terminal. Keyes Consumed Terminal Objective: Ascend to the upper deck. If you're returning to this mission, it will be at the start of Rally Point: Charlie. Regardless, progress until you reach another Hangar Bay, which Cortana will make a point of mentioning when you enter the room. From where you enter this room, take a hard left and go through that door. It will lead you into a narrow hallway with various Covenant enemies, as well as two Hunters, fighting off the Flood. Continue until you reach the first split path, which will be roughly where the two Hunters are located. Take the path on the right until it ends. The Terminal will be sitting in front of the locked door on the left at this dead end. The Maw Arrival Terminal Objective: Make your way to the Autumn's Bridge. This Terminal can be found right at the start of the mission. As you're making your way to the Autumn's Bridge, you'll be led through the mess hall you passed through in the first mission of the game. It'll be filled with a handful of Elites and Grunts with fuel rod cannons. Once you clear those, the Terminal will be sitting on the far right wall on top of some boxes. It's not hidden well, but is still easy to miss if you're not looking. Boarding Action The Path Terminal Objective: Head for the Triumph of Tolerance's upper decks. As you progress through the mission, you'll eventually reach a room with a singular large Grav Lift you'll need to use with Johnson. There is a Skull just off of this room before you head up, but if you already have it, then go on up. At the top, there will be a few doors. Your intended path is off to the far side, but on another wall next to the top of the Grav Lift, there will be two other doors with dead ends. Take the door on the right, and as soon as it opens, you should see the Terminal there on the wall. If you don't see the Terminal as soon as the door opens, you're at the wrong door. The Most Dangerous Game Penitent Terminal Objective: Help Williams Find And Rescue UNSC Survivors. As you progress through the mission, you'll eventually pass through a long room with windows overlooking what appear to be Covenant drop pods that comments will be made about. In this room, you're meant to proceed straight, but instead, take a right through the door on that wall to enter a small room where you'll find the Terminal. Heavy Burden Harmonious Clarity Objective: Head to the Hangar to regroup with Williams and UNSC survivors. During the mission, you'll be led through a large room with a planetary hologram in the center. In this room, there's a weapons room on the ground floor, through one of the doors. Inside this weapons room, there will be another door in the back that leads you to a smaller room, where the Terminal can be found on a small raised platform.
Where To Find All The Terminals In Halo: Campaign Evolved
Full Article
Original Source
Read the full article at Thegamer →KhanList aggregates and links to publicly available news content. We do not host full articles from third-party sources. Always verify important information with original sources.