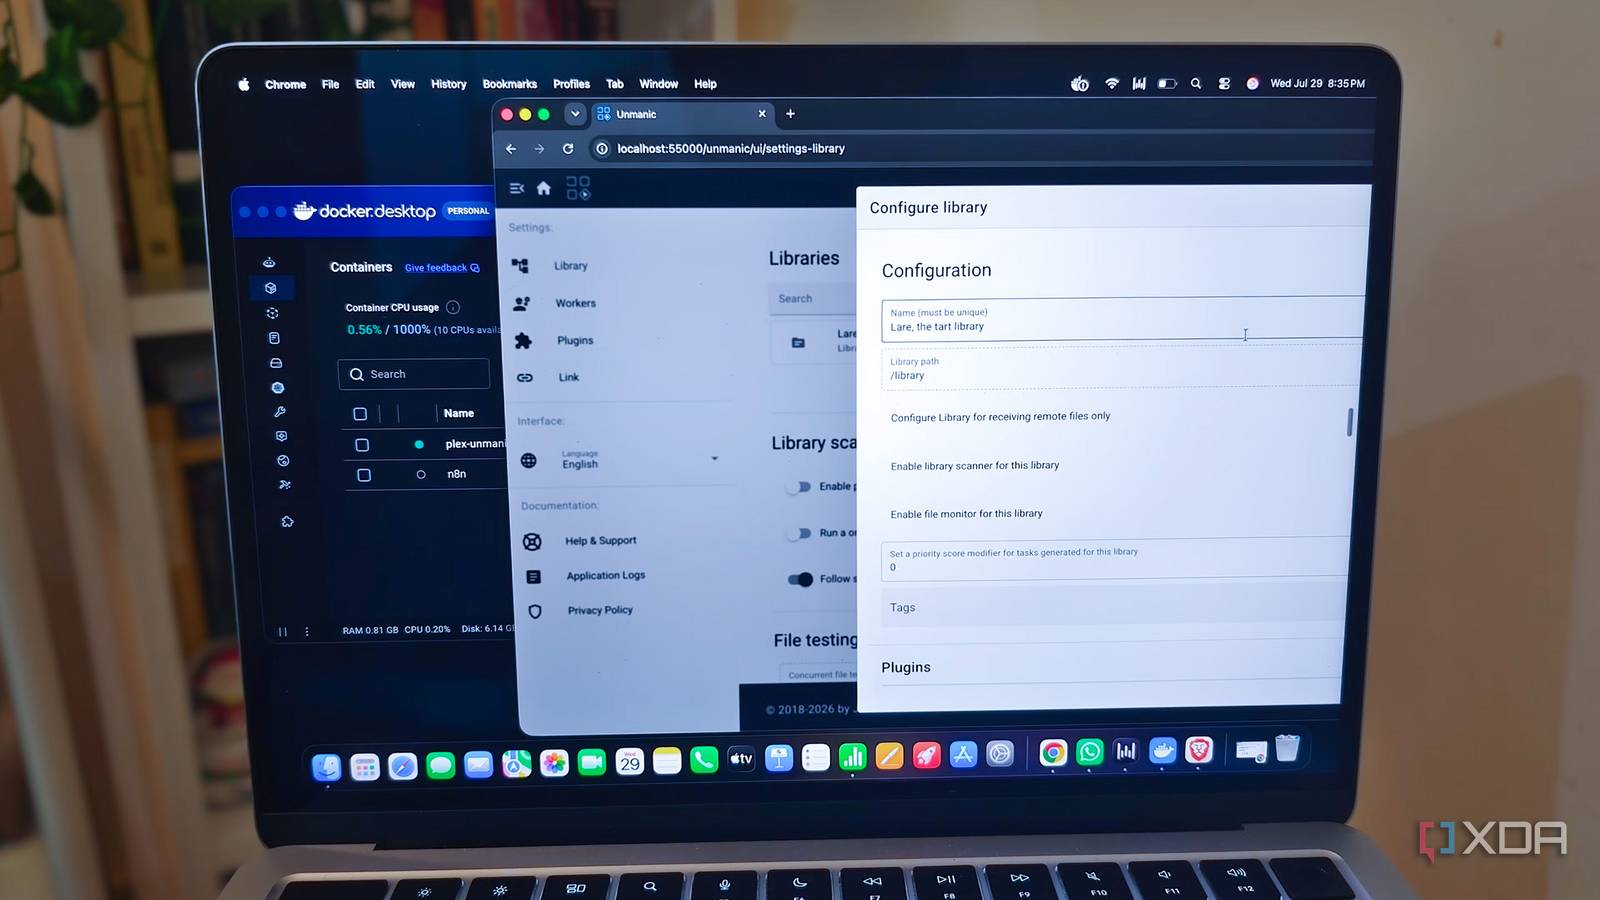
Published Aug 1, 2026, 3:00 PM EDT Anurag is an experienced journalist and author who’s been covering tech for the past 5 years, with a focus on Windows, Android, and Apple. He’s written for sites like Android Police, Neowin, Dexerto, and MakeTechEasier. Anurag’s always pumped about tech and loves getting his hands on the latest gadgets. When he's not procrastinating, you’ll probably find him catching the newest movies in theaters or scrolling through Twitter from his bed. Storage is one of the biggest expenses of running a large Plex library. You can keep adding hard drives whenever you run out of space, but that doesn't solve the fact that many of the files already in your library are unnecessarily large. My collection has grown over the years, which means it now includes plenty of older H.264 encodes, high-bitrate files, and movies carrying audio tracks I would never use. And now, with storage prices rising as much as they are, it doesn't make sense to invest in another drive. Instead, I installed Unmanic and let it work through the library. It's a free, open-source tool that scans your media files and automatically converts anything that doesn't match the rules you set. I let it run free in my Plex library, and it freed up almost 8TB of space, effectively giving me another hard drive. Your Plex library keeps collecting baggage Old encodes quietly consume more storage A Plex library doesn't become bloated overnight. You add a few movies, download complete seasons of shows, and keep files around because you might watch them someday. While each addition looks manageable on its own, the library keeps growing until you suddenly have several terabytes of content you haven't touched in years. I found plenty of movies I had forgotten about and shows I stopped watching after the first season. There were also multiple versions of the same titles that I had added while upgrading from 720p to 1080p or replacing an older copy with a better encode. Plex makes all of this easy to access, but that also means you rarely look at the actual folders once everything appears correctly inside the app. The harder problem is the space being wasted inside files you still want to keep. Older H.264 encodes are often much larger than equivalent H.265 files, especially when you have high-bitrate copies. Some movies also come with several audio tracks or commentary tracks that you will never use, but they remain part of the file and continue occupying storage. Getting Unmanic running is surprisingly easy Docker makes the initial setup painless Unmanic can be installed directly on Windows, macOS, and Linux, but I used Docker because it was the easiest way to keep everything contained. The container only needs access to three locations – its configuration folder, the Plex media library, and a temporary cache for files being processed. Once the container is running, you can access the web interface through port 8888 and manage everything from there. Unmanic doesn't need to connect directly to Plex. You add the folders containing your movies and television shows as libraries, and the tool works on the files themselves. I created separate libraries for movies and shows because Unmanic lets you apply a different set of rules to each one. This also made it easier to see which part of my collection was taking up the most space. The actual processing is controlled through plugins. I kept my setup relatively simple by adding a video encoder for converting H.264 files to H.265, a plugin for removing audio tracks I didn't need, and File Size Metrics for tracking how much space each conversion saved. You can configure the video plugin to leave files already using H.265 alone, which prevents Unmanic from wasting time re-encoding media that is already efficient. I wouldn't point it at my entire library immediately. I would rather create a small test folder, copy a few different types of files into it, and run Unmanic with a single worker. The aim here is to confirm that the converted files retain the correct audio and play properly through Plex. You don't want to lose years' worth of media just like that. I got an entire hard drive back Small reductions added up to terabytes Unmanic's File Size Metrics plugin makes it easy to see how much space each job saves, and the differences quickly start adding up. The biggest reductions came from older H.264 files, especially high-bitrate movies and television episodes. Removing audio tracks I didn't need freed up additional space, although the video conversions accounted for most of the saving. By the time Unmanic had worked through the complete library, it had reclaimed almost 8TB. The process wasn't quick because every eligible video had to be decoded and encoded again. Running several workers would have finished the job faster, but it would also have kept the system under heavy load for a long time. After testing the setup with one worker, I gradually increased the number while making sure Plex remained usable. Unmanic also lets you schedule workers, so you can run more of them overnight and reduce the count when people are likely to stream from the server. Re-encoding video also introduces some quality loss, even if it isn't immediately noticeable. I compared several converted files with their originals before committing to the full library and checked them on the devices I normally use with Plex. That's important because older devices may not support H.265 directly, forcing Plex to transcode the video during playback. Umanic
I let this free open-source tool optimize my Plex library and reclaimed 8TB of storage
Full Article
Original Source
Read the full article at Xda-developers →KhanList aggregates and links to publicly available news content. We do not host full articles from third-party sources. Always verify important information with original sources.