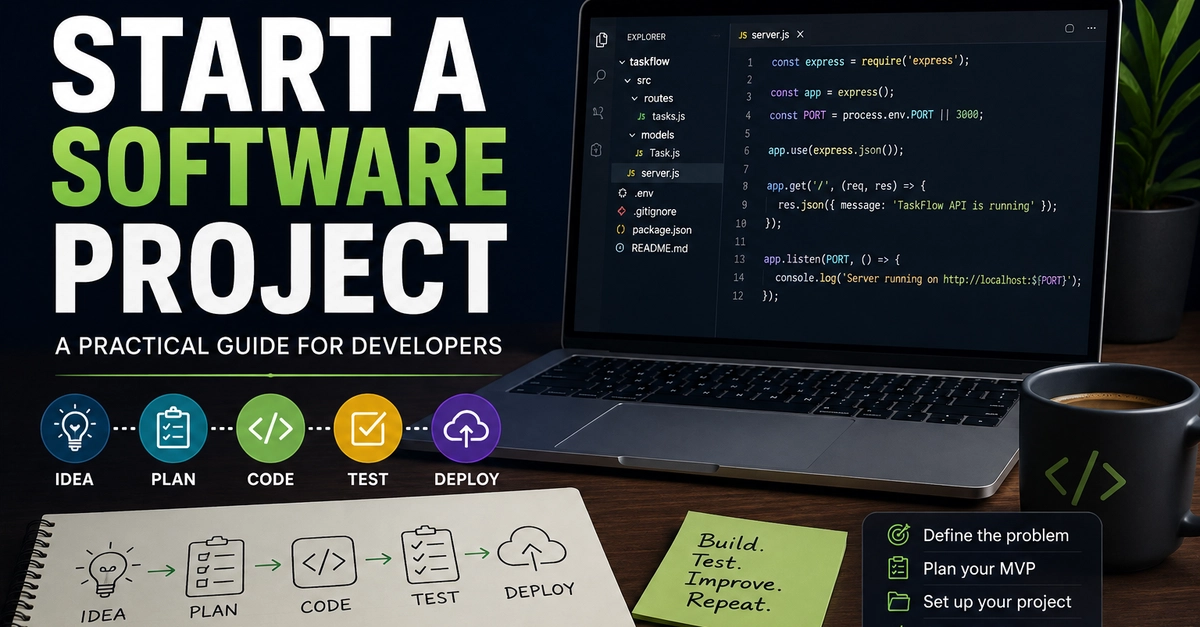
You have a new project idea. Maybe it is a notes app, an e-commerce API, a portfolio, a SaaS product, or a tool that solves a problem you personally have. You create a folder, open your code editor, and then... Where do you actually start? This is one of the most common problems developers face, especially when moving from tutorials to real projects. Starting a software project isn't just about writing the first line of code. Before you build features, you need to understand what you're building, choose the right tools, organize the project, set up version control, and create a small first version that you can actually finish. In this guide, we'll walk through a practical process for starting a software project from scratch. We'll use a small Node.js task API as our example, but the principles apply to React applications, mobile apps, backend systems, and larger software projects too. What You Should Know Before Starting You don't need to be an expert developer for this tutorial. It's helpful to understand: Basic programming concepts Variables, functions, and objects How to use a terminal Basic Git commands How to install packages with a package manager For the practical example, we'll use Node.js and Express, but you can apply the project-planning process to almost any technology stack. Start With the Problem, Not the Code One of the easiest mistakes to make is opening your editor and immediately creating files. Instead, start by answering one question: What problem is this software supposed to solve? For example, instead of saying: "I want to build a React app." say: "I want to build a task management application where users can create, update, complete, and delete tasks." The second statement gives you something you can actually design and build. Write a one-paragraph project description For our example: TaskFlow is a simple task management application that allows users to create, view, mark as completed, and delete tasks. That's enough to get started. You don't need a 30-page specification for a small project. Define the MVP MVP stands for Minimum Viable Product. It means the smallest useful version of your application. Imagine you're building a task management application. You could eventually add: User accounts Email notifications Team collaboration File attachments Task comments Calendar integration Analytics AI features Mobile apps That's a lot. If you try to build everything immediately, there's a good chance you'll spend weeks building features without finishing the actual project. Instead, define the first version. Our MVP For TaskFlow, let's start with: Create a task View tasks Update a task Mark a task as completed Delete a task That's it. Once those features work, we have a usable application. You can always add more later. Turn Features Into Requirements Now turn your MVP into simple requirements. For example: Feature Requirement Create task User can create a task with a title View tasks User can see all tasks Update task User can change a task title Complete task User can mark a task as completed Delete task User can remove a task This gives you a development checklist. It also helps prevent something developers commonly experience: "I don't know what to build next." You can simply look at the list. Decide What Technology You Actually Need Choosing technologies can become overwhelming. You might find yourself comparing: React vs Vue vs Angular Node vs Python vs Go PostgreSQL vs MongoDB REST vs GraphQL Docker vs no Docker JavaScript vs TypeScript These are useful discussions, but don't let them stop you from building. For our project, we'll keep things simple: Backend └── Node.js └── Express.js For the first version, we can even use an in-memory array instead of a database. Why? Because the goal at this stage is to get the application working. Later, we can introduce a database. A useful rule Choose technology based on the problem you're solving, not because it's the newest technology you found on social media. If you already know a technology well and it can solve the problem, that's often a perfectly good reason to use it. Create the Project Folder Let's create our project. Open your terminal: mkdir taskflow cd taskflow Initialize a Node.js project: npm init -y This creates a package.json file. Your project now looks like: taskflow/ └── package.json The package.json file contains important information about your project, including its name, scripts, and dependencies. Install the Dependencies Install Express: npm install express We'll also install Nodemon as a development dependency. npm install --save-dev nodemon Nodemon automatically restarts the server when you change your code. That saves you from repeatedly stopping and starting the server manually. Set Up Your Project Structure Don't worry about creating 20 folders before you've written any code. For a small application, start simple. Create: taskflow/ ├── src/ │ └── server.js ├── package.json ├── package-lock.json └── .gitignore Create the src directory: mkdir src Then create server.js inside it. The structure is intentionally small. As the application grows, we can introduce folders such as: controllers/ routes/ models/ middleware/ services/ But you don't need all of them on day one. Create Your First Server Open src/server.js: const express = require("express"); const app = express(); const PORT = 3000; app.use(express.json()); app.get("/", (req, res) => { res.json({ message: "TaskFlow API is running" }); }); app.listen(PORT, () => { console.log(`Server running on http://localhost:${PORT}`); }); Enter fullscreen mode Exit fullscreen mode Let's understand what's happening. Import Express const express = require("express"); This loads the Express package. Create the application const app = express(); This creates our Express application. Parse JSON requests app.use(express.json()); This allows Express to understand JSON request bodies. For example: { "title": "Learn Node.js" } Enter fullscreen mode Exit fullscreen mode Create a route app.get("/", (req, res) => { res.json({ message: "TaskFlow API is running" }); }); Enter fullscreen mode Exit fullscreen mode When a client sends a GET request to /, our server returns a JSON response. Start the server app.listen(PORT, () => { console.log(`Server running on http://localhost:${PORT}`); }); Enter fullscreen mode Exit fullscreen mode This tells Node.js to start listening for requests. Add a Development Script Open package.json. Find the "scripts" section and change it to: "scripts": { "start": "node src/server.js", "dev": "nodemon src/server.js" } Enter fullscreen mode Exit fullscreen mode Now you can start the application in development mode with: npm run dev You should see something similar to: Server running on http://localhost:3000 Open the address in your browser or use an API client such as Postman or Insomnia. You should receive: { "message": "TaskFlow API is running" } Enter fullscreen mode Exit fullscreen mode You have your first working version. Build One Feature at a Time Now let's implement the first real feature: Create a task. For this small example, we'll temporarily store tasks in memory. Add this near the top of server.js: let tasks = []; Now create a POST endpoint: app.post("/tasks", (req, res) => { const { title } = req.body; if (!title) { return res.status(400).json({ message: "Title is required" }); } const task = { id: tasks.length + 1, title, completed: false }; tasks.push(task); res.status(201).json(task); }); A client can now send: POST /tasks with: { "title": "Learn Express" } The server responds with something like: { "id": 1, "title": "Learn Express", "completed": false } Enter fullscreen mode Exit fullscreen mode Add a Route to Get Tasks Next, users need to see their tasks. Add: app.get("/tasks", (req, res) => { res.json(tasks); }); Enter fullscreen mode Exit fullscreen mode Now: GET /tasks might return: [ { "id": 1, "title": "Learn Express", "completed": false } ] Enter fullscreen mode Exit fullscreen mode Notice something important. We're not trying to build the entire application at once. We're building one small piece, testing it, and then moving to the next piece. That's a much more manageable development process. Add the Remaining Features Once creating and reading tasks work, continue with updating and deleting. For example, to delete a task: app.delete("/tasks/:id", (req, res) => { const id = Number(req.params.id); const taskExists = tasks.some((task) => task.id === id); if (!taskExists) { return res.status(404).json({ message: "Task not found" }); } tasks = tasks.filter((task) => task.id !== id); res.status(204).send(); }); Enter fullscreen mode Exit fullscreen mode The :id is a route parameter. For example: DELETE /tasks/1 means: Delete the task whose ID is 1. At this point, you have the beginnings of a real API. Think About Data Before Adding a Database Eventually, our task array won't be enough. Why? Because this: let tasks = []; stores data only in memory. If you stop the server, the tasks disappear. That's where a database becomes useful. Before adding one, think about what your data actually looks like. A task might contain: Task ├── id ├── title ├── completed └── createdAt If you later add users, you might have: User ├── id ├── name ├── email └── passwordHash And relationships such as: User │ └── Tasks ├── Task 1 ├── Task 2 └── Task 3 Thinking about your data early helps you choose an appropriate database structure. Add Environment Variables As soon as your application has configuration values or secrets, don't hard-code them directly into your source code. For example, avoid: const databasePassword = "my-secret-password"; Instead, use environment variables. Create: .env For example: PORT=3000 DATABASE_URL=your_database_connection_string Enter fullscreen mode Exit fullscreen mode Then use a package such as dotenv if your setup requires it: npm install dotenv And load the variables: require("dotenv").config(); const PORT = process.env.PORT || 3000; Your .env file should normally be excluded from Git: node_modules/ .env Never commit real passwords, API keys, database credentials, or other secrets to a public repository. Initialize Git Early Git isn't something you should add after finishing your project. Initialize it near the beginning: git init Then create a .gitignore file: node_modules/ .env Check your files: git status Add them: git add . Enter fullscreen mode Exit fullscreen mode Create your first commit: git commit -m "Initial project setup" Now you have a checkpoint. If you make a terrible change later, you have a history of your project. Write a README A README is one of the most underrated parts of a software project. Imagine someone downloads your project from GitHub. How do they know: What the project does? How do they install it? How do they run it? What technologies does it use? What endpoints are available? Your README should answer these questions. For example: TaskFlow API A simple task management REST API built with Node.js and Express. Installation Clone the repository: git clone Install dependencies: npm install Start the development server: npm run dev API Get all tasks GET /tasks Create a task POST /tasks Request body: { "title": "Learn Express" } It doesn't need to be perfect. It just needs to help the next person understand your project. That "next person" might be another developer—or **you six months from now**. ### A Practical Development Workflow Now let's turn everything into a repeatable process. When starting a new project, you can follow this checklist: ### Phase 1: Understand - [ ] Define the problem - [ ] Identify the target users - [ ] Write down the main features - [ ] Define the MVP ### Phase 2: Plan - [ ] Choose the technology stack - [ ] Think about the data you'll need - [ ] Decide what the first version should contain - [ ] Break features into small tasks ### Phase 3: Set up - [ ] Create the project - [ ] Initialize the package manager - [ ] Install dependencies - [ ] Create a basic project structure - [ ] Initialize Git - [ ] Create `.gitignore` - [ ] Create a README ### Phase 4: Build - [ ] Build one feature - [ ] Test it - [ ] Fix problems - [ ] Commit your changes - [ ] Move to the next feature ### Phase 5: Improve - [ ] Add validation - [ ] Add error handling - [ ] Add tests - [ ] Connect the database - [ ] Add authentication if necessary - [ ] Deploy the application This process works because it keeps you focused on small, understandable steps. # Common Mistakes When Starting a Project ## 1. Building too many features This is probably the biggest one. You start with: > "I'll build a simple blog." Two weeks later, you're trying to implement: - Real-time chat - AI content generation - Payments - Notifications - Admin analytics - Social login And the original blog still doesn't work. ### Solution Build the smallest useful version first. Ask: > "What is the simplest version of this application that solves the original problem?" Build that. --- ## 2. Choosing technologies before understanding the problem Don't start with: > "Which framework should I use?" Start with: > "What am I trying to build?" Once you understand the problem, technology choices become easier. --- ## 3. Overengineering the project structure It's tempting to create: Enter fullscreen mode Exit fullscreen mode text controllers/ services/ repositories/ interfaces/ factories/ utils/ helpers/ middlewares/ validators/ before you've written a single feature. Don't. A project should become more structured as its complexity grows. Start simple. Refactor when there is a real reason to do so. Skipping Git Some developers create the entire application and only initialize Git when they're ready to publish it. That's risky. Use Git from the beginning. Small commits such as: Initial project setup Add task creation endpoint Add task listing endpoint Add task deletion endpoint Make your progress easier to understand. Hard-coding secrets Never put credentials directly in your source code. Bad: const API_KEY = "secret-key-here"; Better: const API_KEY = process.env.API_KEY; And keep the actual secret outside your repository. Trying to make everything perfect Your first version will probably have problems. That's normal. The goal of your first version isn't perfection. The goal is to create something that works well enough to learn from. You can improve it after you have something concrete. Best Practices for Starting Software Projects Here are practices worth developing early in your career. Keep the first version small A finished small project teaches you more than an unfinished huge project. Make small commits Instead of one giant commit: Finished application Prefer focused commits: Add project setup Add task model Add create task endpoint Add validation Add error handling Document decisions If you make an unusual technical decision, leave a short explanation in the README or project documentation. Future-you will appreciate it. Validate input Never assume users will send valid data. For example: if (!title || title.trim() === "") { return res.status(400).json({ message: "Title is required" }); } Enter fullscreen mode Exit fullscreen mode Validation becomes even more important when your application starts accepting data from real users. Don't add dependencies unnecessarily Every dependency adds some complexity to your project. Before installing a package, ask: "Do I actually need this?" If five lines of normal JavaScript solve the problem clearly, you may not need another package. Test as you build Don't wait until you've written thousands of lines of code. Build one feature. Test it. Then continue. This makes bugs much easier to locate. A Realistic Project Roadmap Let's imagine you're building TaskFlow as a real application. You could develop it in stages. Version 1 Create tasks View tasks Update tasks Delete tasks Version 2 MongoDB database Input validation Better error handling Tests Version 3 User registration Login Authentication User-specific tasks Version 4 Task categories Due dates Search Filtering Pagination Version 5 Deployment Monitoring Performance improvements Security improvements Notice how each version builds on the previous one. This is much more realistic than trying to build the final product in one giant step. The Most Important Skill: Breaking Problems Down A large software project can feel intimidating because you're looking at everything at once. Instead of thinking: "I need to build a complete task management platform." Break it down: Task management platform │ ├── Project setup ├── Task creation ├── Task listing ├── Task editing ├── Task deletion ├── Database ├── Authentication ├── Authorization ├── Frontend └── Deployment Then take one branch: Task creation │ ├── Create endpoint ├── Validate input ├── Save task └── Return response And then one step at a time. This is how experienced developers approach complex applications. They don't necessarily know how to build the entire thing immediately. They know how to break the problem into smaller problems. Conclusion Starting a software project doesn't require having every detail figured out. A practical approach is: Define the problem. Identify the users and their needs. Choose a small MVP. Choose technologies that fit the problem. Set up the project cleanly. Initialize Git early. Build one feature at a time. Test as you go. Add complexity only when you need it. Document how your project works. The next time you have a project idea, don't immediately ask: "How do I build the whole thing?" Ask: "What's the smallest useful version I can build first?" Then build that version. Your challenge Pick a small project you've been thinking about and spend 15 minutes writing down: The problem it solves Who would use it Its three most important features What you can remove from the first version The first feature you can build today Then create the repository and start. The goal isn't to plan forever. The goal is to turn an idea into something you can run, test, and improve. FAQ Should I plan everything before writing code? No. You should understand the problem and have a reasonable plan, but don't try to predict every detail before development begins. A small plan followed by iterative development is usually more practical. How do I know which programming language or framework to choose? Consider the problem, your existing skills, the project's requirements, and the ecosystem around the technology. For a learning project, using a technology you already understand can be a good choice because it lets you focus on the actual problem rather than learning five new tools simultaneously. Should I use a database from the beginning? It depends. If your application needs persistent data, you'll eventually need one. For a small prototype, however, temporary in-memory data can help you validate your API before introducing database complexity. Once persistence becomes necessary, add an appropriate database. How big should my first version be? Small enough that you can realistically finish it. If you can describe the MVP in a handful of features, you're probably on the right track. When should I refactor my project? Refactor when the current structure makes the code harder to understand, test, or change. Don't build a complicated architecture just because you think you might need it someday. Let the project's actual complexity guide your architecture.
How to Start a Software Project: A Practical Guide for Developers
Full Article
Original Source
Read the full article at Dev →KhanList aggregates and links to publicly available news content. We do not host full articles from third-party sources. Always verify important information with original sources.