
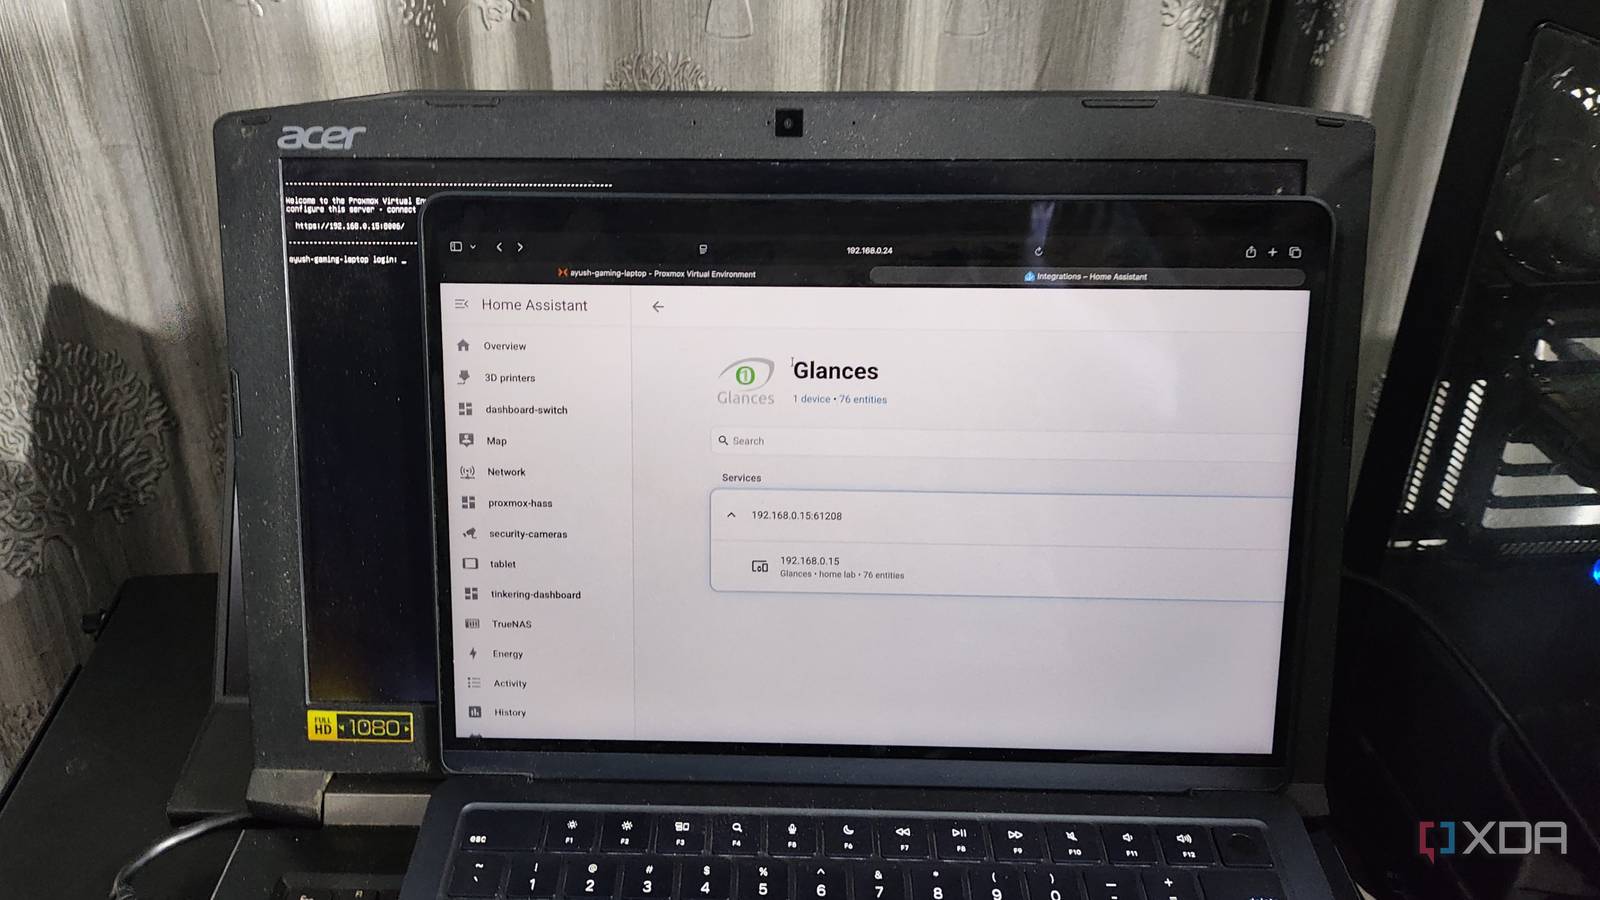
Published Aug 26, 2026, 2:30 PM EDT Ayush Pande is a PC hardware and gaming writer. When he's not working on a new article, you can find him with his head stuck inside a PC or tinkering with a server operating system. Besides computing, his interests include spending hours in long RPGs, yelling at his friends in co-op games, and practicing guitar. Proxmox’s lightweight design and solid compatibility with x86 devices is something I bring up every time I talk about its benefits, and for good reason. Despite its industry-grade server utilities, Proxmox can fit inside pretty much any old x86 machine, be it outdated thin-clients, abandoned gaming systems, or even office mini-PCs released in the last decade. Heck, my dinosaur Lenovo G510 from 2014 would’ve become part of a landfill had I not repurposed it as a low-power Proxmox VE node for my self-hosting tasks. While we’re on the subject of recycled laptops, I’ve also turned my old Acer Predator Helios 300 system into a Proxmox server. Although I don’t have anything to complain about on the performance front, the fact that its battery isn’t easily removable is a big issue for my home server experiments. So much so that I had to go through a lot of mental gymnastics to build a Home Assistant automation pipeline to solve the battery issue. My laptop’s battery isn’t what I’d call a perk for home server tasks Heck, I’d go so far as to say that it’s a double-edged sword Between the built-in display and keyboard, there’s no denying that the conventional laptop chassis has certain benefits for Proxmox projects. That said, the battery is definitely not one of them. Sure, you might be inclined to believe that the battery acts as a makeshift UPS, allowing your home server to gracefully shut down in case of a sudden outage. But in reality, it has the potential to turn into a fire hazard after a few months of usage. For home server workloads, you’ll want to keep your AC supply plugged into the laptop, and that’s where the real safety problem lies. Charging lithium-ion batteries 24/7 when they’re already at max capacity can cause them to swell up a lot faster than normal power cycles. For an old laptop that’s already seen a lot of action back in the day, leaving the battery plugged in all the time is a recipe for disaster. Plus, laptop manufacturers have been upping the anti-repair nature of their devices, so removing the battery on my gaming companion isn’t a cakewalk by any means. To add insult to injury, I couldn't find any option to disable the battery even after scouring every last setting within the BIOS. So, I had to rely on software-based workarounds to prevent my home lab from becoming yet another post on r/spicypillows. I designed an automation to reduce the wear rate on my laptop’s battery Glances is responsible for reporting the battery stats Before I could work on Home Assistant shenanigans, I needed a way to get the battery statistics from my laptop. But since Proxmox’s default packages can’t detect battery-related metrics on my clamshell home server, I had to break the cardinal rule of not installing third-party packages on my PVE host. That’s where Glances (not to be confused with Glance, which is another monitoring tool) comes into the equation. Rather than just displaying my laptop’s statistics within the command-line-driven shell tab, Glances exports a detailed set of metrics (including the battery readings) to a locally-hosted web page – one that I can use to bring all these sensors (and their recorded measurements) to my Home Assistant server. Better yet, the Proxmox VE Scripts repository already includes a Glances add-on package to simplify the installation process. All I had to do was run bash -c "$(curl -fsSL https://raw.githubusercontent.com/community-scripts/ProxmoxVE/main/tools/addon/glances.sh)" in the Shell tab of my Proxmox node and use the IP address generated by the script to check the statistics pulled by Glances. Meanwhile, my $9 smart plug and Home Assistant handle the automation aspect Since Home Assistant already has a Glances integration baked in, I didn’t have any trouble connecting the two. The other essential part of this setup is my Tapo smart plug, which I’ve connected to the AC adapter of my laptop. My game plan was to automate the smart plug (and by extension, the AC adapter) to turn on and off depending on the battery statistics gathered from the Glances integration, so I began calibrating the trigger-action rules on HASS. For the first automation rule, I chose the battery sensor reading 80% as the trigger condition and configured the smart plug to turn off once it reaches this threshold. Then, I added another rule to turn on the plug once the laptop’s battery dips below 30%. TP-Link Tapo Matter Supported Smart Plug Mini This laptop is a surprisingly reliable Proxmox node Despite all the extra hassle, I’m glad I started using this laptop for home server tasks. I’ve deployed most of the monitoring, notification, and networking tools I use for the rest of my home lab paraphernalia on this node, so I don’t accidentally bring them down while working on my experimental servers. Likewise, I’ve also installed llama.cpp on this machine, and the GTX 1060 inside meshes pretty well with Gemma 4 E4B, nomic-embed-text-1.5, and other light models.
Home Assistant and a $9 smart plug solved the biggest issue with my recycled laptop server
Full Article
Original Source
Read the full article at Xda-developers →KhanList aggregates and links to publicly available news content. We do not host full articles from third-party sources. Always verify important information with original sources.