
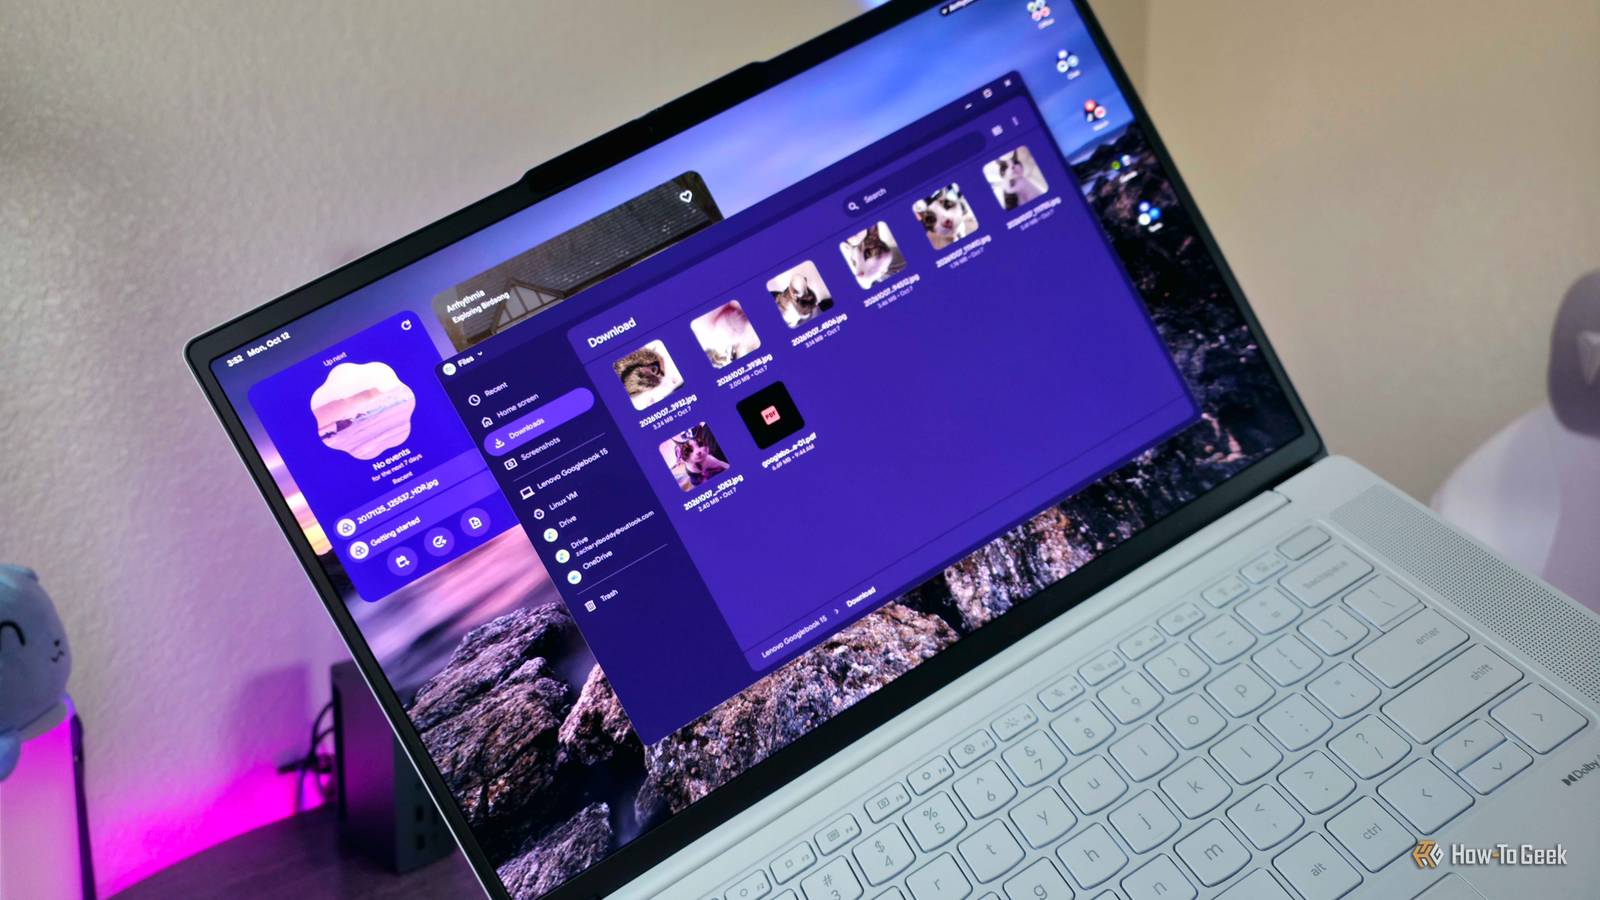
Published Oct 14, 2026, 8:00 PM EDT Zachary Boddy is a seasoned journalist with over six years of experience covering technology and video games, and is now contributing to How-To Geek. Zachary's career began at Windows Central, where their long-running, deep-rooted passion as a tech and gaming nerd fueled thousands of published articles, including reviews, guides, interviews, editorials, and so much more. When Zachary isn't writing, they're playing video games, reading books, listening to music, and spending time with their family, a very food-motivated cat and an exceptionally creative daughter. Googlebooks have arrived as the next-generation successor to Chromebooks, with native Android app integration, a bevy of AI features, and a new, supposedly more powerful local file system. Look no further for all the details you need on that last point; here's how to find all your files in Googlebook OS, including everything you've downloaded. Spoiler: it's all in the Files app Google has taken the Chromebook Files app and spruced it up with a refreshed look, new features, and more focus on actual, always-available local storage. By default, all your downloaded images, documents, and other files from Chrome (at least at time of writing, Chrome doesn't even allow you to choose an alternative download location), apps, and features like Quick Share appear in the Download folder of Files. Googlebook OS should be less prone to "misplacing" your files than the web-based ChromeOS has been in the past, thankfully. Open the Files app through the app drawer, your taskbar, or by pressing Google + F on your keyboard. Navigate to the Downloads folder, located near the top of the left-hand navigation menu. You'll find all your downloaded files here! If you're looking for screenshots you've taken, you'll find those in the appropriately named Screenshots folder just underneath the Downloads folder. If you need to navigate directly to either Downloads or Screenshots through your Googlebook's home directory, you can access all local files by clicking on the device folder in the left-hand navigation menu (my device folder is Lenovo Googlebook 15; this will change depending on what Googlebook you're using). Downloads will be found in the Downloads folder, while screenshots will be found by navigating to Pictures and then Screenshots. Anywhere in the Files app, you can open, preview, rename, and share your files. You can also easily move them elsewhere on your Googlebook using Copy, Cut, and Paste commands in the right-click menu (or by using the classic Ctrl + C/X/V keyboard shortcuts). Tips and tricks for using the Googlebook Files app Other file management apps provide more control, but there are still secrets to learn here The Googlebook Files app is nowhere near as powerful or fleshed out as Windows File Explorer—you're not able to open tabs, enable selection boxes, make in-depth edits to your view or search settings, or manage your files with anywhere near the same number of options as Windows (and other more mature desktop operating systems like macOS or most Linux distros). Still, there are some tips and tricks for getting the most out of the Googlebook Files app, so I'll spell them out here. Take advantage of the AI integration to naturally search for files or get short descriptions of file content. Alternatively, disable these AI features by clicking the three-dot ellipsis menu in the top-right corner of Files and selecting Turn off AI features. In that same three-dot ellipsis menu, you can also select Sort by... to change the order of your files according to name, modified date, type, and size. Change the layout of your files by clicking the View button to the left of the three-dot ellipsis menu in the top-right corner of Files. List View provides condensed, in-depth information, while Grid View provides a visual preview of files. Use the Ctrl + Enter keyboard shortcut to quickly rename highlighted files. Highlight multiple files in a folder by pressing Ctrl and then clicking on them one by one (useful, since the Files app doesn't have a selection box option). Press Space to instantly preview a highlighted file (this only works on one file at a time). Set up the Terminal app to create a Linux Virtual Machine folder, where you can store files and apps specifically for the Linux Terminal (you can also give Terminal access to local folders through the Terminal settings). In Settings, sign into your Google Drive and OneDrive cloud storage accounts to virtually mount them in Files (be warned, this feature can be inconsistent). Set up Cross-Device Services and add your Android device to mount its storage in Files, allowing you to quickly transfer files back and forth directly through the Files app (be warned, this feature can also be inconsistent). Access the Trash folder to restore or permanently remove recently deleted files. Files in the Trash folder are automatically deleted after 30 days. The Googlebook Files app could do a lot more, but at least it's easy to use Googlebook OS may promise to be the more powerful, desktop-grade successor to Chrome OS, but many elements—including the new Files app—still feel closer to a phone application than anything you'll find on Windows, macOS, or Linux. Still, the new Files app is clean and easy to use, and it's designed more with local file management in mind.
Finding downloaded files in Googlebook OS
Full Article
Original Source
Read the full article at Howtogeek →KhanList aggregates and links to publicly available news content. We do not host full articles from third-party sources. Always verify important information with original sources.