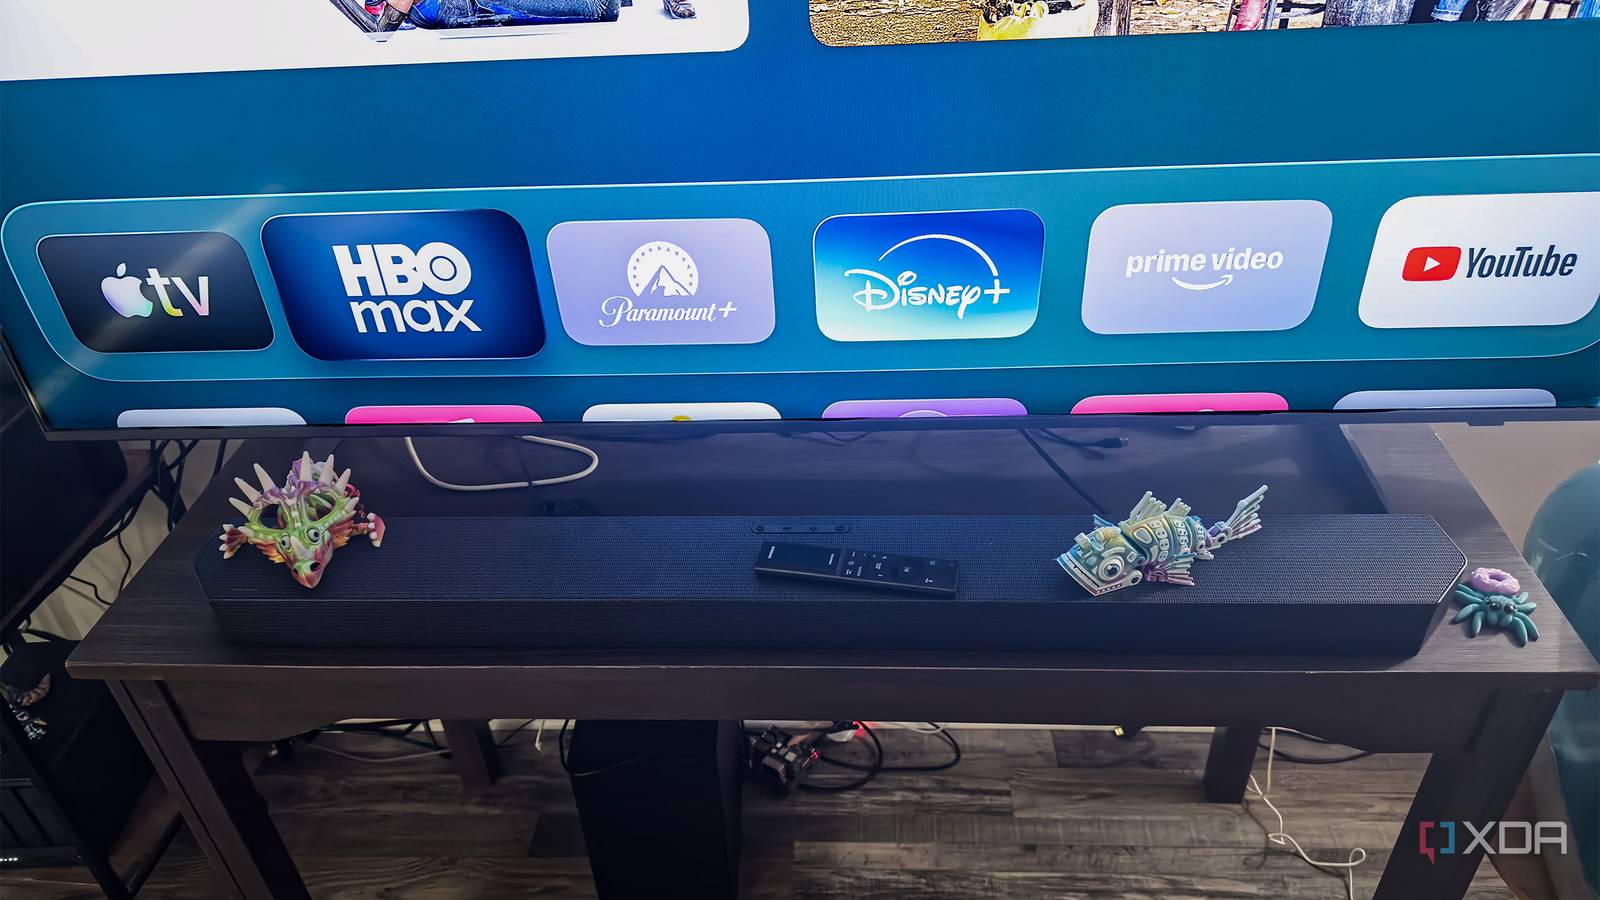
Published Jul 24, 2026, 3:00 PM EDT Jeff's been involved in the IT industry since before the Internet and spent more than 20 years working in technical support, system administration, network administration, and consulting roles. He holds an undergraduate degree in English, a Master's degree in English with a focus on professional writing and editing, and another Master's degree in Computing & Information Systems. After teaching university English and computer science for a few years, Jeff launched his writing career. He's written for Macworld, Tom's Hardware, groovyPost, The Mac Observer, and more before beginning here at XDA. A new soundbar is supposed to be one of the easiest home theater upgrades you can make. Connect the HDMI cable, plug it in, let the television recognize it, and you’re basically done. My Samsung soundbar did exactly that, and at first I was tempted to leave it alone because nothing was obviously broken. It made more noise than the television speakers, the bass was stronger, and movies immediately sounded bigger. After a little more time with it, though, the weak spots became harder to ignore. Dialogue sometimes sat too far behind the rest of the mix, the subwoofer occasionally called too much attention to itself, and the volume could jump from barely audible to far louder than I wanted. None of it was catastrophic, but it was enough to keep me reaching for the remote. I ended up changing four settings that made the system feel much more settled from day one. Dialogue enhancement made voices much clearer Clear speech matters more than maximum volume Dialogue enhancement was the first setting I changed because voices were the first thing that bothered me. Music, effects, and background noise all had plenty of presence, but conversations sometimes sounded like they were sitting behind everything else. My first instinct was to raise the volume, which worked right up until the next loud scene arrived. That solved the dialogue problem by creating a completely different problem. Samsung may label the feature differently depending on the soundbar, television, or sound mode. It might appear as Voice Enhance, Active Voice Amplifier, or something similar, but the purpose is the same. The setting brings spoken voices forward without increasing the entire soundtrack. I started with a moderate level because pushing it too far can make voices sound thin, sharp, or overly processed. I tested the setting with ordinary television instead of relying on one carefully mixed movie scene. Quiet dramas, talk-heavy shows, news broadcasts, and YouTube videos made the differences much easier to hear. Once I found the right level, I stopped increasing the volume every time a character lowered their voice. The soundbar still had plenty of impact, but dialogue finally felt like part of the mix instead of something I had to chase. Night mode controlled sudden volume changes Dynamic range settings keep loud scenes manageable Night mode was the next setting I adjusted, although I initially assumed I wouldn’t need it very often. The name makes it sound like something you only turn on after midnight when everyone else is asleep. In reality, it helped any time a show or movie had a huge gap between quiet dialogue and louder effects. That happened often enough that I got tired of constantly riding the volume buttons. Samsung may call the setting Night Mode, Dynamic Range Control, or DRC. It compresses the difference between the softest and loudest parts of the soundtrack, so quiet scenes become easier to hear, and louder scenes stop arriving with quite as much force. It doesn’t just lower the entire output. Instead, it pulls the extremes closer together, which is much more useful when the problem is inconsistency rather than overall loudness. Check your streaming device’s audio settings too. Avoid enabling the same audio processing on both your streaming box and soundbar. Features such as dialogue enhancement, volume leveling, night mode, and dynamic range compression can stack, leaving voices harsh and the rest of the soundtrack flat. I’d let the soundbar handle the processing first, then disable any equivalent setting on the Apple TV, Roku, Fire TV, or other connected device. Change one setting at a time so you can tell which device is actually improving the sound. The first time I enabled it, I expected the sound to become flat and lifeless. That can happen if the compression is too aggressive, but a moderate setting was far less intrusive than I expected. Dialogue stayed easier to follow, and the next action scene didn’t make me scramble for the remote. Even interface sounds and commercials felt less likely to jump out after a quiet stretch. I don’t leave the strongest setting enabled for everything. Movies with a carefully mixed soundtrack can lose some impact when the dynamic range is squeezed too much, and music can sound less lively. For normal television, streaming shows, and late evening viewing, though, a moderate amount of compression is worth it. I’d rather hear the entire scene comfortably than spend two hours making tiny volume corrections every few minutes. Subwoofer tuning removed excessive bass Default bass levels rarely suit every room The subwoofer was the easiest part of the system to notice and the easiest part to overdo. At the default level, bass effects had plenty of weight, but they sometimes felt disconnected from everything else. Low frequencies lingered longer than I wanted, and some scenes seemed to have bass simply because the system could produce it. After the novelty wore off, it started to get distracting. My first mistake was lowering the soundbar’s overall volume and hoping the balance would improve. It didn’t, because the subwoofer was still too prominent relative to the dialogue and midrange. Room placement also matters, since walls, corners, furniture, and flooring can make the bass sound much stronger than the number on the screen suggests. The actual fix was to adjust the subwoofer independently rather than turning down the entire system. I lowered the subwoofer one step at a time and replayed familiar scenes between changes. Action sequences helped me judge impact, while music made it easier to hear whether bass notes sounded defined or muddy. Once I backed it down, explosions still had weight, but they no longer dominated the room or blurred smaller details. It was only a small numerical adjustment, yet the whole system sounded cleaner and more controlled. Virtual surround needed careful adjustment Wider sound is not always better sound Virtual surround was the setting I spent the most time second-guessing. On first listen, the stronger modes sounded impressive because they made the front soundstage seem much wider. Effects appeared to stretch beyond the physical width of the soundbar, which is exactly what the feature is supposed to do. The problem was that bigger didn’t always mean better. After listening for longer than a quick demo, I started noticing the tradeoffs. Dialogue could lose some focus, and effects sometimes felt less precisely placed. Stereo music made the issue especially obvious because vocals that should have stayed centered occasionally spread too far across the front of the room. The presentation sounded larger, but also less stable. I compared the available surround options with several types of content instead of judging them with one action scene. Movies usually benefited from some expansion, while news, talk-heavy shows, and simpler television mixes often sounded cleaner with less processing. Music varied the most, depending on the recording and the selected sound mode. Leaving the strongest virtual surround option enabled for everything turned out to be more distracting than useful. The best result came from treating virtual surround as an adjustable tool rather than a permanent upgrade. I settled on a moderate level for movies and a more conservative setting for everyday viewing. That kept voices anchored near the television while still giving effects a little more room to spread out. It sounded less dramatic in a quick comparison, but much better over the course of an actual evening. Four changes made the system feel finished The Samsung soundbar worked the moment I plugged it in, but it didn’t really feel finished until I adjusted these four settings. Dialogue enhancement made voices easier to follow, night mode stopped the worst volume jumps, lowering the subwoofer cleaned up the overall balance, and dialing back virtual surround kept the front soundstage focused. None of the changes required special equipment or hours of testing. They just required enough listening to notice what kept annoying me and enough restraint not to max out every feature the soundbar offered.
4 simple soundbar settings I changed to get the best sound from day one
Full Article
Original Source
Read the full article at Xda-developers →KhanList aggregates and links to publicly available news content. We do not host full articles from third-party sources. Always verify important information with original sources.