
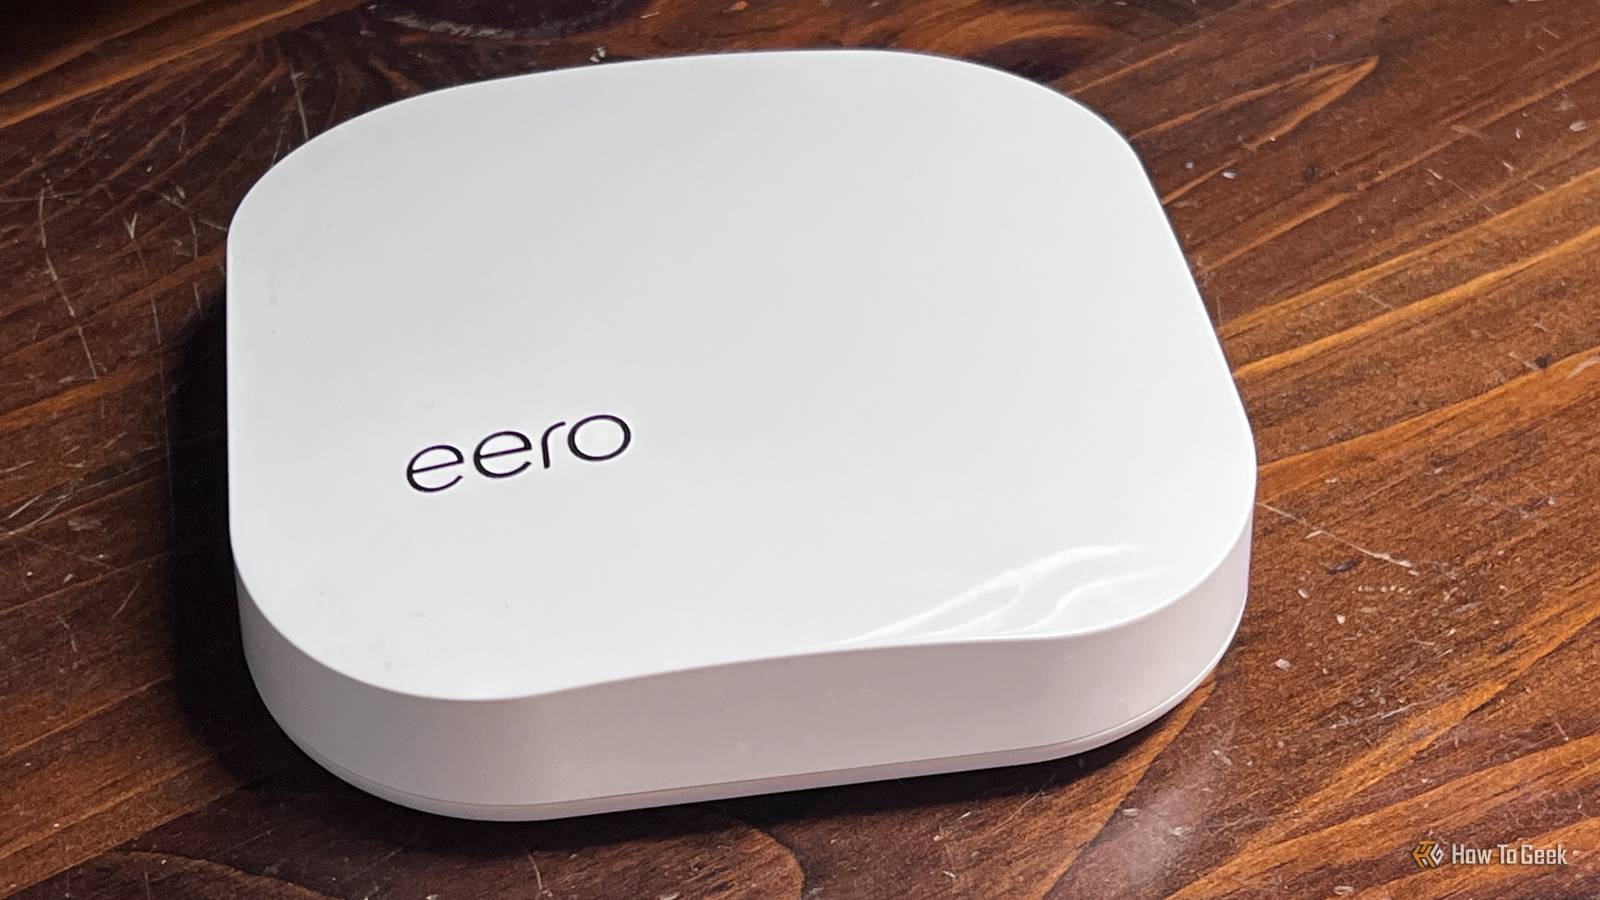
Published Oct 13, 2026, 5:30 PM EDT Zunaid Ali first became interested in technology after using a computer for the first time in 2006. He's been producing how-to content since 2018, reaching thousands of people in the process. As a kid, Zunaid used to read tech tutorials and troubleshooting guides on popular blogs. That made him want to start his own writing career. After the coronavirus pandemic, he finally decided to jump into the tech writing world. Before joining How-To Geek, he had written for HecticGeek, Distroid, and UbuntuPIT, among others. Zunaid first tried Linux when he wanted to learn Web Development in 2021. Due to his inexperience, he messed up his laptop trying to dual-boot Ubuntu with Windows. Frustrated, he went all-in with Linux and removed Windows completely. And that's when he fell in love with it. He's been actively experimenting with Linux since then. After finding his first writing gig on Linux in April 2022, he decided to specialize in it so he could share his knowledge and insights with fellow open-source enthusiasts. He joined How-To Geek in September 2023 and has been writing as a freelance contributor since then. Zunaid is currently pursuing his Bachelor's degree in Information & Communication Technology. When he's not writing, he's reading tech blogs, coding fun projects, or learning about new technologies. Other than Linux, he also has an interest in Android Development and Cybersecurity. He has experience in C/C++, Java, HTML/CSS/JavaScript, and Python. You can find some of his hobby projects on his GitHub. Back when I had a cheap Wi-Fi router, I bought a Wi-Fi extender to compensate for the router's short range. But there was a problem. Its SSID and password were different from my normal router, so I had to connect manually each time I used the extender. The better solution for this was a mesh Wi-Fi system at a higher cost. At that time, I didn't even know that a mesh network was different from Wi-Fi extenders. However, there's one problem that I faced while using a Wi-Fi extender that also exists in mesh networks. Not connecting to the correct (usually the closest) device for Wi-Fi. And surprisingly, it's not the reason you think it is. So, if you don't want to ruin your mesh Wi-Fi network's speed, read on to learn how you can handle yours when it goes wrong. Your phone decides which node it uses, not your mesh Wi-Fi was built to let devices call the shots, and they don't like switching This might not be so obvious at first glance. When connecting to a Wi-Fi network, the router doesn't choose our device. It's the opposite. Your device, such as your smartphone, decides which node to connect to and whether to switch nodes. Not only that, but your device may also prefer to stay connected to a distant or weak Wi-Fi point. This is known as the sticky client problem. So, when the mesh network suggests a change, but your device ignores it, it becomes a sticky client because it clings to the wrong node. But why does this happen? Phone and laptop manufacturers engineer devices to keep you connected rather than chase a better signal. That's because every switch means disconnecting and reconnecting, and that can cause a hiccup. Even eero admits this. On one of its support pages, it mentions that client steering doesn't guarantee your phone will connect to the faster band or even the closest satellite. Your devices wait too long before looking for a closer node An iPhone won't even start searching until the signal gets fairly weak Credit: Justin Duino / How-To Geek Wi-Fi signal strength is measured in negative dBm. The closer the value is to zero, the stronger it is. If a Wi-Fi signal is between -50dBm and -60dBm, you can consider that good strength. Between -60dBm and -67dBm is still a decent connection and will suffice for video calls and streaming. You can check your Wi-Fi signal strength with a free app to see where yours sits. Apple actually publishes its numbers, and they explain a lot. According to Apple's Wi-Fi roaming documentation, iPhones and iPads don't look for a better node until the signal drops to -70dBm. Mac waits even longer, until -75dBm. Even then, the new node must be 8dB to 12dB stronger before they switch. Let's do the math with Apple's own rule. Say your iPhone is idle, and its signal drops to -72dBm. That's past the trigger, so it starts looking. However, a new node must be 12dB stronger. So, it only switches if it finds one at -60dBm or better. If the node in your room reads -65dBm, your phone stays put. Even on a video call, where the bar drops to 8dB, it needs -64dBm or better. Funny enough, a node that's 7dB stronger is right there, and your phone still won't take it. Fortunately, you can check the node your device is connected to through apps. Mesh apps like TP-Link's Deco offer such features. If your phone is near one node but is connected to another distant one, it's stuck. Fast roaming gets your mesh and devices on the same page A setting or two helps your mesh guide devices to the right node Credit: Patrick Campanale / How-To Geek This is where fast roaming comes in. It's a Wi-Fi feature that allows your phone or PC to switch quickly from one access point to another so you always have a strong signal. People usually lump three Wi-Fi standards under that name: 802.11k, 802.11v, and 802.11r. Strictly speaking, only 802.11r is fast roaming. The other two help your device find and pick the next node. Apple says its iPhones, iPads, and Apple silicon Macs support all three. Its documentation also shows what changes in practice. Without 802.11k, an iPhone that crosses -70dBm has to scan channel after channel to find another satellite. With it, the mesh hands over a short list of nearby nodes and their channels. The phone checks those channels first, finds the better node, and moves. 802.11v lets the mesh send a request to move, and 802.11r cuts the time the switch itself takes. Most mesh brands give you some settings for this, the same ones that keep Wi-Fi calls from dropping as you walk between rooms. However, the names don't map neatly to the standards. On Deco, Fast Roaming turns on 802.11r, while a separate Mesh Technology option handles 802.11k and 802.11v. eero's Client steering nudges devices toward the nearest eero. ASUS's Roaming Assistant is blunter. Once enabled, it disconnects devices whose signal drops below -70dBm, and you can change that number. After you turn these on, switch Wi-Fi off and on again on your devices so they reconnect with the new settings. Give your Windows laptop a small push, too Intel's adapters have a dial for how early they start looking Laptops have their own sticky systems you need to deal with. My laptop uses an Intel Wi-Fi adapter, where it's known as Roaming Aggressiveness. According to Intel, Lowest only scans for another node when the signal is very weak. Highest starts scanning while the signal is still good. Medium sits in the middle and is the default. If you want to change it, open Device Manager > Network adapters, and double-click your Wi-Fi adapter (in my case, it was Intel® Wi-Fi 6 AX201 160MHz). Switch to the Advanced tab. Select Roaming Aggressiveness. The drop-down lists five levels: Lowest, Medium-low, Medium, Medium-High, and Highest. Mine was sitting on Medium. Microsoft's own Surface guidance says to raise this only when needed, since higher levels can drain the battery faster. If your laptop Wi-Fi connection is still unstable, you can try some Windows Wi-Fi fixes. Your mesh was never the problem, and now your devices know it It's funny, really. The mesh you bought to fix your Wi-Fi was doing its job all along. With fast roaming enabled and your laptop settings tweaked, they're far more likely to follow you wherever you go.
Stop blaming your mesh: Why your devices refuse to connect to the closest node
Full Article
Original Source
Read the full article at Howtogeek →KhanList aggregates and links to publicly available news content. We do not host full articles from third-party sources. Always verify important information with original sources.