
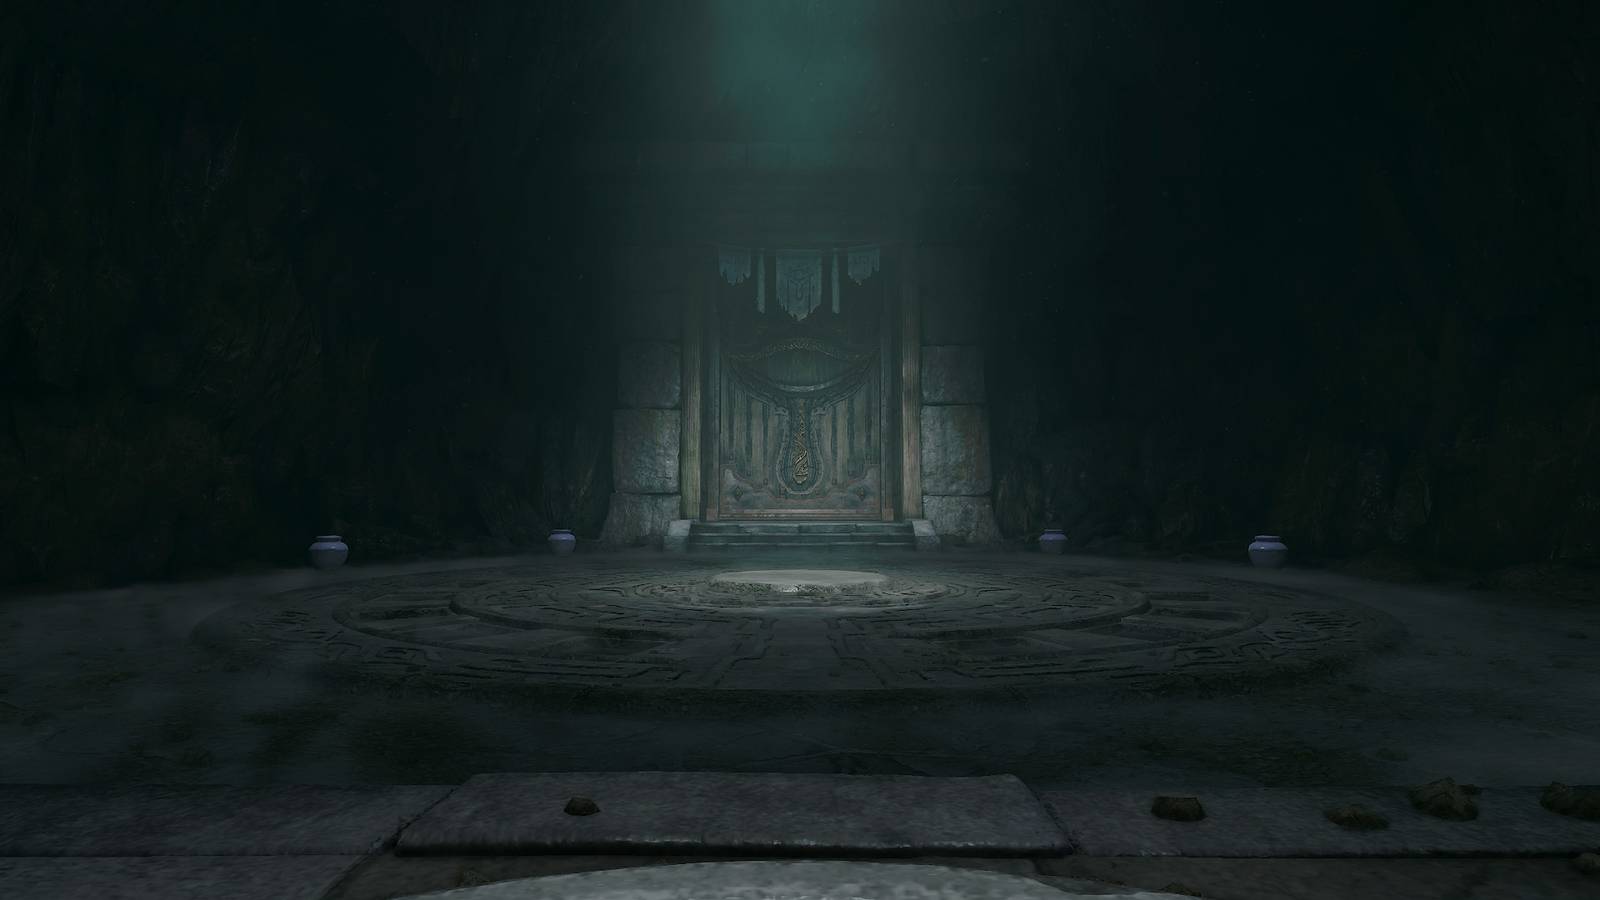
Published Nov 5, 2026, 12:01 AM EST Your eyes deceive you Image: Nintendo EPD/Nintendo via Polygon The Shadow Temple is one of the many dungeons in The Legend of Zelda: Ocarina of Time remake that you take on after you've traveled into the future. In this dungeon, you'll need to question what is real and what is fake, as your eyes will deceive you. There are hidden traps, fake walls, and invisible enemies lurking about. However, they might be the least of your worries, as even the floor isn't safe. Luckily, you'll find the Hover Boots to keep your mind at ease. Here's how to complete the Shadow Temple dungeon in Ocarina of Time remake. Part 1: Finding the dungeon map Before you start, you'll need to get the Lenses of Truth from the Bottom of the Well and Din's Fire from the Great Fairy Fountain at the top of Death Mountain. If you're trying to grab every Gold Skulltula, you'll also need the Scarecrow Song from Lake Hylia. Image: Nintendo EPD/Nintendo via Polygon Use the Lenses of Truth at the entrance to see a ring of unlit torches. Stand on the platform in the middle, and use Din's Fire to light every torch. Image: Nintendo EPD/Nintendo via Polygon Head inside the Shadow Temple, but be careful of the Flying Pots in the first hallway. Longshot to the target, and walk through the fake wall in front of you. Graphic: Johnny Yu/Polygon | Source images: Nintendo EPD/Nintendo via Polygon Just inside the next room, you'll find a vulture statue that is surrounded by podiums with skulls on them. The plaque on the statue reads, "The tip of my beak seeks the skull of truth. Should it find falsehood, darkness shall fall." So, you need to use the Lenses of Truth to find the skull of truth, and rotate the vulture statue so that its beak is pointing at it. When you use the Lenses of Truth, only one podium will have a skull. Rotate the beak so it's pointing at the statue, and a door on the other side of the room will open. Graphic: Johnny Yu/Polygon | Source images: Nintendo EPD/Nintendo via Polygon Now, if you look at the door, you'll notice that there's a huge pit in front of it, and it's real. Instead of trying to jump across, head to the northwest corner of the room, and go through the fake wall. Open the door and interact with the skull on the ceiling, who will essentially tell you that you need the Lenses of Truth. Image: Nintendo EPD/Nintendo via Polygon Equip the Lenses of Truth, and take the hidden path to the north, just below the large skull on the wall. Head inside the door, and you'll enter a room with a ReDead and two Keese. Play the Sun's Song (A - R - X - A - R - X) to stun the ReDead and defeat all the enemies. A chest containing the dungeon map will spawn shortly after. Part 2: Getting the Hover Boots Graphic: Johnny Yu/Polygon | Source images: Nintendo EPD/Nintendo via Polygon Return to the previous room, and use the Lenses of Truth to reveal a path to the west. Then, in the next room, there will be another hidden path in the northwest corner. Go down the hall. One of the floor tiles will sink, but don't worry as you won't fall to your death. Graphic: Johnny Yu/Polygon | Source images: Nintendo EPD/Nintendo via Polygon Go through the door, and you'll face off against a Dead Hand. A bunch of limbs will pop out of the ground first. If you have a lot of magic power, you can stand on the platform in the center and use Din's Fire to get rid of all the arms at once. Then, the main body will come out. Wait for them to approach you. Once they lower their head, quickly attack their face until they retreat. The arms will pop back out of the ground, so you'll need to repeat this process until you beat the Dead Hand and a chest spawns. Open the chest to get the Hover Boots. These boots will let you float and walk on air. Image: Nintendo EPD/Nintendo via Polygon To use them, you need to have them equipped, and simply walk off a ledge. You'll only float for a short period of time, so don't try to walk too far! Exit the room and use the Hover Boots to walk over the floor tile that fell. Then, return to the room with the vulture statue. Part 3: Finding the compass Image: Nintendo EPD/Nintendo via Polygon Now that you have the Hover Boots, you can cross the gap to the door. (Just make sure they're equipped first). In the next room, there will be a Beamos, so throw a bomb at it to destroy it. There's a fake wall to your north and south, and there's also a rock wall to the east. First, take the path to the south. You'll enter a room with two ReDead. Play the Sun's Song (A - R - X - A - R - X) to stun them and take them out. A chest containing the compass will spawn. Part 4: Progressing through B3 Image: Nintendo EPD/Nintendo via Polygon Go back to the previous room and take the path to the north. In this room, you'll need to collect five crystals to unlock a door to a chest. The only problem is that there are two scythe-wielding statues that are rotating in the middle of the room. The scythes cover the majority of the room, so you'll need to jump on top of platforms to avoid them. After you collect the five crystals, open the chest to get a small key. There is a hole in the northeast corner of this room, but you can't do anything there at the moment. Head back to the previous room and destroy the rock wall. Use your small key to open the door and follow the path, but be careful of the Skulltulas and guillotines along the way. Wait for the guillotines to start rising and then walk past them. At the end of the path, you'll find an elevator. Ride it down and you'll find even more guillotines. Graphic: Johnny Yu/Polygon | Source images: Nintendo EPD/Nintendo via Polygon The first guillotine drops a bit fast. Instead of walking under it, use your Hover Boots to walk around it. You can use your Hover Boots for the second guillotine, but be careful as a Red Bubble will be waiting for you on the next platform. Walk around the third guillotine, and you'll find a Stalfos on the last platform. Remember to take off your Hover Boots so you can freely move around while fighting. Graphic: Johnny Yu/Polygon | Source images: Nintendo EPD/Nintendo via Polygon After you defeat the Stalfos, turn to the east and put on your Lenses of Truth. Use your Hover Boots to walk to the platform and then the door. There will be a Business Scrub on your left, where you can buy a green potion if you're low on magic power. Go through the door, and you'll see a Like Like in the far room. However, there's actually another one of those rotating scythe statues in the center of the room. Avoid the scythe, and defeat the Fire Keese and the Like Like to unlock the door to the next room. Use the Lenses of Truth to open both chests, and collect the Gold Skulltula token. Image: Nintendo EPD/Nintendo via Polygon Return to the previous room. Get onto the moving platforms, but stop on the last one just before the Beamos. There are five crystals you have to collect to unlock the door to the next room. Wait on the last platform until it rises. You'll find one crystal in the air at the top. Collect it, and blow up the Beamos with a bomb. Then, grab the two crystals in the middle, but make sure to avoid the Blade Traps. Graphic: Johnny Yu/Polygon | Source images: Nintendo EPD/Nintendo via Polygon The crystal to the north is on an invisible floating platform. Use your Hover Boots to grab it. Then, climb the wooden platforms in the south, and use the Hover Boots to get to the last crystal. Graphic: Johnny Yu/Polygon | Source images: Nintendo EPD/Nintendo via Polygon In the next room, there are spike traps that fall from the ceiling, but if you use the Lenses of Truth, you'll see a stone cube hidden in the wall. Pull it into the groove on the floor, and push it under the first spike trap. Then, head through the hole in the northern wall and find the fairy's thoughts on the opposite side. Play the Song of Storms (L - R - X - L - R - X) to restore your health and magic power. Graphic: Johnny Yu/Polygon | Source images: Nintendo EPD/Nintendo via Polygon Then, push the cube under the second spike trap, but make sure that your body isn't under the first trap. Walk into the cell and open the chest inside to get 20 rupees. Push the cube the rest of the way and climb up to the next floor. Climb up again and step onto the top of the spike traps. Ride it to the top and step onto the platform in the northeast to find a Gold Skulltula. Use your Longshot to grab its token, and then open the chest in the southwest corner of the room to get a small key. Graphic: Johnny Yu/Polygon | Source images: Nintendo EPD/Nintendo via Polygon Exit the room and go back to the invisible floating platform where you collected the crystal. If you use your Lenses of Truth, you'll see that there's actually a moving platform just below you. Drop onto it and head through the door. Graphic: Johnny Yu/Polygon | Source images: Nintendo EPD/Nintendo via Polygon You'll enter another room where you have to collect five crystals. The room may look empty, but there are actually a bunch of spikes scattered around the room. Also, there are two ReDead, but you can take care of them using the Sun's Song (A - R - X - A - R - X). Use your Lenses of Truth to avoid the traps, and use the Longshot to grab the crystals floating in the air. After you collect every crystal, go through the unlocked door. Graphic: Johnny Yu/Polygon | Source images: Nintendo EPD/Nintendo via Polygon In the next room, you need to cast a dark orb into the black skull. Go up the stairs, take out the Keese, and throw a bomb into the skull. The skull will blow up, revealing a small key. Pick it up and go back to the previous room. Longshot to the target in the northwest corner, and use the Hover Boots to walk over to the locked door. Graphic: Johnny Yu/Polygon | Source images: Nintendo EPD/Nintendo via Polygon In this next room, you'll need your Iron Boots to fight against a strong fan. Equip the Iron Boots in the Equipment menu, and walk through the hallway. Watch out for the Skulltula, and then Longshot to the target on the ceiling. Before you drop down, turn around to see a Gold Skulltula on the wall. Use your Longshot to retrieve its token. Graphic: Johnny Yu/Polygon | Source images: Nintendo EPD/Nintendo via Polygon Head into the next room, which is a long hallway with a bunch of fans on each wall. For the first two fans, there will be a small alcove on the opposite wall that contains a few pots. Feel free to swap to your Hover Boots when the fans aren't blowing, and then use the wind to reach the alcove. However, keep in mind that you'll need to constantly swap between your Iron Boots and Hover Boots as you progress down the platform. The wall on the opposite side of the third wall is actually fake. Before you head inside, you can grab a Business Scrub seed in an invisible chest in the room at the end of the hall, but feel free to skip it. Put on your Lenses of Truth and Hover Boots, and use the wind to reach the door behind the fake wall in the northeast corner. Defeat the two ReDead inside, avoid the Blade Traps, and destroy the rock wall to find a chest containing a small key. Unlock the door and go to the next room. Part 5: Finding the boss key Graphic: Johnny Yu/Polygon | Source images: Nintendo EPD/Nintendo via Polygon Ride the elevator down, and you'll find a stone cube on your left. Pull it out and push it to the end of the track. Climb up to the top of the wooden scaffolding, and look at the top of the metal cage to spot some spiraling leaves, which means you can summon a scarecrow. Play the Scarecrow Song, Longshot to it, and you'll find a Gold Skulltula on the wall. Drop back down and make your way over to the large boat. Step onto the Triforce and play Zelda's Lullaby (Y - X - A - Y - X - A). The ship will start to move, but two Stalfos will spawn as you ride the boat. Avoid their attacks (especially the jump attack), and defeat them. The boat will eventually crash and sink into the abyss, so make sure to jump off before it disappears! Graphic: Johnny Yu/Polygon | Source images: Nintendo EPD/Nintendo via Polygon Head over to the spider web on the west side of the platform, and light it on fire with a Fire Arrow or Din's Fire. Go inside and you'll spot a few Floormasters. If you try to walk over to them, you'll realize that there are actually invisible walls everywhere in this room. Equip the Lenses of Truth, defeat the Floormasters, and make your way to the southern room. Graphic: Johnny Yu/Polygon | Source images: Nintendo EPD/Nintendo via Polygon Inside, there will be an invisible Floormaster. Defeat it and open the chest to get a small key. Then, make your way to the west room. Go up the stairs and throw a bomb into every skull. A Gold Skulltula and some rupees will pop out of the last one. Image: Nintendo EPD/Nintendo via Polygon Return to the previous room and head to the locked door in the north. When you step inside, the walls will start to close in on you, so make sure to equip Din's Fire or your Fire Arrows before you go inside. Set the walls on fire, and they'll disappear. Then, defeat the ReDead and open the chests to get a large magic jar and the boss key. Part 6: Defeating the Shadow Temple boss, Bongo Bongo Graphic: Johnny Yu/Polygon | Source images: Nintendo EPD/Nintendo via Polygon Return to the area where you jumped off the boat, and head to the east side of the platform. You'll see a bird statue, but if you look at its base, you'll see that it looks like a rock wall. Break the base, and the statue will fall over, creating a bridge to the other side. Cross it and enter the door to the south. Put on your Lenses of Truth and your Hover Boots. Take the path to your right, and follow it until you reach the door to the boss room. Image: Nintendo EPD/Nintendo via Polygon Before you jump into the hole and take on the Phantom Shadow Beast, Bongo Bongo, there are a few things you should know about the fight: Bongo Bongo's main body is invisible. You need to equip the Lenses of Truth to see it. The arena itself is a bongo. Bongo Bongo's left hand will hit the bongo three times, and then Bongo Bongo's right hand will smack the bongo once, causing you to jump into the air. We recommend equipping the Hover Boots just before the right hand hits the drum to avoid being launched into the air, but you can also jump to avoid it as well. Just make sure to take off the boots after, so that you can run at full speed. Remember that glowing enemies are invulnerable. Bongo Bongo will only take damage when they aren't glowing. The Fairy Bow will be your best friend during this fight. There will be moments when Bongo Bongo's hands are just out of reach of your sword, but the Fairy Bow can still quickly get a hit in. Graphic: Johnny Yu/Polygon | Source images: Nintendo EPD/Nintendo via Polygon When you're ready, jump into the hole. For the first part of the fight, Bongo Bongo will play the bongo like normal: three hits with their left hand and one hit with their right hand. Then, they'll stop, and one hand will come toward the center of the arena. You'll only be able to see their shadow above you. Move away from the shadow, and wait for the shadow to twitch, as that means it'll slam onto the bongo in just a moment. Quickly equip the Hover Boots or jump to avoid being launched into the air, and attack the hand. If you missed the timing, take out your Fairy Bow and shoot the hand instead. The other hand will move right above you and do the same thing, Dodge its slam and attack it. Graphic: Johnny Yu/Polygon | Source images: Nintendo EPD/Nintendo via Polygon After you attack both hands, Bongo Bongo's eye will light up. Put on your Lenses of Truth to see their body. In just a moment, Bongo Bongo will charge at you with their whole body. Shoot their eye with your Fairy Bow or Longshot to stun them, and then run in and attack them with everything you've got. It's best to hit their eye a bit late, so you don't have to run toward them. But, it's better to be safe, so shoot them whenever you can. They'll repeat this attack every time you take out both hands, so be ready to shoot their eye after you do so. For the remainder of the fight, Bongo Bongo will start incorporating new attacks: Each hand will go to one side of the arena and close in on you, but the hands will be vulnerable to your attacks. Shoot one of the hands to avoid being sandwiched. One hand will move to the side, and swipe across the whole arena. Shoot it with an arrow to stop it. One hand will reach out and try to grab you. Hit them before they grab you, or else they'll catch you and squeeze you. If you get caught, mash all your buttons to quickly break free. One hand will turn into a fist, and charge in your direction. Walk to the side, and they'll miss you and become vulnerable. After you hit one of the hands, the other hand will either perform the first attack or any of the attacks listed above. When in doubt, wait for the hand to stop glowing and then hit them with an arrow. Then, shoot Bongo Bongo's eye and attack them as many times as you can. Repeat this process until you beat them, and you'll earn a Heart Container. Then, you're free to exit the dungeon via the ring of light.
Shadow Temple dungeon walkthrough in Ocarina of Time
Full Article
Original Source
Read the full article at Polygon →KhanList aggregates and links to publicly available news content. We do not host full articles from third-party sources. Always verify important information with original sources.