
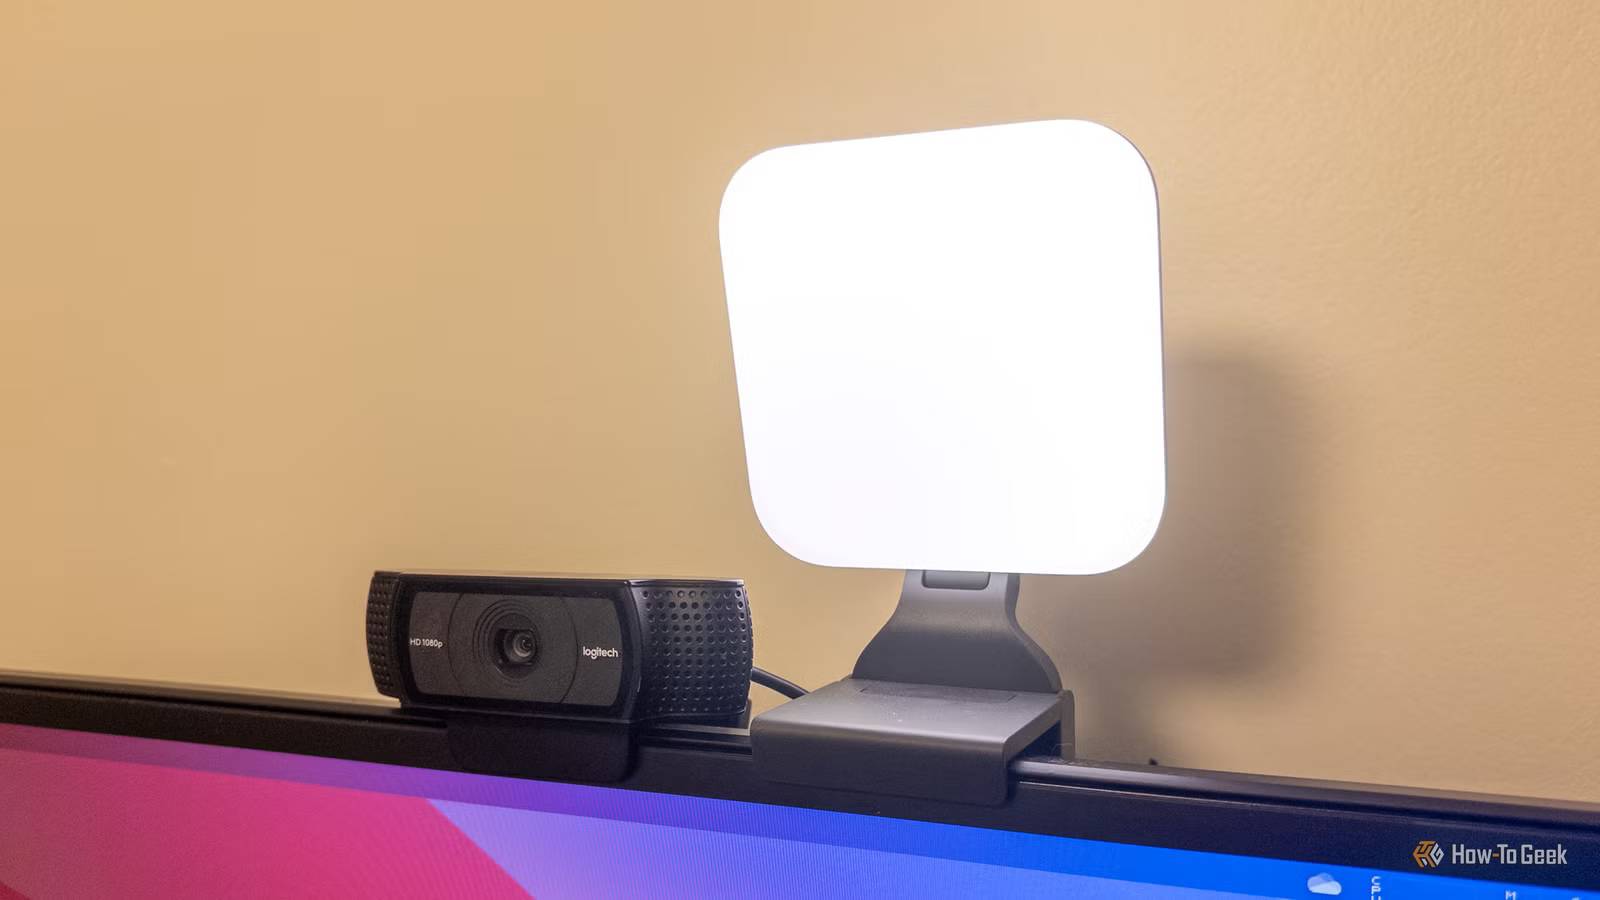
Published Sep 21, 2026, 6:30 AM EDT Sydney Butler is a technology writer with over 20 years of experience as a freelance PC technician and system builder and over a decade as a professional writer. He's worked for more than a decade in user education. On How-To Geek, he writes commerce content, guides, opinions, and specializes in editing hardware and cutting edge technology articles. Sydney started working as a freelance computer technician around the age of 13, before which he was in charge of running the computer center for his school. (He also ran LAN gaming tournaments when the teachers weren't looking!) His interests include VR, PC, Mac, gaming, 3D printing, consumer electronics, the web, and privacy. He holds a Master of Arts degree in Research Psychology with a minor in media and technology studies. His masters dissertation examined the potential for social media to spread misinformation. Outside of How-To Geek, he hosts the Online Tech Tips YouTube Channel, and writes for Online Tech Tips, Switching to Mac, and Helpdesk Geek. Sydney also writes for Expert Reviews UK. He also has bylines at 9to5Mac, 9to5Google, 9to5Toys, Tom's Hardware, MakeTechEasier, and Laptop Mag. A high-end or "professional" webcam can cost hundreds of dollars these days, which will give you a major sense of disappointment when you set it up and realize you don't look any better than before, using a cheap camera. That's because the biggest contributor to your poor image quality was never the camera in the first place. It was your lighting arrangement. Your webcam can't create light that isn't there Let there be light! Please? Credit: Corbin Davenport / How-To Geek A camera's job is to capture light and form an image with it. Different cameras need different levels of light to do this job properly. The tiny image sensors and lenses in a typical webcam are terrible at dealing with even moderate levels of light. This is why you get such a noisy, grainy image even when you're using a webcam with a reasonably sharp resolution such as 1080p. Without good lighting, upgrading to a 4K camera won't result in much improvement. Yes, the sensor has four times the pixels now, but there's no additional light. In fact, it might even be worse, since there is less light per pixel. A ring or diffuse light gives your webcam what it actually needs You'll see it's a bright idea Credit: BLGKV/Shutterstock.com Video and photographic lighting is an art all by itself. A beautifully-lit scene shot with a mediocre camera will always look more pleasing to the eye than a poorly-lit scene shot with the best camera money can buy. The ideal setup is a three-point lighting system as seen in this diagram. Credit: Safwan Abd Rahman/Shutterstock.com That's the lighting setup I used when I was a YouTube host, but it's too much of a hassle for a webcam setup. That's especially true when you consider that the only object in the frame that really needs good lighting is your face. Which is why a cheap $20 ring light will elevate things enough for almost anyone out there. However, you can also use lights that are not in ring form. The light you see all the way at the top there is the Logitech Litra Glow, which is an LED panel that you can adjust to improve the front lighting of your webcam view. It's a little more expensive than a decent ring light, but it's more compact, and you can leave it up permanently. It's also designed to sit on top of your monitor, while most ring lights need their own stands. If you really want to look like an Instagram model with soft lighting and no shadows anywhere on your face, ring lights are the way to go. Logitech Litra Glow $59 $70 Save $11 Size 3.56 × 3.56 × 1.08 in This LED light can boost your video quality on work calls, video chats with friends and family, or livestreams. Weight 6.24 oz (177 g) with mount; 3.49 oz (99 g) light only Color Graphite Wi-Fi No Power USB-powered, 5V DC Mobile app No; Logitech G HUB desktop software for Windows/macOS Connectivity USB-C Mount 3-way adjustable monitor mount; 4-in vertical adjustment, 2-in horizontal extension, 360° swivel; 1/4"-20 tripod thread Luminous Flux per Panel 250 lumens max Better lighting can improve more than just brightness The benefits are numerous Better lighting in your webcam view is about more than a brighter image. My colleague Corbin tested the same camera under different lighting conditions, and you can see it's not just brightness that changes, but the perceived shape of his face. But still images don't show you the whole story, because better light can reduce artifacts that are only obvious in motion. That low-light noise is reduced or even eliminated. That is why the same camera can look like it has higher resolution just by changing the light. With less noise crawling all over the screen, there's literally more real detail visible. With more light, you'll also see a reduction in motion blur, because exposure times can be shorter. Cameras with autofocus systems will also be faster and more accurate if you have more light. Put the light in the right place, or you'll make things worse But don't think you can just slap a light next to your webcam and call it a day. As with anything, you can make it worse if you position the light incorrectly. Put the light close to the webcam and slightly above eye level so it illuminates your face rather than the top of your head. Also, don't crank the light to maximum right from the start. The idea is to fill your face with light, but you don't want to blind yourself, and you certainly don't want the camera to overcompensate, which can create other issues. Avoid having a bright window directly behind you, because the webcam may expose for the window and leave your face dark. If you wear glasses, don't put the ring directly in line with the lenses. The circular reflection can be extremely obvious!
Replacing your webcam won't fix your video quality, but this affordable accessory will
Full Article
Original Source
Read the full article at Howtogeek →KhanList aggregates and links to publicly available news content. We do not host full articles from third-party sources. Always verify important information with original sources.