
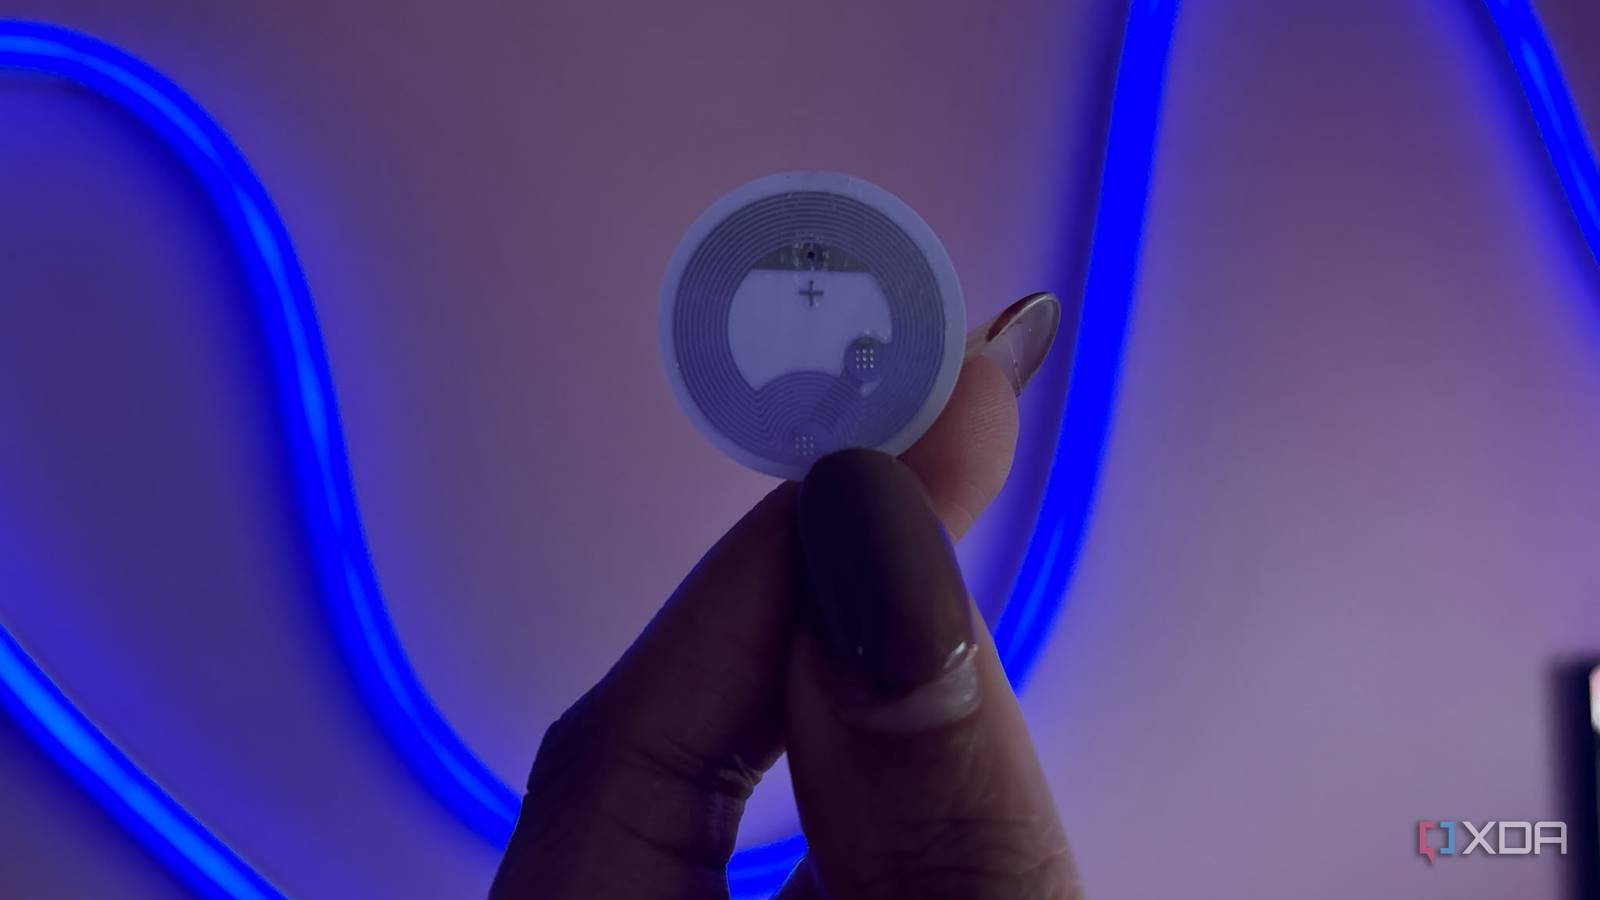
Published Nov 13, 2026, 5:00 PM EST Jasmine is Software and PC Hardware Author at XDA with years of tech reporting experience ranging from AI chatbots right down to gaming hardware, she's covered just about everything. Whether it's breaking news about the latest AMD NPUs or creating video tutorials on social media platforms, Jasmine has contributed to the world of AI and tech in a variety of ways including interviewing the CEO of Razer, AMD's Director of Product Marketing and the VP of Lenovo. Passionate about gaming and PC technology, she has built countless computers, keyboards and other peripherals - knowing them inside and out. There is a range of modern smart home triggers you can use today, from motion sensors to smart buttons, but the downsides include battery maintenance, tuning detection zones, dealing with false triggers, and sometimes delayed state changes. I decided to opt for NFC tags instead. They cost roughly $0.50 per unit when purchased in large packs from Amazon, and they operate passively at 13.56 MHz. They contain no batteries, draw power via electromagnetic induction from the scanning phone's reader, and are typically rated for about 10 years of data retention. Placing them takes seconds, and programming them comes with significantly less friction than I find with smart buttons. The process looks different based on the device If you're looking to set up NFC tags, there are some hardware considerations you should make before purchasing them. Standard NFC stickers have significantly reduced range or reliability and sometimes fail on metallic surfaces like fridge doors, computer chassis, or aluminum bed frames because magnetic interference shields the RF field. You can purchase anti-metal NFC tags for a little bit more, so it's worth considering if this is something you need. There are different memory limits based on which NFC tag you pick up. I found that NTAG215, which allows you to store 504 bytes of data, is the sweet spot for flexibility and compatibility. How you implement them into your smart home will be dependent on what platform you use. For Home Assistant, you can just use the Home Assistant companion app. To get started, you need to open the companion app, go to Settings, Companion App, NFC Tags, and then choose the Write Tag option (the specific location of this setting will vary based on what device and version of the app you are using). You can scan the tag, and it will write a UUID URL to the tag. Moving forward, when the phone scans the tag, the companion app catches the OS intent broadcast and fires a tag-scanned event to the Home Assistant server containing the tag ID and the scanning device's device ID. You can then set up any automations that you like based on this trigger. If you don't want to implement your NFC tags into Home Assistant, there is native Android and iOS automation too. On Android, you can make use of Tasker. It allows local execution directly on your phone without sending data to any external servers, as long as the automation allows. This can be great if you want to automate settings like toggling Wi-Fi, starting local apps, or changing your device volume/DND states. And for native iOS automation, you can use Apple Shortcuts. When you scan the NFC tag, you can give it a name within the Apple Shortcuts app and then create a personal automation triggered by the physical tag, which executes local iOS actions or triggers webhooks. When setting up your automations natively on your phone, note that they will trigger only on the specific device they're set up to work with unless you've programmed them otherwise. The use cases are endless They can be used inside and outside of the home I found a lot of everyday use cases for NFC tags. The primary reason I purchased it was to set up an automation in my car for my phone. I placed the NFC tag on my smartphone dashboard mount and then tapping it immediately enabled Bluetooth on my phone, set my phone media volume, launched Google Maps, and resumed playback on my YouTube Music app. Since this is all local to my iPhone, I programmed this within the Apple Shortcuts app without the need to connect to Home Assistant at all. Another great use case is the bedside nighttime state trigger. By placing an NFC tag on the underside of your nightstand, a single tap at bedtime sets your phone volume to zero, enables Do Not Disturb, and can trigger a Home Assistant automation to turn off all of the interior lights and set your thermostat to your nighttime temperature profile. It can replace three separate voice commands or any manual app navigation with a single tap of your phone. You can actually set up an NFC tag for Wi-Fi guest access too, which can be written straight to the tag without the need for any external automation applications. Start off with an NFC writer app. Enter your network details and then save the information to the tag itself. When some Android phones scan the tag, they will connect straight to your network — some of them may prompt you with a confirmation notification. Unfortunately, this doesn't work for iPhones, as Apple devices can't natively read a raw Wi-Fi payload. Your device needs to be unlocked There are some technical limitations attached to NFC tags. They're not completely perfect. For example, for security reasons, a lot of devices won't read NFC intents while the phone screen is off. The screen must be at least illuminated and, for some devices, even unlocked (depending on your OS settings and intent payload type) for the NFC controller to actually energize. Be sure to double-check compatibility with your specific mobile phone. If you're implementing these automations into Home Assistant, because a tag scan sends the scanning phone's device ID alongside the tag ID, automation scripts must handle user-specific logic. This is great because it means that you can assign multiple different automations to the same tag based on who scans it. It's also something you have to ensure that you factor into the automation process while writing. The placement can be fundamental too, as NFC range operates strictly within 1 to 4cm. Unlike Bluetooth Low Energy beacons or ultra-wideband, alignment of your phone's internal NFC antenna coil over the tag is required. You also have to be wary when placing these tags in public-facing areas, as NFC tags are rewritable and therefore can be overwritten by anyone unless they are locked. Flashy smart homes may not be the smartest Sometimes, simplicity is where a smart home really wins While high-end sensors, voice assistants, and fully automated predictive algorithms might make your home feel flashy, sometimes low-tech hardware triggers like passive NFC tags can provide you with reliability without the need for battery maintenance. For under $1 per trigger point and a setup time measured in seconds rather than hours, NFC tags can eliminate app navigation friction and voice assistant errors for routines that require explicit human intent. NFC Tags NFC tags are tear-resistant, splash-proof, and come with massive 504-byte user memory. Perfect for storing a range of different information.
My favorite smart home addition cost me less than $1 and took 60 seconds to set up
Full Article
Original Source
Read the full article at Xda-developers →KhanList aggregates and links to publicly available news content. We do not host full articles from third-party sources. Always verify important information with original sources.