
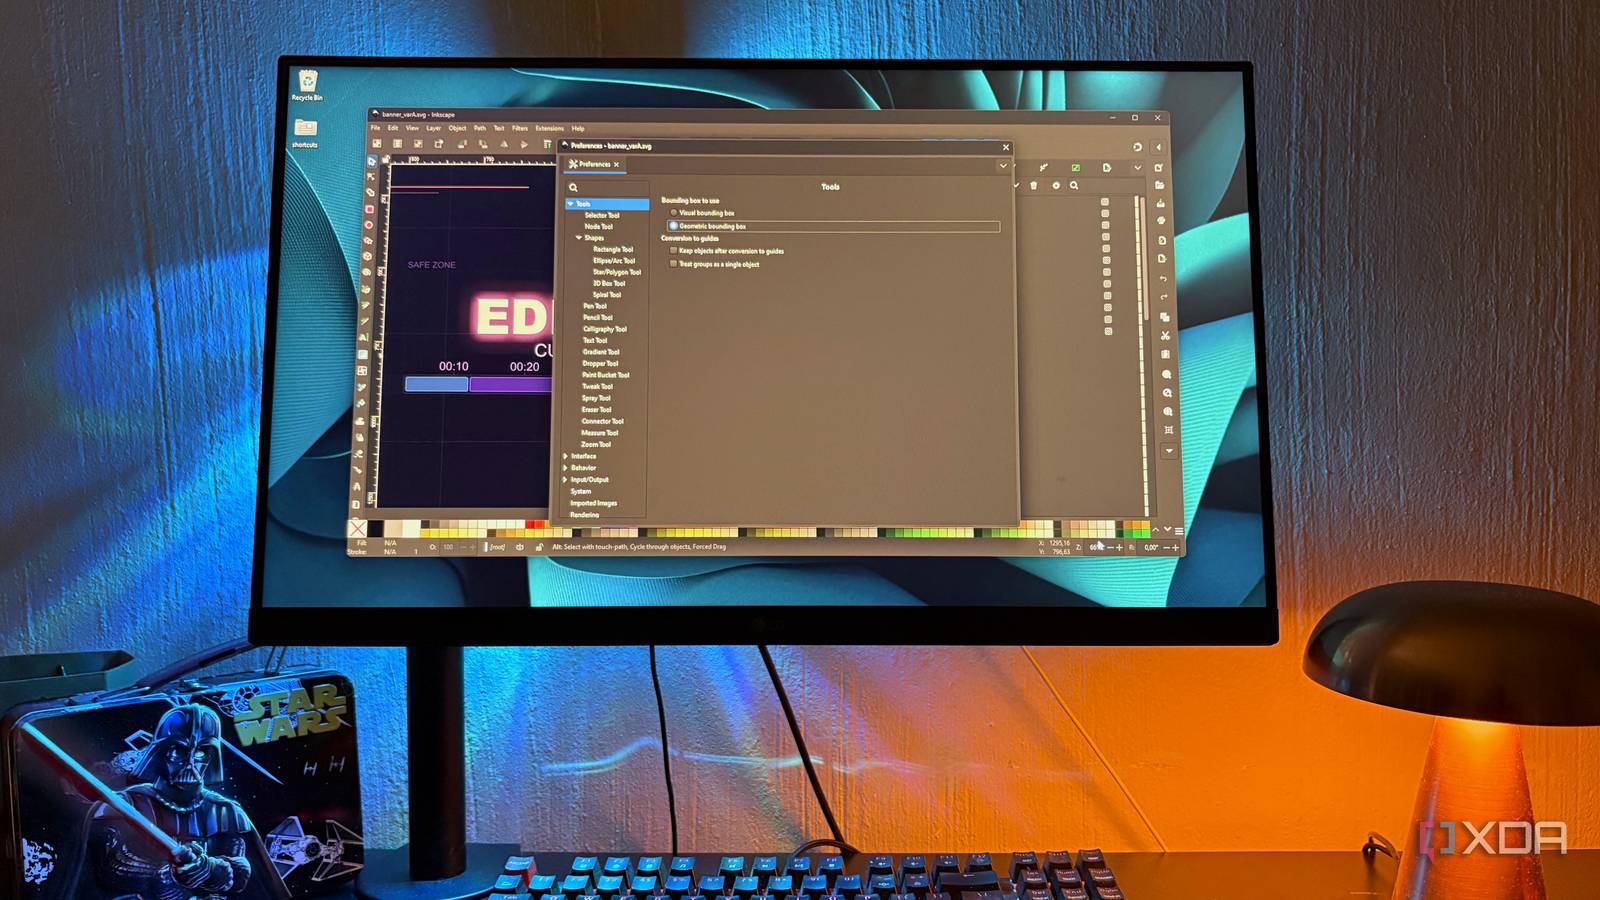
Published Nov 12, 2026, 7:00 PM EST Nolen began their writing career in 2019, with three years dedicated to editing the Creative section at MakeUseOf. Their expertise lies at the crossroads of technology and creativity, covering areas like photography, video editing, and graphic design. Outside of work, you'll often find Nolen diving into a good book, writing their own stories, or playing video games. Even amid all the new design tool drops, Inkscape is still the open-source go-to for vector work. Plenty of Illustrator users who give it a try don't last a full afternoon, though, and that's because Inkscape isn't exactly a mirror of Illustrator, and also because the defaults probably won't get you far. Measurements read slightly off, then a resized shape drags its outline along with it, and the muscle memory shortcuts map to other stuff entirely. But you can easily skate past the friction of using Inkscape out of the box by changing the defaults. Everyone's workflow is going to require different tweaks, but these are the settings I'd pay attention to first when getting started. Swapping Inkscape's keyboard shortcuts for a familiar set Shortcuts are always the best place to start The first thing that will go wrong when switching to Inkscape is the shortcuts; they're not mapped the same as in Illustrator. Inkscape actually ships with a fix for this in Edit > Preferences > Interface > Keyboard. The Keyboard file dropdown at the top has preset shortcut maps that copy other graphics apps, and it includes Illustrator. It's not perfect, though. The Illustrator preset in stable releases dates back to the CS2 days and has only had a small refresh since version 1.1, so some newer shortcuts won't be the same. Someone in the community did put together a newer map based on Illustrator CC 2024, which the Inkscape team asked people to test for 1.5, and you can download that file and load it into the current version yourself. The Modifiers tab next to Shortcuts is worth a look too. Inkscape zooms with Ctrl and the scroll wheel by default, but unticking Ctrl under Canvas Zoom lets the wheel zoom on its own, though from what I could tell you'll want to give scrolling its own modifier afterward. Changing the default template Every new file opened as a sheet of paper I was never going to print Every new Inkscape document opens as a single A4 page measured in millimeters. This is actually fine if you're making a flyer, but nearly everything else made with Inkscape is probably going to live on a screen. In practice, every file started with the same chore in Document Properties before I could draw anything, swapping the units over and typing in my banner size by hand. Working in millimeters also meant stroke widths came out as awkward decimals. The fix is super quick. Set up a blank document how you want it in Document Properties (Ctrl + Shift + D), then go to File > Save Template and tick Set as default template. Do it on an empty canvas, because everything on the page will get saved into the template as well. Mine opens at 2560 x 1440 px now. Switching the bounding box from visual to geometric The numbers in the toolbar didn't match the shape I drew This one actually took me a minute to notice. When I'd draw a rectangle at an exact size and add an outline, the W and H fields in the toolbar would jump to a slightly bigger number even though the shape itself doesn't change. This is called Inkscape's "bounding box", which is the dashed box it uses whenever it measures or aligns an object. By default it's set to Visual, which means it measures the object the way it looks on screen, stroke width included, plus any extra area around objects with a filter applied. The other option is Geometric, which ignores the stroke and measures the path itself down to the center of the outline. That means the size you type in is the size you get, and anything you align lines up by its actual shape instead of whatever's hanging off it. To change it, open Preferences and click the Tools heading itself rather than any of the tools listed under it, then pick Geometric under the Bounding box. It also makes snapping predictable, since two shapes drawn at the same size snap and space out the same way even when one has a much thicker outline than the other. Turning off stroke scaling My line weights changed every time I resized something When you resize something in Inkscape the outline resizes with it. So if you double the with of a box with a 1.5px stroke, you now end up with a 3px stroke. This is actually fine when you're scaling a fully finished illustration, but for UI-style work where every line is meant to match, it can get pretty annoying. Head to Preferences > Behavior > Transforms, and tick off Scale stroke width. Right below it are matching boxes for rounded corners, gradients, patterns, and dashes, which all work the same way. You don't have to dig through Preferences every time, though. The same options sit as four toggle buttons at the far right of the Selector tool's toolbar, so you can flip them per job. Just remember that turning it off applies to everything, including the ones that you do want to stroke to scale. Tightening the nudge distance and rotation snaps Small numbers I'd never thought to check This batch of settings are in Preferences > Behavior > Steps. Every tap of an arrow key moves a selected object by a set distance, and in Inkscape that distance is 2 px by default. In Illustrator it's 1 point, which is about 1.33 px, so each tap in Inkscape moves things a bit farther than you might be used to, so small adjustments might overshoot - which is why I dropped mine to 1px. I'd be cautious about going lower though. Someone reported on Inkscape's tracker that in version 1.4, a value under 1 px stopped plain arrow presses from moving anything at all, and forum users found millimeter values getting rounded to whole pixels. I haven't checked whether 1.4.4 sorted that out, but sticking to whole pixels avoided the problem for me either way. The same page sets rotation snapping. Holding Ctrl while rotating snaps to 15-degree steps by default, whereas Illustrator constrains rotation to 45 degrees. The dropdown only offers preset angles, so pick whichever is closest to what you actually use. Free design software doesn't have to feel clunky It still has rough edges beyond these five settings, and version 1.5 is still in development with no release date. But opening a file doesn't have to feel like a fight every time anymore. If you tweak a bunch of stuff and end up hating it, Preferences > System has a Reset Preferences button to set it back to the defaults, which I've actually had to use a couple of times. Inkscape
Inkscape is good enough to replace Illustrator for everything I make, once I fixed the defaults
Full Article
Original Source
Read the full article at Xda-developers →KhanList aggregates and links to publicly available news content. We do not host full articles from third-party sources. Always verify important information with original sources.