
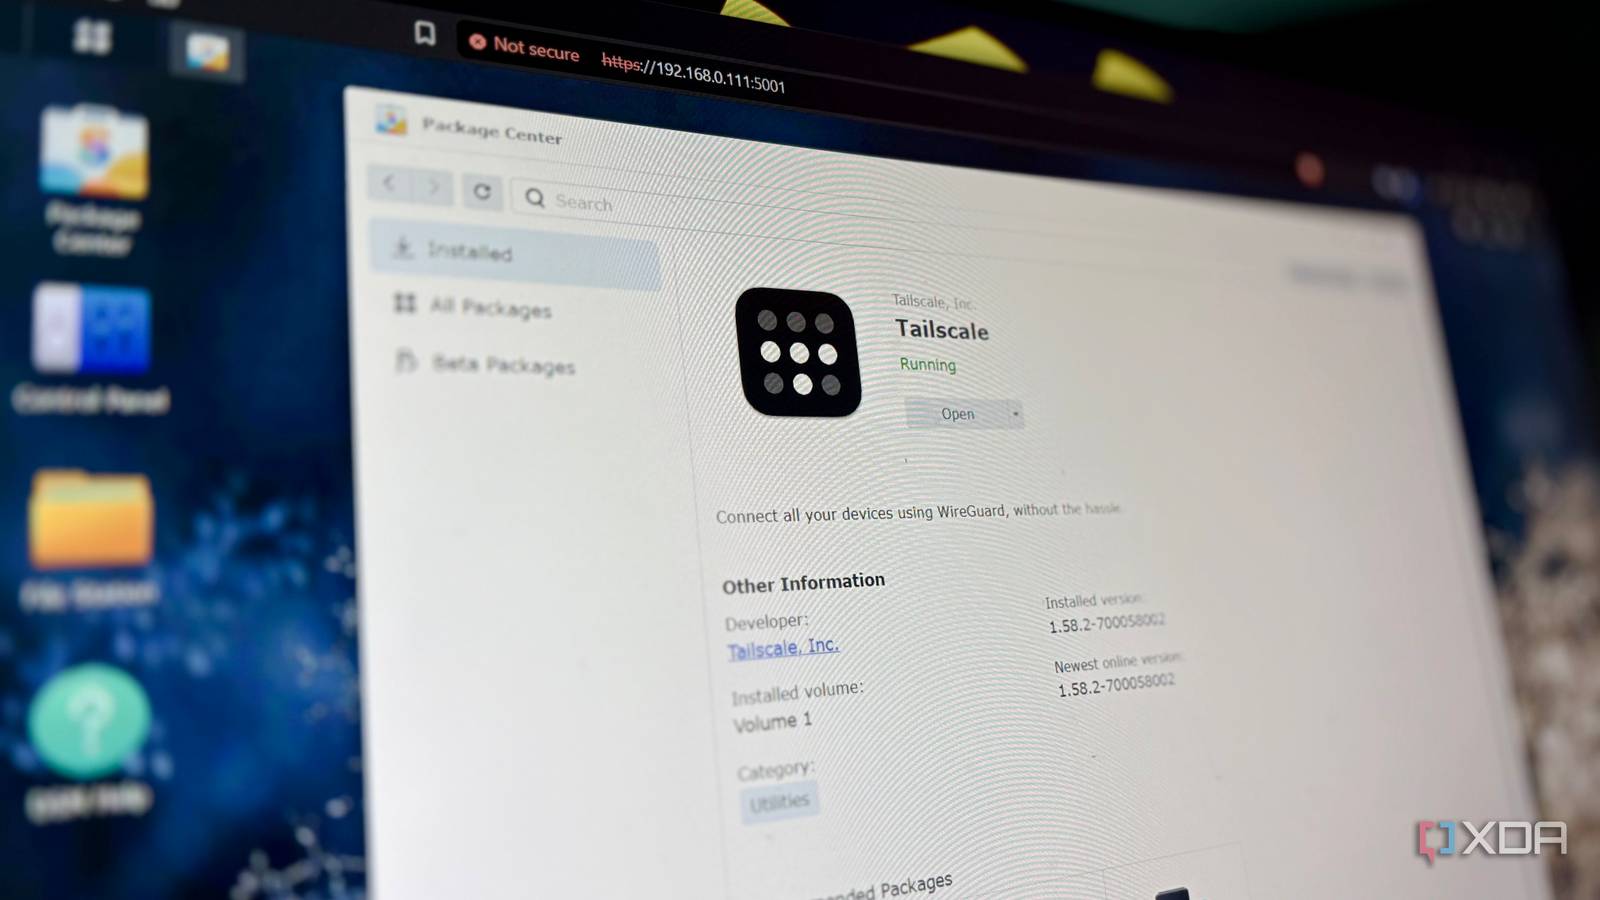
Published Oct 6, 2026, 8:00 AM EDT Shekhar Vaidya is a veteran technology journalist and computer science engineer. He is the founder of TechLatest, where he has spent years providing technical analysis on hardware and Windows ecosystems. Now a Computing Writer at XDA, Shekhar leverages his deep background in NAS, storage solutions, and PC internals to help readers master their tech. The Tailscale subnet router solved a problem I always had while traveling. I have used many private mesh VPNs in the past. Tailscale, NetBird, Tailscale via Headscale, ZeroTier — you name it, I’ve probably used it. But each one of my setups had one specific issue: if a device doesn't have its client installed, I couldn’t access it because I didn’t set up routing in any of them. After my NAS became the subnet router, I could load my gateway’s admin page when I was away and on mobile data. Why my NAS became the subnet router Half my network can't run Tailscale because it never needed to Tailscale does what it says on paper. It creates a private network, adds my devices to it, and then I can access each one of them like they are on a local network. All good, but there is one non-negotiable rule: each device must have a Tailscale client. The devices that don’t have the client don’t get to join the private network. The subnet router feature is exactly for the same purpose. For context, my home network topology is simple: 2 ISPs -> TP-Link ER605 -> TP-Link SG108E -> LAN (server, NAS, PC) + TP-Link Archer C6. The LAN devices have Tailscale clients, and I can access them from anywhere. But since other devices on the same network, like my microcontrollers, smart devices, and the networking gear, don’t have the Tailscale client, there is no way to reach them directly when needed. As soon as my NAS became the subnet router, every device on that subnet, whether it was my ER605, SG108E, C6, or the ISP ONT admin page, became accessible. And why did they suddenly become accessible? Because the NAS as a Tailscale node advertised the whole local IP range on the tailnet. My server could have been a better subnet router because of better hardware, but the NAS proved a better fit in my case. I keep experimenting on the server; a few experiments sometimes take it down too. Whereas in my homelab, the NAS is just dumb storage for my server, so it always stays up and is less risky than the server, plus the official Synology Tailscale package makes my life easier. When I say every device on that subnet, I mean both good and bad things; I will explain them later. But before that, let's discuss how I managed to make my NAS the subnet router. Tailscale Tailscale is a tool that allows you to create specific network connections so you can remotely access resources within a private network. Setting everything up was easier than I thought My NAS wouldn't take changes. Tailscale had to vouch for me Installing the Tailscale client is a minute job; it's not rocket science. But getting my NAS ready to act as a subnet router came with a couple of frictions. The first one was easy but took me quite a while to get there. Clicking on the Tailscale app icon on the DSM app launcher took me to the /webman/3rdparty/Tailscale/index.cgi/ page, and it is a view-only page by default. It shows the Subnet Router section, but there is no way to edit or add new routers. The fix was simple: I just had to connect to Tailscale on my PC and access that page using the Tailscale IP address. By the way, there is a much easier way to do it. I could just SSH into my NAS and run a simple command: tailscale set --advertise-routes=192.168.0.0/24. Once I added the subnet router, I had to approve it manually from the Tailscale console. The good thing about this is that it not only supports the LAN subnet but also my ISP ONT subnet (192.168.1.0/24) because it sits on the WAN side of my gateway. This meant I could access my ER605’s admin page on 192.168.0.1 and also my ISP ONT’s admin page on 192.168.1.1. Once both the routes were added and manually approved, I just had to disable the default 6-month key expiry behavior. After these couple of frictions, setting up the overall feature was quite smooth, but it became more interesting when I started using it on my day-to-day tasks. The cost is performance and some quirks My phone reached everything but Jellyfin thought it was the NAS Starting with the strongest finding. I tried to copy one large media file of around 1.7GB via routing on mobile (Tailscale On) and without routing on Wi-Fi (Tailscale Off) using an SMB share. The first test took 8 minutes and 50 seconds to transfer that file from the NAS to my iPhone, whereas in the second test, it only took 44 seconds. You might be thinking my cellular speed was less than my home Wi-Fi, so it took much more time to download the media file, but it was the opposite. The download speed of my cellular carrier was higher than my Wi-Fi. When tested on the SpeedTest app, I got 489 Mbps down / 22 Mbps up on mobile versus 367 Mbps down / 342 Mbps up on Wi-Fi. That meant the network wasn’t the limit. I initially assumed, since it was routing the traffic and the device was outside my local network, the connection must have been relayed, which explains the slowdown, but on checking the Tailscale status, the status output said otherwise. The iPhone had a direct connection to the NAS. At the same time as the transfer, I was monitoring the CPU load on the NAS as well. The load rose up to 70% during the routed transfer, while it was 20% on Wi-Fi. I am still puzzled why this happened, and I am yet to pin down why the route produced this behavior. After that I tried opening Jellyfin in my iPhone browser on mobile data; it opened as expected, but when I looked at the Jellyfin admin dashboard, it logged my iPhone session under the NAS IP (192.168.0.111). It even logged my PC’s session as the NAS too even though my PC was on the same network as the server. I think it happened because the Tailscale client was connected on both devices. The subnet routing is an excellent feature when used to access other non-Tailscale devices when away; it gives me no way to identify which device is accessing my services. Even though the network is private, it exposes all the devices under the same subnet with network-level access and increases the blast radius. Zooming out from individual costs, yes, there is a performance penalty when transferring large files, but in my case I rarely transfer files to my iPhone or any other device while I am away. I need it most while making some changes to the network-management pages, so for me the setup doesn’t feel useless. A small win I'd still take Subnet routing comes with advantages and disadvantages. You need to figure out whether the trade-offs outweigh the perks. I occasionally need access to devices that can’t run a Tailscale client, and I am mostly at home, so it worked for me. But for someone who transfers large files regularly and worries about the blast radius, they should think twice before advertising the subnet. The first thing I would do to shrink the blast radius is tighten the allow-all tailnet policy and restrict the access.
I turned my NAS into a subnet router, so devices without Tailscale finally became accessible while traveling
Full Article
Original Source
Read the full article at Xda-developers →KhanList aggregates and links to publicly available news content. We do not host full articles from third-party sources. Always verify important information with original sources.