
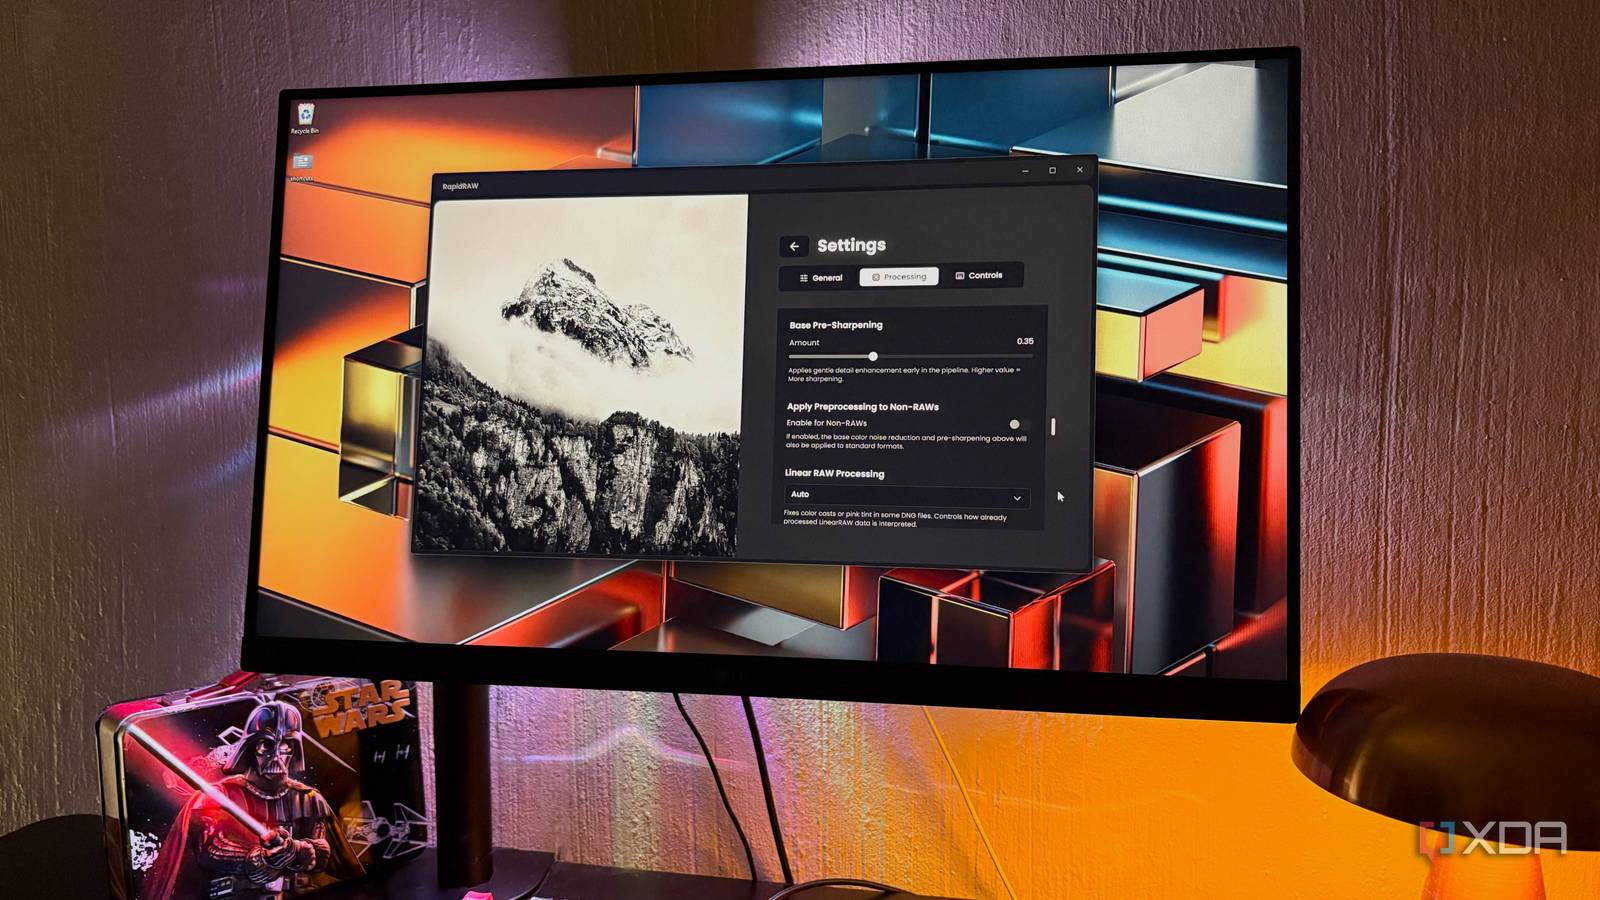
Published Nov 18, 2026, 12:30 PM EST Nolen began their writing career in 2019, with three years dedicated to editing the Creative section at MakeUseOf. Their expertise lies at the crossroads of technology and creativity, covering areas like photography, video editing, and graphic design. Outside of work, you'll often find Nolen diving into a good book, writing their own stories, or playing video games. Lightroom makes editing feel easier than it actually is, which I guess is part of the appeal of paying the pricey subscription. You import a batch, apply a look from the Presets panel, then tweak a slider or two before exporting, and after a few years of rinse and repeat, it's easy to lose track of how much of the result is from a saved preset rather than editing from scratch. Once you no longer have Lightroom, that's when you find out how convenient the workflow was. The usual worry with free, open-source editors is that they can't keep up with the AI tools Adobe keeps adding, but it goes beyond that - many don't support the efficient preset workflow either. So before switching I made a mental list of everything I thought I'd have to give up and started checking free editors against it. The Lightroom features I was sure I'd lose Adobe spent years teaching me not to do things by hand A lot of my list came down to AI, which makes sense because I think that's where much of Lightroom's updates have been focused over the last couple of years. First up was masking. In October 2021, Lightroom added Select Subject and Select Sky, which pick out a person or the sky with one click instead of you painting the selection yourself. I've done a lot of VFX and motion graphics work where masking a subject involved doing it frame by frame, and by hand, so having a quicker option for images was appreciated. Lens Blur is probably a feature I didn't really expect to find in free alternatives. It uses AI to build a depth map from a regular flat photo, which is a grayscale image showing how far away everything is, and then blurs the background based on that. In 3D work you'd render a depth map out of the scene, but Lightroom guesses it from a photo. In May 2024, Adobe added Generative Remove, which uses its Firefly model to fill in whatever you brush out. Open-source editors have been pretty slow to catch up, especially when it comes to sped-up, automated, or AI workflows, because a lot of it depends on trained AI models. Not only does the open-source community seem more reluctant to use AI, but including AI in an open-source tool also makes it more high-maintenance because it increases bloat and bug reports. Darktable, probably the best-known free Lightroom option, only shipped its first AI tools with version 5.6 this year, and those cover object masking and denoising but not lens blur or generative fill. Finding a free editor that would actually have me covered I wasn't trying to replace all of Lightroom, just the parts I'd miss My test for a replacement was whether it could handle most of that list without me reconsidering getting an Adobe subscription again. Darktable probably has the most power out of all the free options, but even its own FAQ says it'd be a mistake to treat it as a direct Lightroom replacement, and I'd argue that the learning curve definitely backs that - it's a bit of a strange tool to get used to. I've also been dabbling with RawTherapee, which is actually very impressive and feature-rich considering its small size. But again, it's a smidge weird and complex, and built for people who want precise control over their RAW shots down to the pixel. I don't shoot in RAW often enough to need all of that. LightCraft is another up-and-coming contender. It's part of the larger ArtCraft suite, which is a collection of apps built by developer Brandon Thomas, primarily using Claude's Opus 5.5. The apps from this suite have been making the rounds because they are pretty much mirrors of their Adobe counterparts because they're clean-room builds. LightCraft is the Lightroom replacement, and it is currently around 61-62% ready for real work according to the team. Even with all these great options, I ended up settling for RapidRAW. It's only a 20-40MB download depending on the platform and release, you open it straight into a folder of your shots, and you can adjust some of the settings before even getting started. It has a very user-friendly interface and most of the basics Lightroom does too, so I just naturally gravitate more towards it. The AI side actually covers a lot of my list. I can click a subject or the sky to mask it, and there's a depth mask and an AI Lens Blur that work from the same depth map idea as Lightroom's, plus AI denoising and object removal. According to RapidRAW's docs all of it runs on your own computer, and each AI model downloads from Hugging Face (a site that hosts AI models) the first time you use a feature that needs it. And the settings show how much space the models take if you want to clear them later. There's also an AI-Free mode that switches it all off. The one exception is generative replace, which needs either RapidRAW's optional cloud service or ComfyUI (I have a bit of a love-hate relationship with ComfyUI, so I didn't tinker with this for now). And I think the most important function of this editor to me is that it has presets, because that was pretty critical to my Lightroom workflow. Rebuilding my looks as presets Turns out my editing style was mostly saved settings A Lightroom preset is just a small .xmp file holding slider values, like exposure, tone curve, and grain settings that someone saved and gave a name. Every editor's sliders behave differently, though, so a preset only truly works in the program that made it. I mean, you can try to bring your Lightroom presets over to RapidRAW, but something is almost certainly going to be missing. So the most sensible option is making new presets. Making one in RapidRAW takes about as long as saving a file. You edit a photo until it looks right, hit the plus button in the Presets panel, and name it. Then you pick a type. A Style preset saves every setting and replaces whatever's already on the photo, which suits a full look, while a Tool preset only saves what you changed and stacks on top of your current edit (a lens correction fix, for example). You can include masks as well, and if a preset has an AI mask in it, RapidRAW generates that mask again on each new photo, so a sky mask finds the sky in every shot. Then when you apply that preset to a new image that you bring in, there's an intensity slider, which is like a master control for all the properties in the preset, same as Lightroom's Amount slider. But you don't have to build everything from scratch. The Community Presets panel has looks other people have shared, and you can export your own collection as a single .rrpreset file to back it up or pass it on. There's a universal importer for presets from other editors, though the conversions aren't exact matches. It also reads LUTs, which are color files a lot of editing apps can open, if you have looks saved that way. A look is just a list of numbers The hardest part of leaving Lightroom was realizing how many of my edits I hadn't actually made from scratch every time. It involved AI and presets, which, as it turns out, is not that hard to replace with free and open-source tools anymore. RapidRAW still has some rough edges, but I think it does what I needed from Lightroom. RapidRAW
I replaced Lightroom with a free open-source editor, and the edits I couldn't recreate turned out to be presets
Full Article
Original Source
Read the full article at Xda-developers →KhanList aggregates and links to publicly available news content. We do not host full articles from third-party sources. Always verify important information with original sources.