
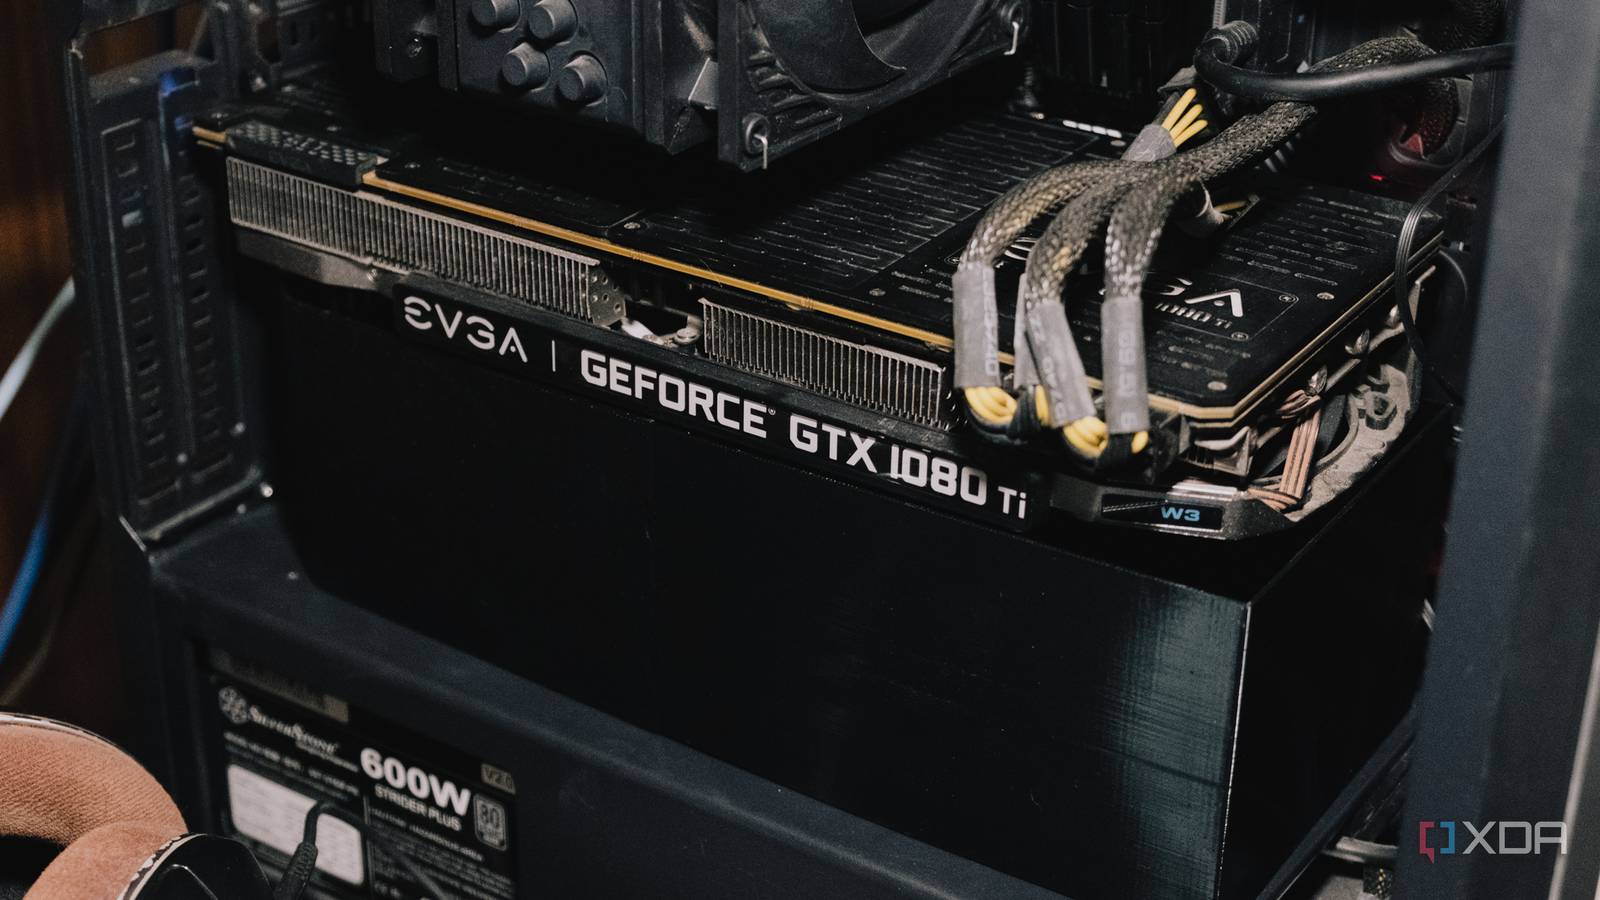
Published Sep 14, 2026, 3:31 PM EDT Jhet has gamified his life as a skill collector. He has skills ranging from woodworking and leatherwork all the way to CAD and electronics. He loves optimizing and customizing his experience with his stuff; fixing, modifying, and optimizing them to fit his needs. He has previously written for MakeUseOf.com and showcases his projects on his TikTok and YouTube channels. He is also an avid PC gamer with over 4000 hours in various FPS games and aim trainers. Modern PC cases are just boxes with a bunch of fans inside them. While there are best practices to achieve optimal airflow, like keeping a slight positive pressure, the fluid dynamics are an absolute mess inside; hot air goes everywhere and gets recirculated multiple times before it escapes the case. I’m going to try to direct some of that airflow so that the GPU doesn’t suck up the hot air it’s trying to expel. Designing and printing the PC case duct Taking inspiration from car airboxes Since it’s difficult to mount anything to a GPU and I don’t have any screwholes to work off of, I thought about making an airbox that can maximize the amount of air volume the GPU has in front of the fans. I calculated a 117mm x 300mm x 85mm volume of space, and just like a car’s airbox, it’ll be a reservoir of air before it goes into the engine (the GPU, in this case). I designed this so that it uses up as little material as possible, while also not requiring any mounting hardware as well. It doesn’t even have a floor; it’s just a U-shape that wraps around the GPU fans. It only took 118g of PETG and almost four hours of printing. Since the Bambu Lab A1 only has a print volume of 21 square centimeters, I had to chop it up into three pieces in the slicer. These pieces were attached using some U-nails from a staple gun; I simply used a soldering iron to press them into place. I would’ve used some wire mesh, but it would end up floppy and fold around at the joints. I planned to let it intake air from the case’s GPU slots and isolate it from any hot air exiting the fins and circulating the case. I would’ve liked to feed it directly from the front fans, but the position of those fans doesn’t line up with the space under the GPU. So instead of making an awkwardly shaped choke point, I just gave the GPU its own intake hole from the back. At this point, I wasn’t sure if separating the GPU’s intake was a good idea, but the only way to find out is through benchmarking. Benchmarking with FurMark in different configurations It was a failure until I turned the duct around Before benchmarking, I first had to run a control test. I set my GPU to its default settings for everything since I usually use an aggressive fan curve and an undervolt. I achieved 82℃ after 30 minutes of FurMark. My aggressive fan settings and undervolt give me about 72℃ under full load, with the trade-off of screaming fans. I'm mainly going to focus on GPU temperatures, but I showed the EVGA iCX as well because VRAM temperatures are just as important. The second test I did was with no side panel, and that stabilized at 79℃. I’d consider that the best-case scenario, and if I could at least match that with my duct, I would be happy. So then I installed the airbox-looking duct and waited. I didn’t have to wait long, unfortunately, because in less than four minutes of waiting, I had already thermal throttled. That was extremely disappointing. I was thinking about scrapping the whole part and just printing a whole new one, which I barely have enough time for. So I sat for a few minutes and thought about how I could turn this around, and so I literally turned the airbox around. I let the open side face the front fans, so air is being pushed into the box. And after 30 more minutes of benchmarking, I managed to do it; temperatures stagnated at 79℃, matching the open case test. I don’t think this is the best result I could’ve had, but I did match it with the open-case temperatures, so I could probably beat those temperatures with a better design. How I think this duct could be better A proper intake needs a proper exhaust My mistake in my initial design wasn’t really the intake separation; it was the choke point. I didn’t want to remove the GPU slot grills because I wouldn’t be able to cover them up again once they were off. Since the choked-up grills would be where three fans were fighting for air, I doubt the farthest fan could get enough air to properly cool the GPU. The reversed orientation got better temperatures because there was fresh air being pushed into the duct. And honestly, I think the GPUs pulling their own air would still be better than pushing fresh air into them. If I were really committed to the ducts, I would cut two holes in my acrylic side panel to act as intake and exhaust like in the image above. With that design, the opening is wide enough for each fan to suck in as much air as it needs. The exhaust could’ve just been a straight pipe tube out of the side panel, but that would mean I would be suffering from the hot exhaust fumes, so angling it upwards would blow it away from me. This would completely isolate the GPU’s air from the rest of the case, which would probably have a slight effect on my CPU temperatures since it’s not sucking up any hot GPU air anymore. I wouldn't suggest isolating your intake fans to only feed your GPU and CPU, though, as other components in your PC also need cooling, like your SSD, VRMs, motherboard chipset, and more. The only problem with this would be printing it; I would have to split it in half once again, use up 332g of PETG, and take almost 13 hours to print. I don’t think I’m ready to cut my acrylic side panel and spend that much time and use up that much material for potentially only a 10℃ drop. It could be more; it could be less, but I can achieve that with my undervolt and higher fan speeds, among other ways to lower your whole PC's temperatures with less time and effort. It’s only worth it if your case makes it easy to design a duct around While I do think that modern PC cases could improve on fluid dynamics, there are just too many variables that the solution is always likely to be a custom one. If you have a good case that aligns the intake fans to your GPU better than mine, it might be a prime candidate for a simple duct. However, try exploring other options, like slightly increasing your fan speeds to take advantage of the RPM headroom most GPUs leave on the table to prevent noise.
I printed custom fan ducts for my PC case and dropped my GPU temps by a few degrees
Full Article
Original Source
Read the full article at Xda-developers →KhanList aggregates and links to publicly available news content. We do not host full articles from third-party sources. Always verify important information with original sources.