
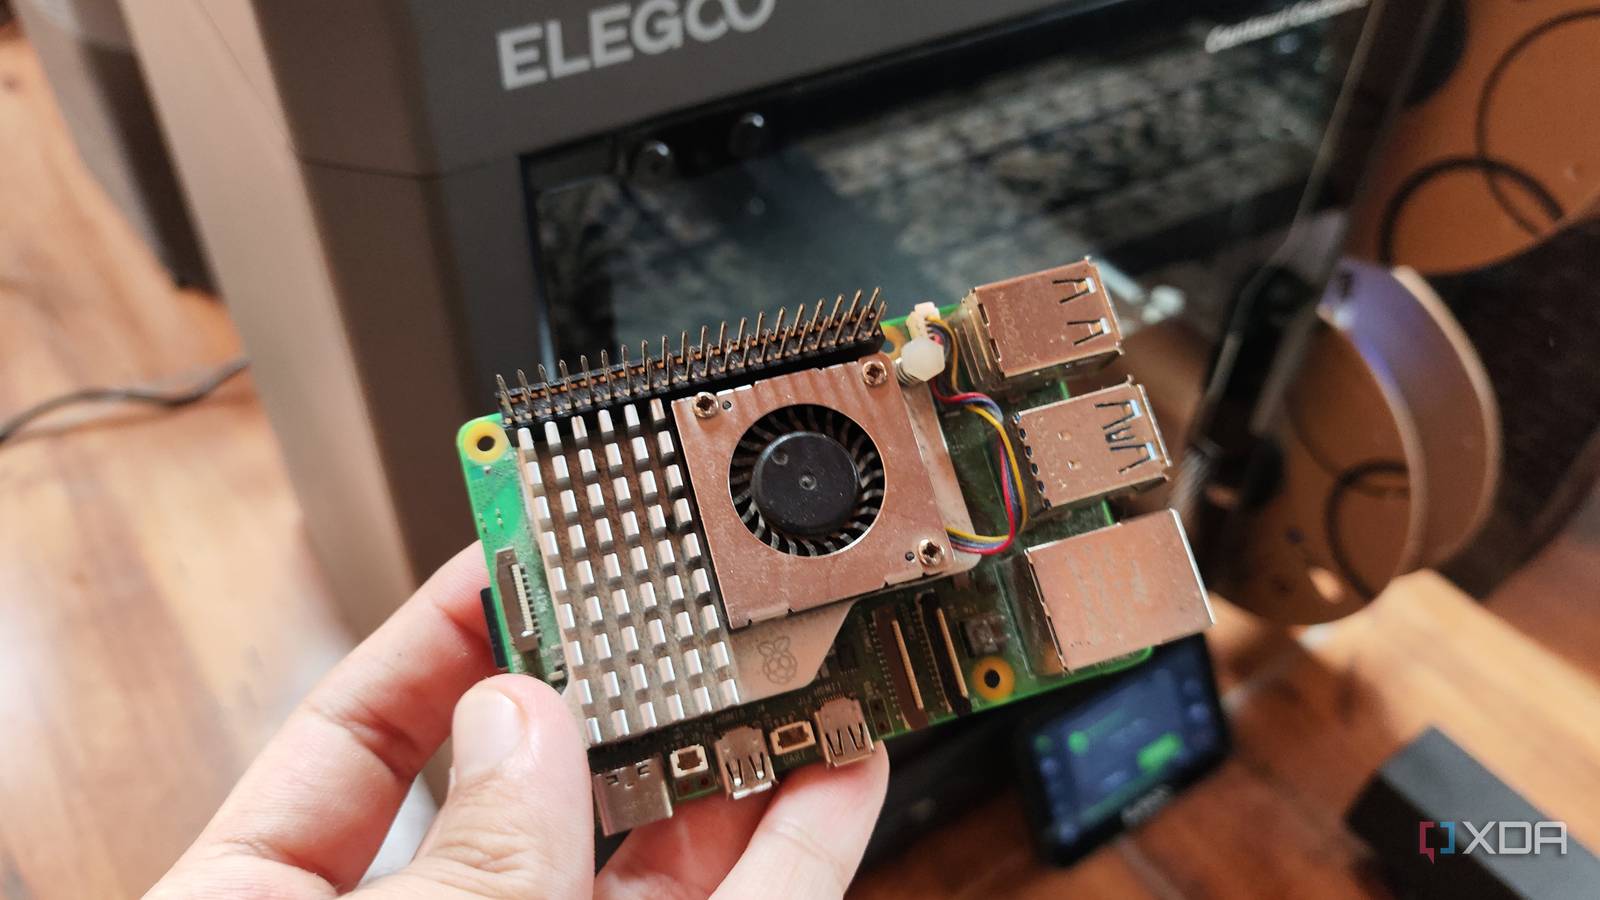
Published Sep 14, 2026, 11:00 AM EDT Ayush Pande is a PC hardware and gaming writer. When he's not working on a new article, you can find him with his head stuck inside a PC or tinkering with a server operating system. Besides computing, his interests include spending hours in long RPGs, yelling at his friends in co-op games, and practicing guitar. I’ve printed my fair share of functional models ever since I went down the 3D printing rabbit hole. Most of them were centered around PC components and my home lab paraphernalia, and these range from simple USB device hubs and tool caddies to cable grommets and support brackets for my graphics cards. But I’ve also printed a handful of cases for my single-board computers and microcontrollers, and my latest model was actually something I didn’t know I could create for my Raspberry Pi. You see, I’ve wanted to pair two cameras with my Raspberry Pi 5, so I could hook them to a Frigate server running on the SBC for an all-in-one surveillance suite. Unfortunately, I broke one of the latches a few years ago, and I had no chance of receiving a replacement for it in my backwater town. Fortunately, one quick look at the models repo on Printables revealed that it was something I could create with my 3D printer. And now that I’ve finally installed it, I must admit that my DIY replacement almost feels like the real thing. Raspberry Pi boards typically have fragile latches on the DSI/CSI ports And the situation is even worse with the Raspberry Pi 5’s MIPI sockets Between their ever-increasing prices and lackluster hardware, I’ve had a couple of gripes with the Raspberry Pi boards that I’m pretty vocal about. However, one of my biggest nitpicks with these SBCs is the latch on the CSI/DSI/MIPI sockets. If you haven’t heard of them, they’re specialized interfaces designed for high-speed I/O devices. Specifically, the DSI connector is responsible for carrying pixel data from the Raspberry Pi to a display module capable of utilizing it, while the CSI socket transports footage from a camera to the SBC. The thing is, both CSI and DSI ports have latches that secure the ribbon connectors in place when I fix them into the Raspberry Pi. Unfortunately, these latches need to be handled extremely carefully, or they can snap off. Or worse, they’d end up breaking, and you’d have to look into workarounds like using thin tape or thin plastic to prevent the ribbon cable from coming off and causing disconnections. On the Raspberry Pi 5, the larger CSI and DSI interfaces were replaced by two interchangeable MIPI sockets, which are a lot smaller than their predecessors. Consequently, the latches themselves are even more fragile – and this problem is further exacerbated by the fact that it can be difficult to evenly pull out the latch when you’re adding a ribbon cable to it. In fact, I ended up snapping off one of these sockets within a few months of buying my Raspberry Pi 5, but since there was no reason to add more than one camera/display module to the SBC at a time, I ignored this problem and went about my merry way with USB-powered accessories. But now that I needed two functional MIPI interfaces at once, it was time to look into fixes. Luckily, I managed to 3D print a latch that worked perfectly with my Raspberry Pi 5 Since it was a functional print, I went with PETG instead of PLA With the MIPI latch being nothing more than a piece of plastic slotted between the wedges, I figured I could try 3D printing it. While the DSI/CSI latch STL files for the older RPi boards were easy to find, I had to search a little more for their MIPI counterpart. However, I encountered this model on Printables, and after importing it into my slicer, I began changing a handful of settings for the print. Even with a dedicated cooler, the Raspberry Pi is bound to heat up during normal operation, which would cause the latch to get warped if I went with good ol’ PLA. First, I tweaked the linear and angular deflections for this tiny file to ensure the model details get preserved. Then, I imported the PETG profile for my printer, added some tree supports on either side, and gave the printer the A-OK to start the print. Within two minutes, my 3D printer had worked its magic, and even though I hadn’t fine-tuned all the Slicer settings or switched out of the 0.4mm nozzle, the final print came out pretty well. That said, there was a little bit of stringing on the insides of the model, which I’m willing to overlook since it’s a PETG print. Plus, the imperfections were gone as soon as I gave it the heat gun treatment. And sure enough, the latch slots perfectly into my Raspberry Pi 5. Just to satisfy my paranoid self, I quickly added a ribbon cable for my camera module, and my tiny tinkering companion had no trouble detecting it once I’d installed the right packages. But it’s not the only way I can use my 3D printer for my Raspberry Pi projects While the DIY latch solved an annoying issue for future MIPI experiments, I’ve got a couple of other 3D prints that help out my Raspberry Pi tinkering needs. Custom enclosures are the most common option, and since my PiTower case doesn’t have enough provisions for two CSI cameras, I might just end up creating a sleek one that can accommodate these modules alongside the official Raspberry Pi AI Kit in a small form-factor. I’m also planning to build a tiny handheld emulator that can run up to PS1 (and in some cases, even PS2) titles soon, so I’ll probably create a custom 3D printed case for it. Finally, I’ve also got a dedicated PETG tray for all the microSD cards I’ve bought over the years. Elegoo Centauri Carbon 2 Combo $399 $449 Save $50
I 3D printed a replacement for the Raspberry Pi 5's fragile MIPI latch, and it cost me nothing
Full Article
Original Source
Read the full article at Xda-developers →KhanList aggregates and links to publicly available news content. We do not host full articles from third-party sources. Always verify important information with original sources.