
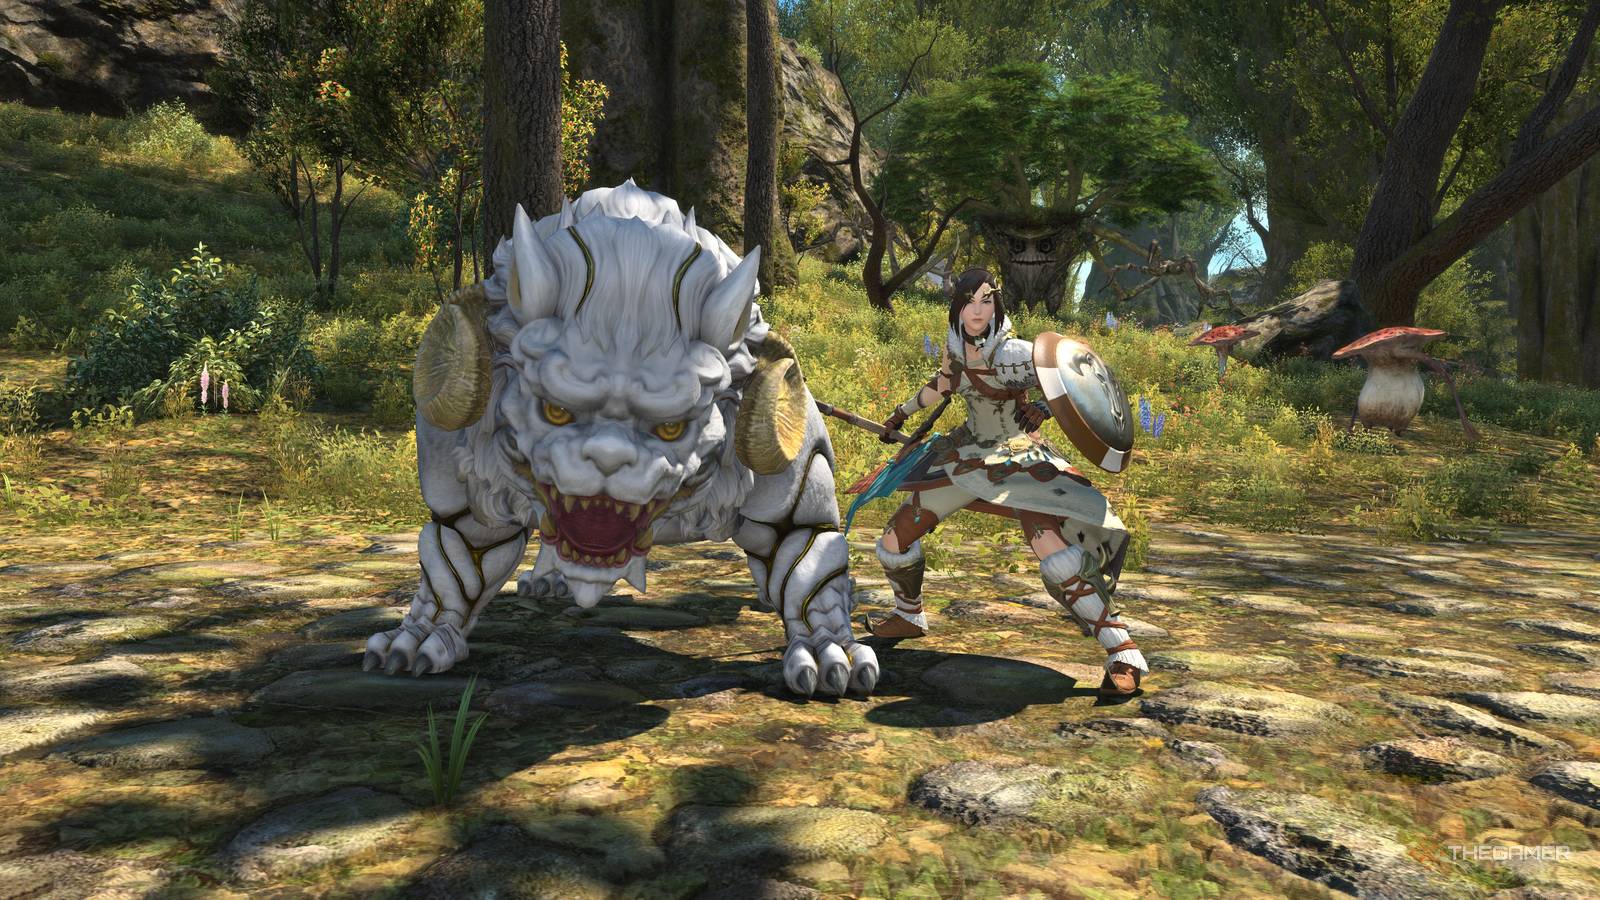
Published Sep 8, 2026, 6:01 AM EDT Meg is an Executive Editor and Technical Lead for TheGamer, and has been working within the gaming industry since 2014. She was shortlisted as a finalist for the GameHers Journalist of the Year award in 2022 and was a juror for the BAFTA Games Awards 2026. Some of the games and genres that Meg is an expert in include RPGs, point-and-clicks, puzzle games, and life sims. She has a particular fondness for Yakuza/Like a Dragon and Final Fantasy, especially Final Fantasy 14 (for which she used to run a weekly community column). Final Fantasy 14 Warriors of Light have been eagerly awaiting the implementation of the limited job Beastmaster for quite some time, and now we can finally get out and tame 'em all. If you want to know how and where to unlock Beastmaster, we've got a quick guide right here to ensure you can start levelling your new favourite role straight away and befriending as many beasts as you want. How To Unlock The Beastmaster Limited Job Speak with the Excited Adventurer in New Gridania at (X:11.8, Y:13.6) to begin the 'Strangers in the Wood' side quest. You must be Level 50 or above as a Disciple of War or Magic to undertake this quest, and have previously completed the main scenario quest 'The Ultimate Weapon'. After accepting the quest, travel to Sorrel Haven in the Central Shroud and interact with the Destination point at (X:15.1, Y:18.9). After the cutscene, speak with the Mysterious Miqo'te at (X:15.4, Y:1.0). Next, interact with Cu Sith just beside you at (X:15.4, Y:1.0) and feed it the meat, then /pet it. Finally, after the cutscene, speak with J'yhuh Tia to complete the quest. Completing the quest earns you: Soul of the Beastmaster Beast Herder's Hand Axe Beast Herder's Hoplon Beast Herder's Coffer (Level 1) Cu Sith Gourd Equip your new gear and use the Cu Sith Gourd from within your inventory, and then you will be ready to take on the next quest from J'yhuh Tia, 'The Wilds Call', and begin your adventure as a Beastmaster. You'll need to open the Master's Bestiary from within the Character Menu and assign the Cu Sith to the First Battle Horn to be able to summon it. How To Tame Beasts To tame a beast, use Gauge on it first. This will tell you whether the beast can be befriended and what your chances are of successfully capturing it. If it can be tamed, lower its HP and then use Capture, as weakening a beast will increase your chances of success. You'll need to defeat the beast while the Capture effect is active, but even then, forming a pact isn't guaranteed, so you might have to try a few times. Once you've successfully befriended a beast, it will be added to your Master's Bestiary, which you can access from the Character menu. You can also use Kornago Gourds to form pacts with certain beasts without having to fight them. Beastmaster Restrictions Similar to the previous limited job, Blue Mage, Beastmaster has limitations, such as it cannot be used to progress and cannot queue for random matching in Duty Finder, amongst other restrictions. Beastmaster cannot use role actions, and while you can enter duties with other players as part of a preformed or unrestricted party, the following content is unavailable: Duty Roulettes The Forbidden Land, Eureka The Bozjan Southern Front The Occult Crescent Variant and Criterion Dungeons Ultimate Raids Stone, Sky, Sea Squadron Missions Deep Dungeons PvP, including duels Hall of the Novice There are a couple of other restrictions to be aware of too: Beastmasters can only accept Beastmaster job quests and quests available to all classes and jobs, and you cannot assign the Beastmaster job to your retainers. Beastmaster gets increased experience from completing FATEs compared to other jobs. However, unlike Blue Mage, you won't earn bonus experience from defeating regular enemies in the open world.
How To Unlock Beastmaster In FFXIV
Full Article
Original Source
Read the full article at Thegamer →KhanList aggregates and links to publicly available news content. We do not host full articles from third-party sources. Always verify important information with original sources.