
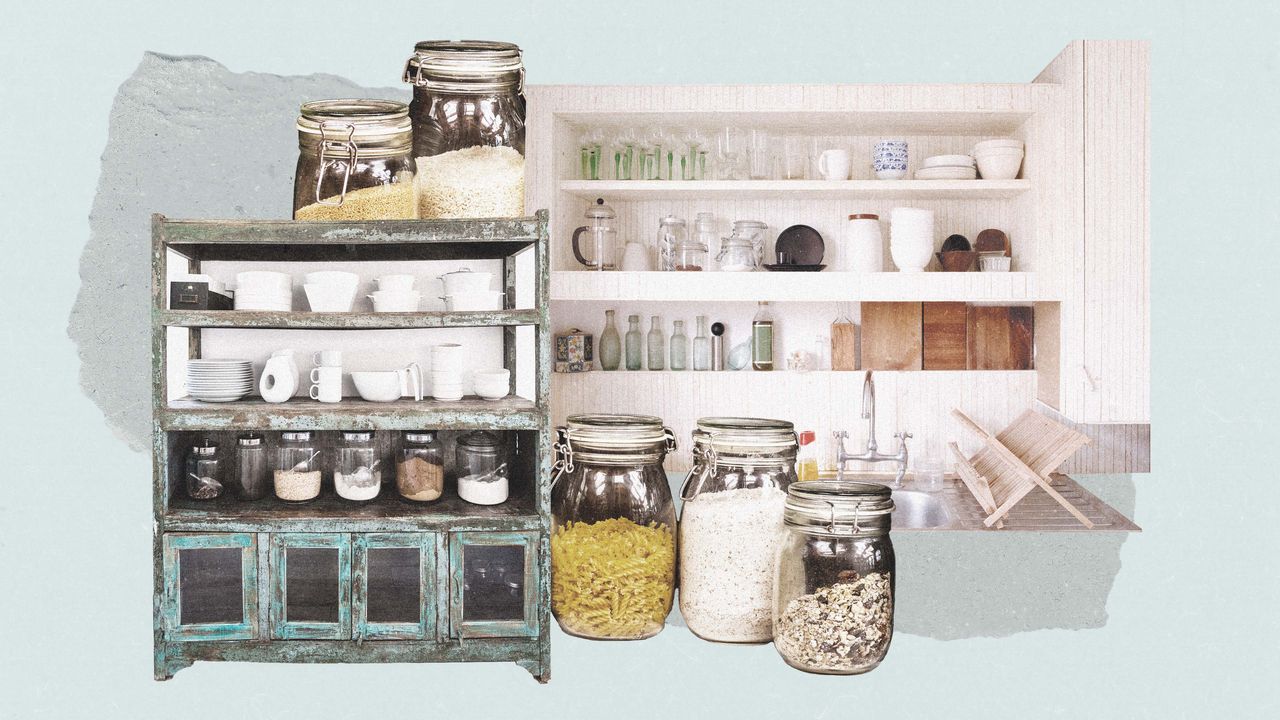
A pantry is among the most hardworking areas of the home, but without proper skills, it can also turn into the most cluttered. Learning how to organize a kitchen pantry like a pro requires a pro, so we tapped expert organizers to share their best pantry organization tips. Ahead, you’ll find a step-by-step guide to organizing your pantry—and keeping it that way. The process includes decluttering expired items, grouping pantry staples by category, deciding what to place on upper and lower shelves, and utilizing food storage containers and labeled bins. Whether you have a spacious walk-in pantry or you’re working with limited shelf space, use these pantry organization ideas to maximize vertical space, function, and style.Step 1: Remove everythingStart by removing everything from your pantry. “As you are taking the items out, take note of expiration dates and toss anything that is past its best by date, that is stale, or is no longer edible,” says Megan Barnhart, a professional organizer and founder of Barnhart Home. Since the pantry is rarely empty, take the opportunity to deep-clean it—wipe pull-out shelves, wash pantry storage vessels, and sweep the floor. You can also use this time to place liners or contact paper on the shelves. “Liners prevent damage to the wood and paint and make future clean-ups so much easier,” says Catherine Benson, a cleaning and organization aficionado based in Lexington, Kentucky.Removing everything from the pantry will help you survey what you have in order to organize it better. Lera AugustDrymate 12"x59" 2pk Shelf/Drawer LinerStep 2: Group items by categoryBefore you return everything into the pantry, group items by category. There are several ways to do this, and experts recommend choosing the method that best suits you. One idea is to group like items together. “Think of your pantry as your own personal grocery store—canned goods together, pastas together, baking ingredients together,” Barnhart shares.Another option is to categorize items by how you shop and plan meals. “If you shop with specific meals in mind and like to meal plan, group those ingredients together; for example, create a dinner zone that includes individual categories or bins such as pasta, grains, and soup,” says Lisa Eckerle, a professional organizer and owner of The Designer Organizer. If you shop by stocking up on pantry goods, categories like canned goods, baking supplies, and condiments may make more sense. “We normally use a hybrid approach for most of our clients, creating zones based on activity and categories within the zones based on food type,” Eckerle shares.Step 3: Measure pantry shelves and purchase kitchen storage vesselsOnce you’ve organized your categories, you might want containers to hold them. But before purchasing any storage vessels, measure pantry shelves, noting their width, depth, and height. Barnhart and Eckerle recommend incorporating the following storage solutions to maximize space and add style.RisersRisers are one of Barnhart’s favorite ways to store canned goods. “It makes it much easier to see the canned items in the back as well as what is in the front, and I feel it also helps avoid over-buying or repurchasing because you can see what you actually have,” she says.TurntablesTurntables are a must-have for pro organizers. “With all L-shaped pantries, we always start by placing turntables in most of the corners; these help maximize that space, avoid food getting lost or spoiled in the back, and create a cohesive visual,” Eckerle says. She notes they also work well on pantry shelves above eye level.Consider containers and other tools to help store items in your pantry more effectively. onurdongelTurntables are great for oils and vinegars, sauces, condiments, broths, and spices. “If you have items you use daily, like nut butters, honey, and spreads that do not require refrigeration, consider putting those items on their own lazy Susan as well; it makes it easy to grab what you need and also makes it easy to clean up small spills and drips because they are contained to the lazy Susan,” Barnhart says.Visually appealing storage containersBarnhart suggests using beautiful baskets or clear containers to group together things like snacks and dry goods. “This contains the items so they are not spilling out onto the shelves or floor and it is also much more aesthetically appealing as well,” Barnhart says.One of Eckerle’s favorite recent hacks are wire cooling racks on the interior bottom of wooden storage bins. “By adding a plastic shelf liner under the cooling rack for easy cleaning, we created a unique fruit bin that was able to match the rest of the pantry’s decor and still store the fruit correctly with proper airflow,” she shares.Juvale Set of 4 Cork Ball Lid Glass JarsPlastic Lazy Susan Turn Table 11"Step 4: Determine category placementNow it’s time to add everything back into the pantry. “The most-reached-for categories should be near the door or center, with back stock and lesser-used category items placed in the back or the sides,” Eckerle says. She suggests putting meal-related items in the most accessible location, especially breakfast items, so they’re easy to grab when you’re in a rush.Avoid storing seldom-used or heavy, small appliances on the top shelf or floor. “To prevent injury, damage, and frustration, those items should be stored between knee and shoulder height,” Eckerle says. Additionally, consider at what height you want each category. For example, “whether you want items out of reach of young children or dogs, or accessible and at eye level for children,” Eckerle says.Keep things you grab often towards the front, while less-used items can go in the back. Crispin la valienteStep 5: Create customized labels“I am a big fan of labeling in the pantry—it helps systems stay in place when everyone knows what goes where and where to put it back,” Barnhart says. A label maker works great for this, but even stickers and sharpies will do.DYMO Embossing Label MakerAvery Multi-Use LabelsStep 6: Schedule pantry resetsOnce you know how to organize a kitchen pantry, it’s important to maintain it. Eckerle recommends lightly resetting the pantry after every grocery haul. Additionally, she advises scheduling a day each quarter for a thorough pantry reset. “Re-check expiration dates, dispose of open food, and throw away or donate the items/categories that are no longer on your menu,” she says. You can also use this time to consider any seasonal menu changes that may impact how you organize your pantry. “Depending on the season, you may purchase different ingredients or cook different types of meals,” says Shweta Thota, a lifestyle content creator and Intel hardware engineer based in Sacramento. “This may require rearranging your pantry to accommodate seasonal items.” For example, in the winter, you may want to have a setup that works for more canned goods.
How to Organize a Kitchen Pantry in 6 Easy Steps, According to Experts
Full Article
Original Source
Read the full article at Architecturaldigest →KhanList aggregates and links to publicly available news content. We do not host full articles from third-party sources. Always verify important information with original sources.