
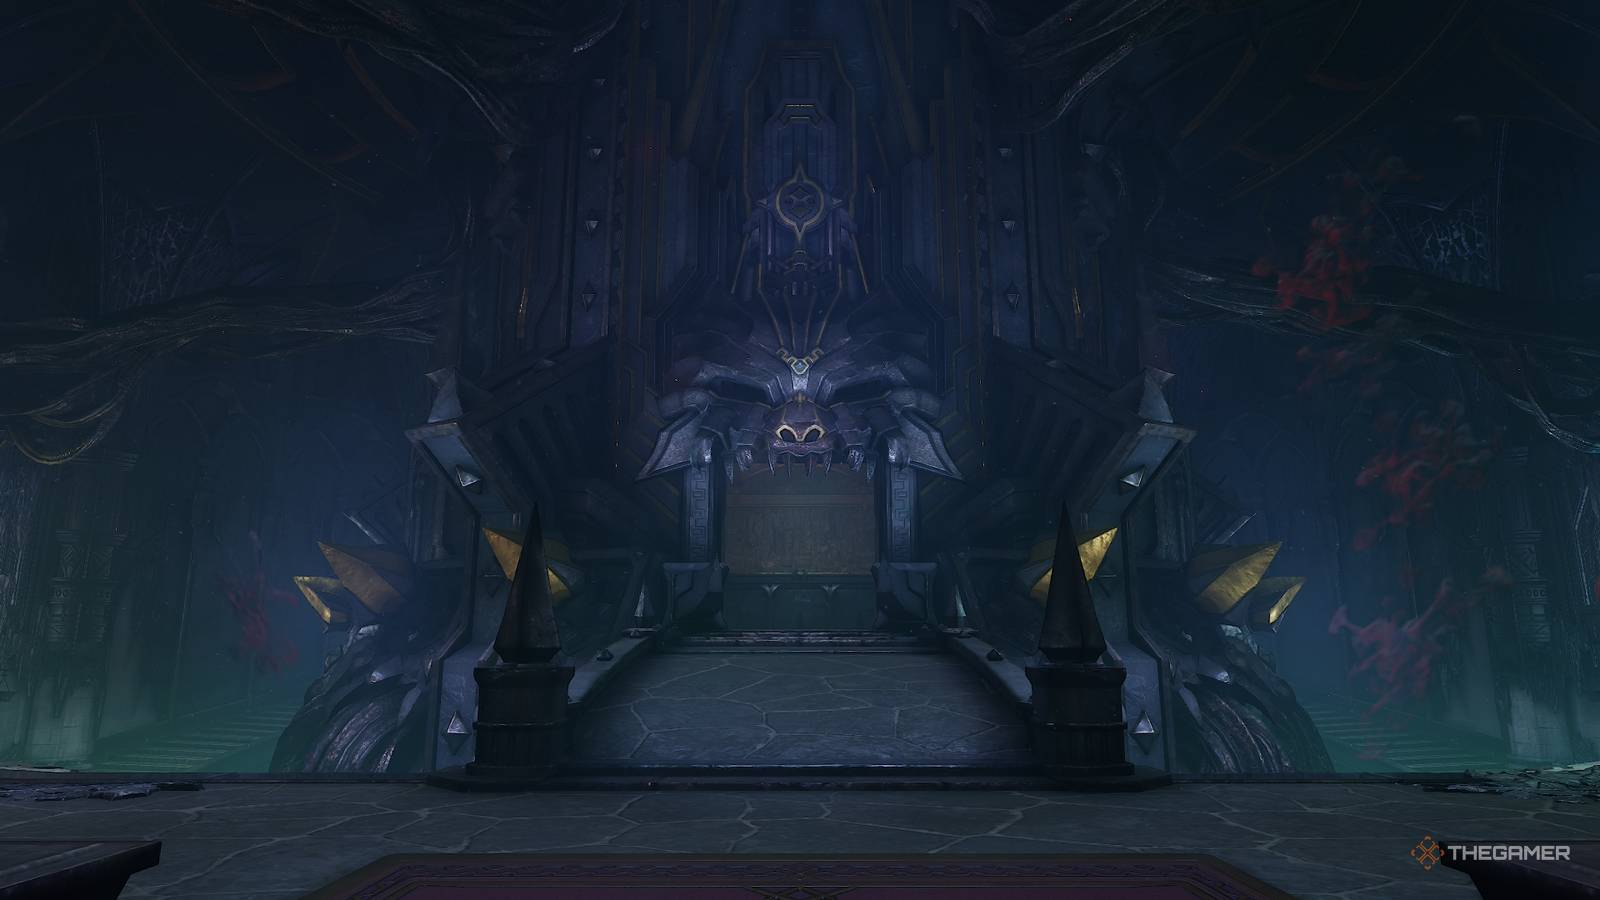
There are a lot of dangerous locations you'll visit throughout your journey in The Legend of Zelda: Ocarina of Time remake. Unsurprisingly, one of the deadliest places in all of Hyrule is Ganondorf's Castle. The last dungeon in the game, this place will test your skills with most of the key items in the game along with your combat skills. So if you need help beating this dungeon's puzzles or fighting the big bad boss, Ganondorf, here is a complete walkthrough of Ganondorf's Castle. Ganondorf's Castle Walkthrough Unlike the other dungeons in the game, Ganondorf's Castle isn't really linear. In order to ascend the spire and reach the Demon King, you will need to first complete six trials that are tied to each of the different Sages. Two of these locations will be blocked by massive black and gold rocks, which can only be moved with an item you'll get in this dungeon. The other three can be done in any order, but for the sake of clarity and ease, we're just gonna go counterclockwise around the room. To start, make your way through the door on your right, which is below the crest of the Forest Sage. Forest Sage Trial When you enter the Forest Sage Trial, you will be greeted immediately by a Wolfos. Kill this enemy, then equip Din's Fire and stand in the center of all the unlit torches. Use this spell to ignite the four torches on the ground before equipping your bow and shooting an arrow at the last unlit torch over the locked door. In the next room, five silver diamonds will appear that you need to collect. Equip the Hover Boots and look to your left from where you entered. Play the Song of Time to make the Time Block appear under the silver diamond right next to you. Wait till the fan stops blowing, then grab the diamond. Stay on the time block and use your Hover Boots to cross the gap to the small platform between the two fans on the left. Get near the Beamos and use your Mirror Shield to reflect the laser back at it. With the middle platform now free, jump onto it and then onto the platform on the right to get the next diamond. Grab the diamond that's on the lower platform in front of the door, then wait for the fan in the back left corner to stop blowing. Quickly step on the switch to raise a grapple point and use your Hookshot on it to reach the fourth diamond. Your last diamond is directly to the right of the currently locked door. Collecting it will unlock the door, allowing you into the next room. There you will see the core of the corrupted tendril tied to the Forest Sage Trial. Shoot it with your newly acquired Light Arrow to destroy it. After the cutscene, head to the central chamber and then go right and into the Water Sage Trial. Water Sage Trial Upon entering your next trial, equip your Megaton Hammer and destroy the two Freezards that attack. Do not open the chest in the back left corner, as it's a trap; the one on the right will give you some Bombchus. Collect some Blue Fire from the source in the middle, and then burn away the red crystals blocking your path. Your next room is another ice block puzzle. To start, push the block that's on the farthest end of the room to the right into the ice rock. Then shove that same ice block into the convenient ice block-shaped hole in the floor. Shove the next ice block right across the hole you filled and then push it towards the rock on the northern end of the room. This will line up the block perfectly to be shoved towards the raised area with the red crystals. Melt away the crystals to reveal a hammer switch, so hit it with the Megaton Hammer to unlock the door. Go through the door and shoot the next corrupted core with a Light Arrow to destroy it. Head back out to the main chamber and go through the Shadow Sage Trial door. Shadow Sage Trial In the first room, equip your Fairy Bow and shoot an arrow through the flames at the unlit torch on the right side of the room. This will cause several platforms to rise out of the abyss. Cross the platforms and open the chest on the left to get five arrows. Now, defeat the two Green Bubbles flying around and go towards the platform with the Like Like on it. Make sure to hustle, as you will have a limited amount of time to cross these platforms. Once you jump onto the platform with the Like Like, kill it, and use your Hoover Boots to cross the broken bridge to the other side. Activate your Lenses of Truth and look right to see a path leading to the stone switch. Step onto the switch to spawn a large chest that contains the Golden Gauntlets inside. This allows you to pick up and throw those massive black and gold pillars. Throw the nearby pillar with your newfound strength, then use the Lenses of Truth to see a floating platform by the door. Cross the gap with the Hoover Boots and go through the door. Use a Light Arrow to destroy the core to return to the main room. A Brief Intermission Now that we have the Golden Gauntlets, we are actually going to leave Ganondorf's Castle and go back across the bridge of light. Once you cross the bridge, go to the left and throw the massive gold and black pillar aside to reveal a Great Fairy Fountain entrance. Summon the Great Fairy at the steep cost of 500 Rupees. This will grant you a buff that permanently halves all damage you receive for the rest of the game. Once you have the buff, go back to Ganondorfs Castle and toss the pillar blocking the Fire Sage Trial door. Fire Sage Trial When you enter, equip the Goron Tunic so you don't catch fire. In this room, you will need to obtain five more silver diamonds, but the catch is almost all the platforms will begin to sink whenever you step on them and rise back up when you're not. This means you need to hustle the moment you leave the safety of the door platform. Start by grabbing the diamond on the platform directly to the right, and then go to the far left side where the rotating pillar for fire is. Grab the diamond, then go towards the platform with the gold and black pillar on it. This platform won't sink, so use it to catch your breath, and then grab the pillar to watch Link hurl it at the stalactite. Pick up the diamond that was under the pillar and go to where the Fire Slug is. Crush it with the Megaton Hammer, grab the diamond on this platform and the one on the stalactite you knocked down. This will unlock the door, allowing you to enter the room with the core. Use the Longshot to reach the door and go into the room. Shoot it with the Light Arrow, return to the main chamber, and then go through the door to the Sage of Light. Light Sage Trial Activate your Lenses of Truth when you enter and approach the center of the room. A previously invisible Skulltula will drop from the ceiling. Kill it along with the three Keese on the walls of the room. Slaying them will unlock the door and spawn a chest with some Rupees in it. Additionally, the middle chest on the left and the back right and front right chests are booby-trapped, so don't open them! Go through the door and use the Lenses of Truth to see a small chest on the left. Open it to get a Small Key, then go through the door. You can also play Zelda's Lullaby on the Triforce symbol to get a chest with a Green Rupee in it if you really want to. Progress into the small room with two boulders rolling around a central pillar in a circle. There will be five silver diamonds you need to collect, four of which can be found either on a side of the pillar or in one of the small nooks along the wall. For the last one, look up and use the Longshot on the ceiling grapple point. The final room in this trial will have a Wallmaster waiting for you. Kill it when the monster lands, then use the Lenses of Truth to see through the fake wall hiding the corrupted core you need to destroy with a Light Arrow. Once it's dead, go through the final trial door. Spirit Sage Trial Your first task is to, say it with me now, collect five silver diamonds around the room. This is the easiest to do so far, as most are on the floor. Take out the Megaton Hammer and hit the Armos statue that is in the back left corner. It's alive, and a single strike will destroy it. Go around the room and collect the diamonds, moving the Armos statues when needed to cause the spike traps to move away from them. The central diamond can be acquired via using the Longshot. When you have all of them, go through the door and kill the Fire Slugs to spawn a chest with a Business Scrub seed. Line yourself up with the crystal on the other side of the fence, pull out a Bombchu, and launch it towards the fence. The Bombchu will crawl through a hole near the ceiling and explode next to the crystal. Head through the unlocked door into the room with the four sun switches. Use a Fire Arrow to burn away the webs on the ceiling, allowing sunlight to pour through. Use the Mirror Shield to then direct the light at the Sun Switch that's directly to the left of the door you entered from. The others will summon an enemy, so only point the light at this switch. Go through the door and destroy the core to finally lower the barrier around Ganondorf's Tower. Before you head up, I recommend first going into the Fairy Found that's hidden behind a wall below the arch leading to the tower's entrance. I also suggest having at least two Fairies, one Red Potion, one Green Potion, and a Blue Potion. You will need all the supplies you need. When you're ready, begin ascending the tower. Climb Ganondorf's Tower Now that we've tested your wits, it's time to prove you have the combat skills to back up those brains. Take the elevator up and go up the stairs to the first room. You can ignore the Fire Keese in the hall if you want; killing them doesn't benefit you. Go through the door to trigger a fight with two Dinolfos. I cannot stress how important it is to try not to take damage in these fights. Ganondorf is not a pushover, and you'll want your resources available. Because of this, focus on playing defensively against these nimble enemies. Attack only after they finish their jump slash, as this leaves them wide open for a few seconds. When they're both dead, go through the door and continue up the stairs. The next room will be a pair of Stalfos, which also shouldn't be too much of a challenge at this point. Try to keep both of them in view at the same time to ensure that one cannot land a sneak attack on you. Just like the Dinolfos, play defensively and only attack after the skeleton's jump slash. With them both dead, go up the stairs to the next room, which contains two Iron Knuckles. Unlike the previous two rooms, these won't attack you the moment you open the door. Both are sitting on thrones, so you get to decide when you initiate the fight. Equip the Biggoron Sword and the Bombchu. Attack only one of them, as the other will remain in his seat for now. Keep your distance and use Bombchus to damage this enemy by launching a constant stream of explosives. We won't need them after this room, so feel free to use as many as you want. Once the armor breaks, however, the other Iron Knuckle will awaken. Do not waste any time; rush the Iron Knuckle with the Biggoron Sword and hack away at the armorless Iron Knuckle. You can kill it with a few Biggoron Sword swings, making it so you don't need to manage both at the same time. If you don't have the Biggoron Sword, use Bombchus to finish off the first Iron Knuckle and then fight the other one with your sword. Just remember to only attack after the axe swings, not before. You do not want to get hit by this enemy, as it absolutely chunks your health bar. When both are dead, open the chest to get the Boss Key and head through the unlocked door. Defeat Ganondorf This is it. Before going into this fight, I recommend ensuring you have the Light Arrows and Mirror Shield equipped. The former is a key item you'll need to actually damage Ganondorf, while the latter is great for blocking his projectile attacks. Additionally, having a couple Faries and potions ready will make this whole ordeal a little easier if you're struggling. When the fight starts, Ganondorf will split the arena into two segments. The inner and outer platforms. He will hang out over the middle one, so you'll want to mostly keep to the outer ring when you can. Additionally, Navi cannot lock onto Ganondorf at all. You're going to need to watch him carefully because of this, as you won't be able to rely on her to keep track of his movements. His main attack will be very similar to the Phantom Ganondorf boss fight from the Forest Temple. He will launch a glowing purple orb at you, which you need to hit back at him with your sword. This will turn into an exchange of volleys, as Ganondorf increases the speed of the orb each time he strikes it. Once Ganondorf is struck by the orb, quickly pull out your Fairy Bow and shoot a Light Arrow at his chest. This will knock Ganondorf to the ground in the center of the arena. If you have the Biggoron Sword, go into the menu right before firing the Light Arrow to switch weapons. Rush over to Ganondorf and damage him before returning to the outer rings. Right after you finish your damage phase on Ganondorf, run to a corner in the outer ring and wait there. He will cause more segments of the arena to fall to the ground below. The corners are the only safe areas, so hang out there after each damage phase. After you go through around three damage phases, Ganondorf will start launching multiple orbs at once. Don't panic; when you see him summon, a bunch of orbs start charging up a spin attack, and wait until they are about to hit you before spinning. This will send all of the orbs back to Ganondorf, stunning him again and opening the Demon King up for another Light Arrow shot. Timing is everything with this move, as missing it will cause massive damage. Ganondorf will also reduce the arena to nothing but corners, along with launching dark waves out in all directions whenever he slams the ground. Once again, don't panic. Just stick to the edges of the corner segments when this happens to avoid the attack. When there is nothing but the corners of the arena left, get ready to use the Hover Boots once you knock Ganondorf to the ground. These will ensure you can cross the gap safely without having to climb up at all. Damage Ganondorf enough and you will trigger a cutscene, causing the tower you're in to start collapsing. With Ganondorf defeated, it's time to make a dramatic escape with Princess Zelda. Unlike the N64 version of the game, there is no timer for this segment. Instead, this climb down the tower is far more cinematic. That doesn't mean you're safe though, about halfway down the tower you'll encounter another pair of Stalfos that will need to be defeated. Use the Biggoron Sword if you have to quickly dispatch these enemies. While we aren't on the clock, we don't want to keep Zelda waiting after all! Follow her until you reach a large gap and then use your Longshot to hit the grapple point directly across from you. Continue through the tower until a cinematic triggers where Zelda is holding off a bunch of enemies. Pull out the Megaton Hammer and face the other direction that Zelda is looking. On the left will be a set of breakable walls you can smash through with the hammer. Break these rocks apart to create a path for you and her to escape. You will reach a bridge with a comical number of ReDeads on it. Don't show fear and charge them. Zelda will immobilize all the zombies, so get in the middle of them and perform a spin attack to hit and kill all these enemies. When you reach the large door, a cutscene will trigger with Link and Zelda escaping Ganondorf's Castle as it collapses behind them. Congratulations, you did it! Defeat Ganon Is what I would normally say if Ganondorf didn't take exception to being beaten. Enter Ganon, his true form, a monstrous beast with two huge blades. He will also disarm you of the Master Sword, which can be a little troublesome if you don't have the Biggoron Sword. If you don't have this weapon, the Megaton Hammer will do just fine. When the fight starts, Navi can finally lock onto Ganon, but truthfully, it's not really needed. Despite his size, Ganon is actually quite easy to deal with — especially if you have a bunch of Light Arrows left. Your main goal is to get behind Ganon and hack away at the glowing crystal tail. You can do this several ways, from slipping between his legs to countering when he attacks, but personally I find just stunning him with Light Arrows to be the easiest. His attacks are a sword thrust which covers a huge distance and a double horizontal slash that does a lot of damage. However, hitting him with a Light Arrow will stun Ganon out of this attack. Once he takes enough damage, you will regain control of the Master Sword, and Ganon will get a power-up. He will start using big area-of-effect spells, such as calling down lightning from above, a ground slam that does damage if you're right next to him, and striking his sword across the ground in front of him. The latter move is what we're looking for, as he leaves his arm low when he does this move, providing us with a window to damage those glowing, pulsing weak spots on his forearms. You'll only get a few hits before Ganon recovers, so quickly get away when your damage phase is over. Patience is key here, as you only want to try to attack Ganon after he slams his arm down. Once both arm weak points are destroyed, Ganon will become enraged and immune to all your attacks. Zelda will explain she is going to help, but needs you to stall. Translation: run for your life. That's it. Just focus on staying the hell away from Ganon at all costs. Nothing you do can stun or harm him in this section, so just wait it out until a brief cutscene triggers. Once Zelda exposes the weak point on Ganon's forehead, your job is to start peppering that spot with Light Arrows. You won't reach it with a sword, so focus on shooting Ganon after his slam attack. He will be immobile for a few seconds, making it a perfect window to hit him in the center eye. After around four Light Arrows, Ganon will drop his swords and fall to his knees. When this happens, run over to him and start slashing away with your sword. Press Y to "Finish" Ganon when presented with the option to truly defeat the Demon King and conclude your adventure! Okay, a real congratulations this time; you have successfully beaten The Legend of Zelda: Ocarina of Time.
How To Complete Ganondorf's Castle In The Ocarina Of Time Remake
Full Article
Original Source
Read the full article at Thegamer →KhanList aggregates and links to publicly available news content. We do not host full articles from third-party sources. Always verify important information with original sources.