
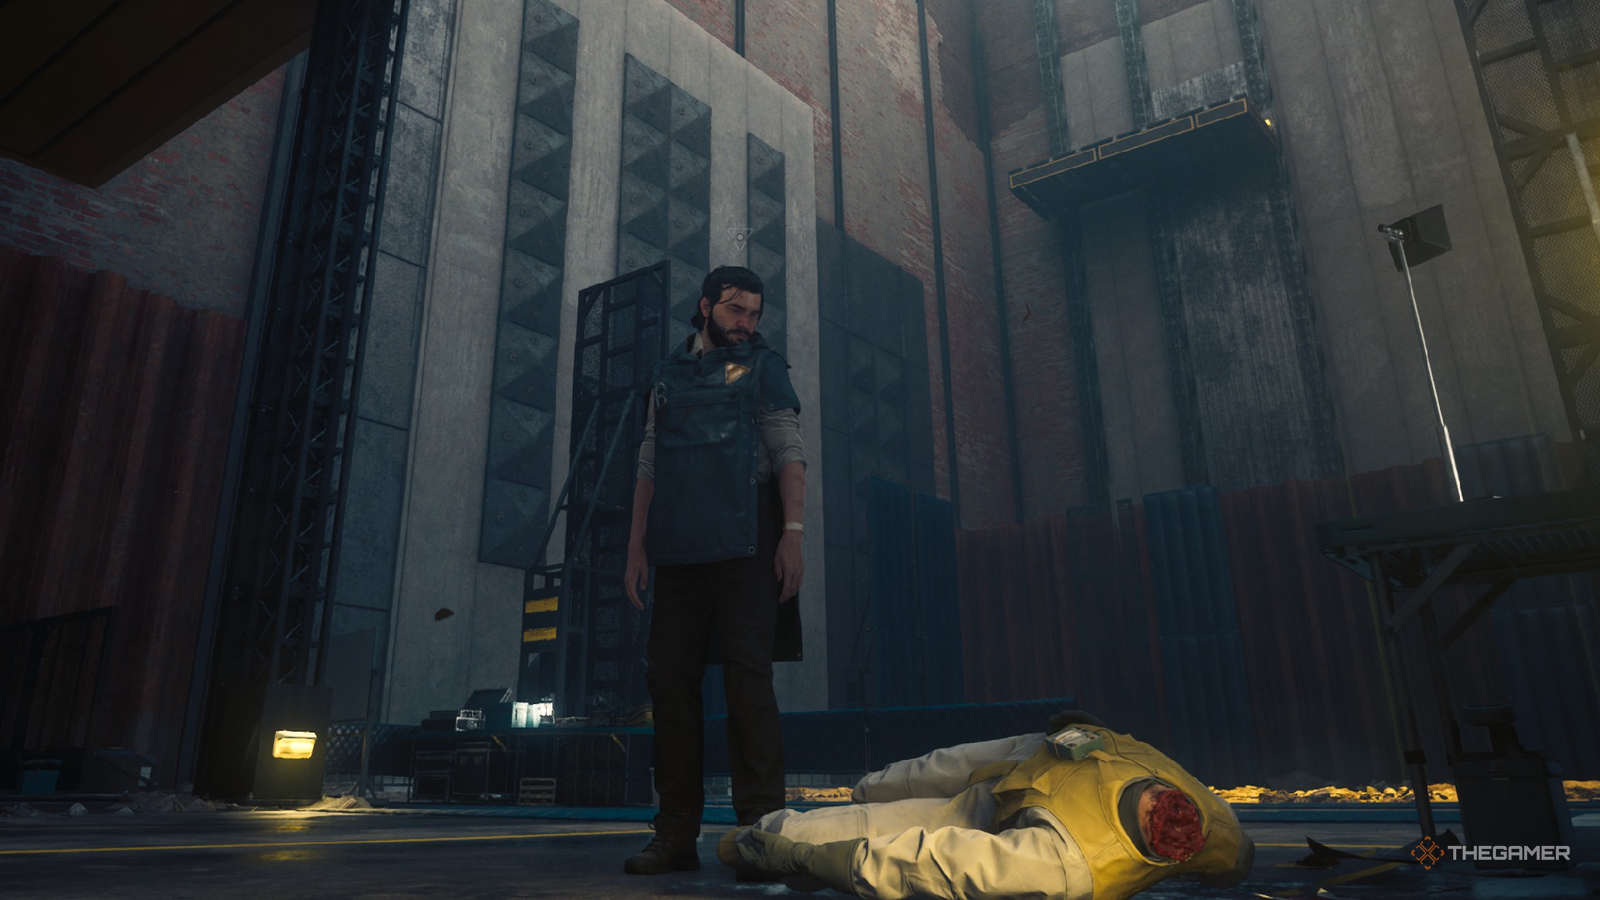
Published Sep 22, 2026, 10:25 AM EDT Collin is a Guides Staff Writer at TheGamer who has been writing guides for nearly ten years. He is also a professional game/level designer. More importantly, he's still waiting for a new Ape Escape game to release. Control Resonant is filled with a surprising amount of side content you can complete as you explore a twisted version of New York City. Throughout the game, you will come across numerous optional quests that will give you some great rewards if you're willing to put the extra effort into it. One of these is Closing The Threshold, which has multiple endings depending on your choices and how much of the optional content you do is tied to it. Here is how to complete this entire quest and what the correct dialogue options you should pick when speaking to Wilson at the end. Closing The Threshold Walkthrough How To Start This Quest To start this side mission, make your way to the Central region and head west from the Field Office. About a block away, look for a side alley with an open garage door and a body missing its head inside (shown above). When you reach the corpse, approach and interact with it to call Zoe. Report the headless FBC agent, which will trigger the Closing The Threshold quest. Investigate The Dig Site Threshold Once Zoe tells you to investigate where the FBC agents' team was working, go to the marked area on your map. When you arrive at the dig site, you will find another body lying near an exposed threshold that will turn your entire screen yellow whenever you step into it. Approach the body, report it to Zoe, and grab the keycard off her corpse. Additionally, you can find documents and audio recordings on the nearby desks, as well as an employee ID in the bloody lab coat on the ground near the body. With the keycard in hand, climb up to the elevated yellow lab with the letters TE marked outside the door. Use the keycard to get inside, grab any documents in the room, and then pick up the audio recording. Once that file finishes playing, Zoe will ask you to go to both the Field Hospital and the original location where you started this quest. The order you do these in doesn't matter, but you'll want to ensure you do both. Investigate The Loading Docks Let's start with the Loading Docks to save you from backtracking to this area. When you arrive at this area again, interact with the body once again to learn that a CCTV camera captured footage of the incident. However, Zoe cannot just manually pull up the footage, so you'll need to return to the Field Office to look over the video. Investigate The Field Hospital And Find The CCTV Footage With the Loading Dock visited, return to the Field Office. Outside of the office, look for two blue containers stacked on top of one another. There will be a staircase leading up to the second one, which requires Level 1 access to open. Unlock the door, head inside, and go the back corner where you will find another headless body on an autopsy table. Report the headless corpse to Zoe and then interact with the locked cabinet to the left of the glass. After you interact with it, call Zoe and ask her about the code. She will inform you that it's recently been reset, and you'll need to go to the Security Station to unlock the cabinet. Thankfully, this is very close by. Head out of the Field Hospital and go directly across the three yellow shipping containers forming a small tower. Go up to the third floor and head right when you enter through the door. You'll see two computers on the desk you can interact with, so pick the one closest to you and scroll through the screens until you see an image of the medical cabinet on the screen. This will give you the code. Before you leave, we can actually view the CCTV footage on the third floor of the Security Station as well. This time, interact with one of the computers along the wall. Select the prompt "Next Screen" and then "Interact" to play the footage from the Loading Dock. Watch the brief video of the FBC member dying, then return to the Field Hospital. Unlock the medical cabinet and read the quarantine report. You will now have all the information you need to confront Wilson and get the "good" ending. Find Wilson At The Warehouse With all the information in hand, make your way to the warehouse where Wilson is hiding in the northern portion of the Central region. If you've not unlocked this area before, follow the route shown above on the map. You will need to go through a small, mandatory combat section where you get locked in an office with several Hiss before the path is clear. Once you're on the street, you will encounter several Hiss groups fighting with FBC agents. You can ignore these if you want, but given how important it is to continuously improve Dylan's strength, it's usually worth the few minutes it takes to clear out all these enemies. Speaking of enemies, when you enter the warehouse, you will need to clear out all the Hiss that have taken over, including a mini-boss called Linus. Before fighting Linus, climb up to the highest floor of the warehouse and focus on the three flying Hiss Riverters as they will give you the most trouble if left unchecked. These enemies stagger easily, so focus on building up their Falter meter until you can perform an execution. As for Linus, this is a Hiss Pursuer - Apex, which can set you on fire with its attacks and specializes in close-range fights. Because of this, you will want to avoid its spin attack at all costs, as it does a ton of damage and can quickly ignite Dylan. Once it finishes spinning, you will have a pretty generous opening to attack him and Linus can be stun locked if your attacks are fast enough. When all the Hiss are defeated, interact with the door and go inside to find Wilson and another FBC agent. Talk To Wilson Here's where you will want to pay attention, as your dialogue choices with Wilson will have a direct impact on the quest's outcome. Approach Wilson and select the following dialogue options in order as they appear: "What did you do to him?" "I saw something on the CCTV..." "Calm down, I believe you." I'll take him." After selecting these dialogue options, you will learn that the entity is just an infant and is simply trying to get back home. People are dying because it requires a host to survive and jumps between them when one is about to die. Dylan will volunteer to take AVP-3 back to the Threshold so it can safely return home. Interact with the FBC man in the gas mask on the floor to coax out AVP-3. Keep in mind, if you antagonize Wilson during your dialogue exchange, he will leave, and you'll find his headless corpse at the Threshold instead, ending the quest. Take AVP-3 To The Dig Site Threshold Now that you have AVP-3, make your way all the way back to the dig site on the southwestern side of Central. When you arrive, step into the large yellow square on the floor to transport AVP-3 back to where it came from. For your troubles, you'll unlock the Practical Knot artifact, which gives you a stagger +15 percent extra Falter to all your attacks on Heavy-tier units. This is one of the best artifacts in the game, as Falter damage allows you to perform more consistent executions, so I strongly recommend buying this from the Artifact Formation. Additionally, you will earn the Sensory Restraint Hood cosmetic item for Dylan to wear.
How To Complete Closing The Threshold In Control Resonant
Full Article
Original Source
Read the full article at Thegamer →KhanList aggregates and links to publicly available news content. We do not host full articles from third-party sources. Always verify important information with original sources.