
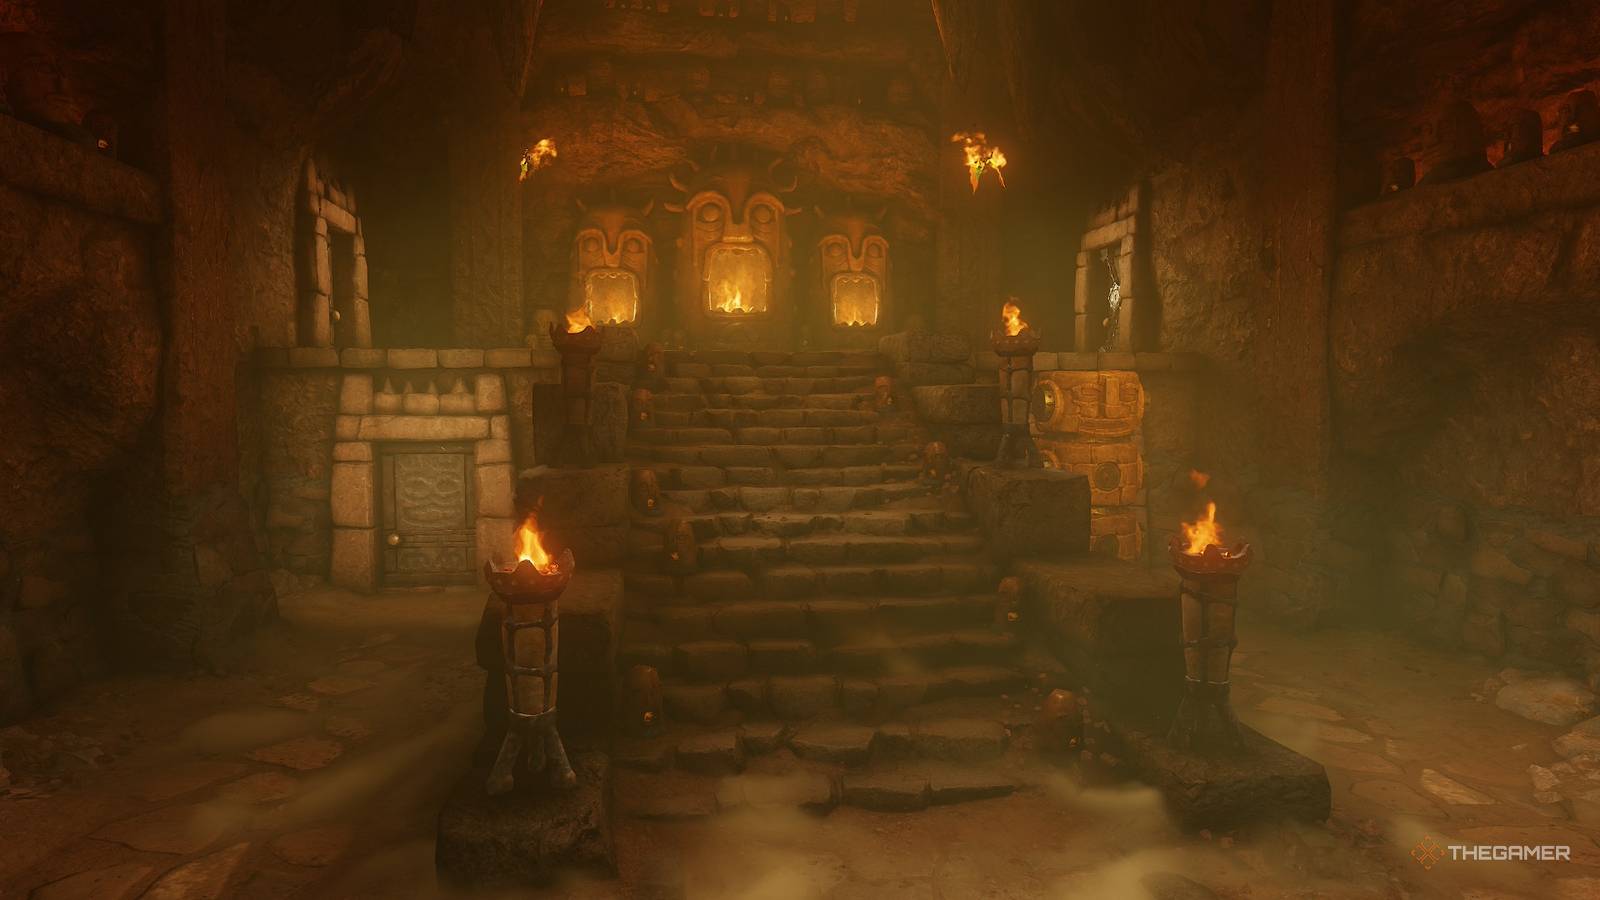
The Legend of Zelda: Ocarina of Time remake is finally here, so shove a fairy in a bottle, get your Iron Boots, and head out to slay all types of monsters. Throughout this adventure, you will be tasked with completing several thematic dungeons all over Hyrule. One of these is the Fire Temple, which is the second dungeon you'll complete as an adult. This one can be a bit tricky thanks to the mix of dangerous enemies, traps, and fiery puzzles. So if you're struggling to complete this dungeon or just want to ensure you find all the Gold Skulltulas inside, here is a complete walkthrough of the Fire Temple. The Fire Temple Walkthrough Upon entering the Fire Temple, you'll be met by a flight of stairs and two Fire Keese near the back. Go up the stairs, kill the bats, and use the door on the left. This will trigger a brief cutscene with Darunia, who explains that Ganondorf unleashed the dragon Volvagia and is going to feed the Gorons to it. He asks you to save all ten of them and then goes charging in to fight the beast. Save Goron #1 Your first Goron that needs rescuing is conveniently in the same room. After speaking with Daruina, look to the left and jump across the platforms until you reach the back left corner. Be careful, as falling in will ensure you take damage due to the lava. Once you reach the back left corner, go into the adjoining side chamber and step on the stone switch. This will open the bars to the jail, freeing the Goron and triggering a small dialogue exchange. He will explain that you can reach Volvagia's room if you can dislodge the massive stalactite in the ceiling. We're a long way from doing that, so make a mental note of it and then open the chest he was clutching to get your first Small Key. Save Goron #2 Now that we have a Small Key, return to the entrance room of the Fire Temple and go through the door at the top of the stairs that's locked. This will bring you to a large chamber with several Fire Keese on the right and a couple Red Bubbles lurking in the fire. The latter act like the Bubbles in the Forest Temple, but will emerge from the lava. Use your shield to block their charge and then slash at them to destroy this foe. In this room, make your way left across the platforms. Be careful of the large square-shaped ones, as they will slowly sink into the lava due to your weight. Quickly run across them to ensure you don't fall into the lava below! You'll also be attacked by a Red Bubble as you cross, so just ignore it and reach solid ground on the left side of the room. Once you cross the lava, you'll find another small jail cell with a Goron inside it. Step on the switch to raise the bars, talk to the Goron, and open the chest to get another Small Key. Save Goron #3 Staying on the left side, go up the side and jump onto the large square platform in the back left corner of the room. Instead of sinking, this one will raise you to the next floor. Step up to where the blue Time Block is and play the Song of Time on the ocarina. This will teleport the block down to the marker in front of you, creating a makeshift staircase you can climb! Go through the door to be introduced to two new enemies. The first is the Flying Tiles, which are just floor pieces that became sentient and decided to choose violence. You can easily defeat them by just blocking their attack with your shield or outright avoiding them. It's the other enemy that's infinitely more dangerous. The massive leech in the back is a Like Like, which will attempt to swallow you whole and strip you of key gear pieces until it's killed. To defeat this, wait until this foe leans forward and then dodge to the left or right. This will ensure it misses its attempt to eat you while leaving itself open to being attacked. Gold Skulltula 1 — Tile Room 1 (1F) Once you've defeated both the Flying Tiles and Like Like, you can find the Gold Skulltula on the wall at the back of the room. Now that you have the Gold Skulltula, go back to the large cavern and head to the opposite side of the room. Watch out for the Red Bubbles and Fire Keese; they will attack without warning while you're jumping across the platforms. Once you get to the right side, use a bomb to blow up the grey-colored, cracked wall. This will reveal another jail cell, with a stone switch you can step on. Just like before, free the Goron, talk to him, and then open the chest to get another Small Key. That's all we're doing in this room, so head to the only locked door along the back when you're ready to continue. Save Goron #4 Use the first Small Key to unlock the door in the cavern, and then use your second Small Key on the locked door along the back wall. Ignore the jet of fire for now and go into the newly unlocked room. To your left and right will be metal chains that you can actually climb like vines or netting. Climb up the chains to reach the top of the flame jet room. Go over to the stone block and push it into the gap once the fire jet stops spewing flames. You can then hop onto the stone block before the fire ignites and ride it up to the next floor above you. Step off the makeshift elevator once you reach the room with all the Flame Slugs. These enemies are more annoying than dangerous, as hitting them once with your sword will cause them to flee around the room. Chase after and kill all three Flame Slugs in the room before climbing up where the gem switch is. Equip the Fairy Bow and then pull the stone block that's hiding in the corner out of the wall. Move it in front of the jets of flame and climb onto the block. Turn around and shoot the gem switch with your bow, then climb up two sets of stairs. Turn back to the gem switch and hit it with a second arrow to clear the path. Climb the chain wall to enter the boulder maze. This area is filled with large rolling rocks that follow set paths on the ground. You can tell the path of a rock by the indentations on the ground, which allows you to know where it is safe to stand and when you should move. Gold Skulltula 2 — Boulder Maze (3F) You can find the second Gold Skulltula in the boulder maze. From the entrance, head down the slope and go right to the north side of the room. Along the corner on the northeast side of the room, you will find a bombable wall. Drop an explosive by it to blow open and reveal a Gold Skulltula behind it. The fourth Goron we need to save can be found in the northernmost part of the boulder maze. From the ramp you enter, go right and make your way through the maze. Near the northwest corner, there will be a small opening with a stone switch on it. Step on the switch to raise the bars, freeing the Goron. Open up the chest he was holding to get a Small Key. Get The Dungeon Map Now that we have the Small Key, head to the south side of the boulder maze. In the southwest corner, there will be a straight hallway that leads right to a large chest. Open the chest to get the Dungeon Map. Once you have the map, go back north, hugging the wall on the left side of the room. You will find a locked door, which you can use your Small Key on. Get The Compass Conveniently, the Compass is also close by. Upon unlocking the door, you will enter a connecting chamber where most of the floor has collapsed and fallen into the lava below. Slowly walk across the narrow path and look for an eye switch over a barred door. Take out the Fairy Bow and shoot the switch, unlocking the door. Go through the door, and to the right you will find a large chest with the Compass inside. If only all of the collectibles in this game were so easy! Save Goron #5 After getting the Compass, head back to the narrow path room and go through the other door you haven't used yet. You'll see a large series of metal platforms suspended over lava. Hop onto the closest one and move a few feet forward to trigger a wall of flames to spawn behind Link. This flame wall will begin moving through the room, chasing you as you run and jump across the meta platforms. The moment you regain control of Link, quickly move across the different metal platforms until you reach the stone wall on the other side. Be careful, as there will be numerous Red Bubbles that appear throughout the lava. Do not stop to attack them; instead, ignore these enemies and just head for safety. They aren't worth the trouble. Once you're safe from the wall of fire, approach the stone block in the wall and push it into the boulder room. This will give you a shortcut to the boulder maze's lower floor. Gold Skulltula 3 — Scarecrow Song Room (4F) Before we save the Goron, we can actually get two Gold Skulltulas and quite a bit of extra Rupees. Once you push the block down, jump onto the platform with the Flame Slug and kill it. Look up the wall you just came through and you'll see a Scarecrow spawn point. Play the Scarecrow Song to summon him and use your Hookshot to pull yourself up. Then grapple to the small elevator directly across from the Scarecrow. In the next room at the very top there will be a Gold Skulltula on the wall. Gold Skulltula 4 — Treasure Chest Room (5F) Directly after getting the previous Gold Skulltula, go through the door and look to the right. You will see the spider on the wall, which you can kill and snag the token with the Hookshot. Additionally, stepping on the nearby stone switch will activate two pillars that slowly lower into the ground. Use the Hookshot to make your way around the room to the small chests, which contain Purple and Red Rupees. When you're ready, exit out the way you came and return to the boulder room. Now, head to the southwest corner of the Boulder Maze, making sure to not fall down to the ground floor with all the rolling rocks. There you will find another Goron behind bars that you can free by stepping on the nearby stone switch. Once he's safe, open the chest to get a Small Key. Save Goron #7 To reach the next Goron, move across the second floor of the Boulder Room and approach the large, cracked rocky mound along the east side. Place a bomb in the conveniently bomb-shaped divot and jump down the hole that the explosion creates. Down there, you will immediately find a stone switch you can step on, which frees the next Goron. Talk to him and then open the chest for a Small Key. This will also open up a shortcut to the gem switch room you went through earlier. Head back up to the boulder room and return to where you got chased by the wall of fire. Along the west side of the room, there will be a locked door that you can reach by jumping from the closest metal platform (shown above). Wait for the flame wall to pass, and then run and jump to reach this locked door. Save Goron #8 I'm going to be real, this next room is annoying. Welcome to the flame maze, which not only has Fire Keese circling, but rolling boulders you'll need to contend with. As the namesake suggests, the gimmick of this room is that there are several dozen poles in the ground, which will (or will not) summon a wall of fire between them when you're close. First, head south and make your way through the fire maze to the locked door that connects to the hall in the middle. Be careful; along with the Fire Keese, there will be rotting jets of flames and boulders, so time your movements carefully. Additionally, you will want to walk slowly through the maze, as the walls of fire will erupt when you're near them. This can save you the headache of accidentally running into them. In the photo above, the route you want to take is colored red. Be careful, there are several fake doors along the walls in this room. If you see the door move or shift at all, you can destroy it with a bomb. It will only attack if you try to open it. Go through the hall and exit the door at the other end. This will spit you out on the north side of the maze. Now follow the green colored path in the photo above to reach the two small stone blocks in the northeast corner of the maze. Grab one of the blocks and backtrack to where you exited the door. Now, follow the blue route to the stone switch in the middle of the maze. Set the block down onto the switch to stop all the flames on this side of the maze. With all the fire turned off, make your way northeast to find a previously inaccessible hallway with a Goron cell in it. Step on the stone switch to open the cell, then speak to the Goron, and open the chest to get a Small Key. Now that we have a key, Defeat The Flare Dancer Go to the locked door on the northwest side of the room and enter. Beforehand, make sure to hit any pots around the now inactive flame maze because you're in for a mini-boss fight on the other side of that door. When you enter, a brief cutscene will trigger as the Flare Dancer mini-boss spawns. When the fight begins, the Flare Dancer will begin skating in a circle around the arena. When it gets close, the Flare Dancer will spin like a top and launch itself at you. Unfortunately, in this state, the Flare Dancer will be basically immune to all damage from all weapons. The only exception is the Hookshot, but due to the speed, it can be difficult to strike this mini-boss. Instead, wait for the Flare Dancer to start spinning towards you and then launch the Hookshot at its chest piece. This will extract the real Flare Dancer from the flaming body, which then proceeds to... run away like a coward. Great. The Flare Dancer is fast, so run in the opposite direction of this little fella is moving (either counterclockwise or clockwise). Once you two meet, slash at it with your sword a few times before it runs the other direction. Repeat this a couple of times before the Flare Dancer jumps into the flames to restore its body. This will also cause small fireballs to bounce around sections of the arena. Wait until the mini-boss attempts to ram itself into you again before ripping the body from the fire. Keep repeating this process of ripping the boss out of the fire and attacking it while it tries to run away until this mini-boss is vanquished. Get The Megaton Hammer With the Flare Dancer defeated, head onto the makeshift life that is created where the mini-boss used to restore its flames. Ride this up to the next room and climb up to the endless wall of fire. To the left, you will find another gem switch, so use your Hookshot to hit it and turn the flames off. Now, go past the now inactive jets of fire, equip the bombs, and throw a bomb while remaining behind the inactive jets at the gem switch. The explosion will turn the fire you just crossed back on, while shutting off the flame jets behind you. Go into the next room, which is where you will find the Megaton Hammer. When you enter this room, before stepping on the switch, take out your bow and use it to kill the three Fire Keese. Once they are dead, step on the switch to raise a staircase and follow it up to the raised section with the large chest. Open the chest to obtain a new weapon called the Megaton Hammer. This item is a slow-moving, hard-hitting weapon that lets you not only flatten enemies, but also break a variety of previously impervious objects. Don't worry, you're about to go through a brief tutorial on how to use this weapon. Save Goron #9 First, make your way back to the stone switch and look for a large, metal panel on the ground with the Megaton Hammer symbol on it. Hitting the panel will cause it to fall through the floor, giving you access to the floor below. In the next room, you can use the Megaton Hammer to flatten and instantly kill the Flame Slug. Then use the hammer to break apart the statue blocking the door. Go through the door, kill all the Fire Keese in the room, and then strike the circular metal switch with the Megaton Hammer to form a staircase leading downstairs. Hit the next metal panel on the floor and then drop through the hole into the small hallway. Now use your hammer to shatter the large grey rocks, before entering the room with the Time Block. Approach the blue block, pull out your Ocarina of Time, and play the Song of Time to cause it to vanish, opening up the path forward. Now hit the metal switch to unlock the jail cell the Goron is in. Speak with him and then open the chest to get the Small Key Only one Goron left to save! Get The Boss Key And Save Goron #10 With the ninth Goron saved, hit the circular metal panel behind the chest to drop a massive stalactite down where the Boss Room Entrance is. Now, head back to the entrance room, go down the stairs and to the right will be another statue you can break apart with your Megaton Hammer. Use the Small Key you got from the Goron to unlock the door. In the next room, there will be a ton of Flame Slugs. Use the hammer to flatten and kill all of them to unlock the next door. More Flying Tiles and a Like Like will greet you when you enter. Use your shield to block the tiles, before carefully dealing with the Like Like. When you're ready to proceed, destroy the statue blocking the door on the left. Golden Skulltula 5 — Flying Tile Room 2 (1F) In the second Flying Tile Room, you will find a large grey rock along the back wall. Use the Megaton Hammer to break the rock, revealing the Gold Skulltula right behind it. Upon entering the next room, you will be locked inside, and the Flare Dancer will make another appearance. However, this time you can trivialize the fight thanks to the Megaton Hammer. Once he starts skating around the room, get close and smack the ground with the hammer. The shockwave will knock the Flar Dancer off its feet, destryoing its flame body. Just like before, run the opposite direction of the Flare Dancer is retreating to catch it and allow you to get a few sword strikes in. This fight basically plays out like the previous one, with the only change being the Flare Dancer will now summon more fireballs that bounce around the room once it restores its body. With the Flare Dancer defeated, go through the unlocked door and use the Megaton Hammer to hit the metal switch. This will unlock the cage the Goron is in, freeing him and giving you access to the Boss Key. Now return to the Boss Room entrance, equip the hammer, and go inside. You can find a Fairy to put in an Empty Bottle by using the grapple point to the right of the Boss Room. Climb up the blocks and there will be four jars containing some ammo and a Fairy to capture. Defeat Volvagia Compared to all the previous bosses you've faced, Volvagia is far and away the most dangerous. This slender dragon can deal some serious damage and has some wide-ranging attacks. Because of this, I do recommend having at least a Red Potion handy just in case you need to quickly refill your health in the middle of the battle. When the fight starts, Volvagia will go into one of the many fiery holes scattered throughout the arena. Pull out your Megaton Hammer and wait for one of them to start bubbling. This will indicate that Volvagia is going to erupt from that pit and will swing its fiery hair in front of him when he emerges. Keep your distance when Volvagia appears and wait for him to start charging his fire breath attack. Run to the side and hit his head with the Megaton Hammer, shattering the rock on his skull. This will stun Volvagia, allowing you to slash at his head for a few seconds before he retreats. He will then repeat this a second time, before flying up into the skies. When Volvagia is flying around, keep an eye on him, as he will soon release a line of fire in front of him as he passes over the arena. This both does quite a lot of damage if you're hit and will leave behind lingering flames that last on the arena floor for several seconds. Volvagia will then retreat back into the arena floor. Now it's time to play whack-a-dragon, as the various fire holes will begin to bubble. Don't just run over to the first one, as the dragon will not emerge from the first few that look like he's about to rise from. Stay near the arena edge and wait until Volvagia actually commits and emerges from the fire. Then run over to him like before and smack him with the hammer to stun the boss. After taking more damage from your sword attacks, Volvagia will take offense to the multiple concussions you're giving him and begin raining down fiery boulders from the ceiling. Watch for their shadows on the ground and avoid them the best you can. Don't bother looking at Volvagia during this move, just focus on the ground and watch for shadows. There are a lot of falling rocks, so it can be tricky to dodge them all at once. Volvagia will then go back into the lava, so wait for him to emerge, hit him with a hammer, and damage him with your sword before he recovers. The boss will fly around the arena once more, releasing multiple lines of fire which can make moving around the arena a little tricky. I once again cannot emphasize enough how much damage some of his moves do, so it's much better to be cautious in this fight.
How To Beat The Fire Temple In The Ocarina Of Time Remake
Full Article
Original Source
Read the full article at Thegamer →KhanList aggregates and links to publicly available news content. We do not host full articles from third-party sources. Always verify important information with original sources.