
Published Aug 30, 2026, 11:30 AM EDT Parth is a technology analyst and writer specializing in the comprehensive review and feature exploration of the Android ecosystem. His work focus on productivity apps and flagship devices, particularly Google Pixel and Samsung mobile hardware and software. He provides expert guidance on productivity software, system optimization, and the advanced functionalities that allow users to maximize their device's potential. His analyses are crucial resources for readers seeking to master complex operating system features and streamline their digital workflows. When he is not busy with technical analysis and software evaluation, Parth dedicates his time to watching K-dramas, studying mobile technology trends and the role of artificial intelligence. Part of what makes a Google Pixel camera so reliable is its "it just works" philosophy. You open the app, tap the shutter, and Google's image processing takes care of the rest. To keep things simple for casual users, Google ships the Camera app with several useful tools turned off. Here are the disabled Pixel Camera settings every user should enable first to unlock consistency and control over every shot. Enable Auto Night Sight Let Night Sight do the low-light heavy lifting I hate fumbling with camera modes in dim lighting. When the sun goes down, or I'm sitting in a dimly lit restaurant, swiping over to the dedicated Night Sight tab is an extra step that often costs me a moment. That's why leaving Auto Night Mode turned on in the standard Photo mode is one of the first tweaks I make on any Pixel. With this toggle active, the camera automatically gauges ambient lighting and triggers Night Sight processing from the standard shutter button whenever it detects a dark scene. You will see a small moon icon pop up on the shutter or viewfinder, complete with an estimated exposure timer. The experience is even better on the latest Pixel 11 series, as Google has vastly improved Night Sight processing time. You can tap the Settings icon on the Camera viewfinder menu and enable Auto Night Sight. Enable RAW images Full editing control in Lightroom I have always appreciated Google's computational photography, but sometimes its aggressive HDR tone mapping misses the specific mood I am trying to create. That's why enabling RAW + JPEG capture is a non-negotiable step for my Pixel setup. By default, the camera captures compressed JPEGs where all the processing decisions are permanently baked in. After I enable RAW mode, Pixel gives me the best of both worlds. I still get the instantly shareable, AI-optimized JPEG for quick messaging while also capturing a RAW file. When I pull that .dng file into Lightroom mobile, I have total freedom to recover crushed shadows, rein in blown-out skies, and dial in the exact white balance I want without introducing ugly compression artifacts. It's the ultimate safety net for high-contrast landscapes or dramatic lighting situations where I know I will want to take the editing job myself. Turn on selfies as seen Stop awkward mirror flips Nothing is more annoying than taking a selfie you like on screen, only to open Google Photos and find the image flipped backward. By default, Pixel phones flip your front-camera photos so that other people see your face the way it looks in real life. But because we are used to seeing ourselves in the mirror, the final picture can look strange with your hair part on the wrong side and off-angle. Turning on Keep selfies as seen solves this problem right away. It makes sure the camera saves the exact mirror view you see on your screen before tapping the shutter. Enable framing hints Banish cooked horizons I take a lot of quick, handheld photos throughout the day, and it's easy to end up with an awkward angle when I am rushing. That's why turning on Framing hints is one of the most useful tweaks I make on my Pixel. When enabled, the camera gives you live visual guides and subtle haptic vibrations on the viewfinder. If you tilt the phone slightly while lining up a landscape, a small level indicator appears to show when the shot is straight. It acts like a subtle second pair of eyes. Take advantage of Locked Folder whenever possible Secure those private moments We all take photos that we don't want showing up in our main photo feed. It can be a quick snap of a physical document, a gift receipt, or private family pictures. Normally, moving those means opening Google Photos, selecting them, and transferring them to the Locked Folder. A cleaner trick is routing them to your Locked Folder before you press the shutter. If you long-press the small circular gallery preview icon next to the shutter button in the Pixel Camera app, a quick menu pops up asking where you want to save your next shots. Tap the Locked Folder, authenticate yourself, and every photo or video you capture from that point saves directly into the Google Photos Locked Folder. For maximum privacy, you can move them to Private Space as well. Set a shortcut for the selfie camera A handy trick Since I mapped my power button shortcut to pull up Google Wallet for tap-to-pay on the go, I need a separate shortcut for the camera. So I went into Settings > System > Gestures > Quick Tap to start actions > Open app and selected Camera from the following menu. Google lets you choose which mode the app opens in (standard photo, video, or selfie). Setting it to the front-facing camera means two quick taps on the back of the phone launch right into a selfie viewfinder. Small toggles with a huge payoff Google's default camera setup does a great job out of the box, but sticking strictly to factory settings means leaving control and convenience behind. So, what are you waiting for? Spend a couple of minutes flipping these toggles and make your day-to-day shooting faster and more intuitive. While you are at it, make sure to enable these disabled Pixel features to get the best out of Pixel UI.
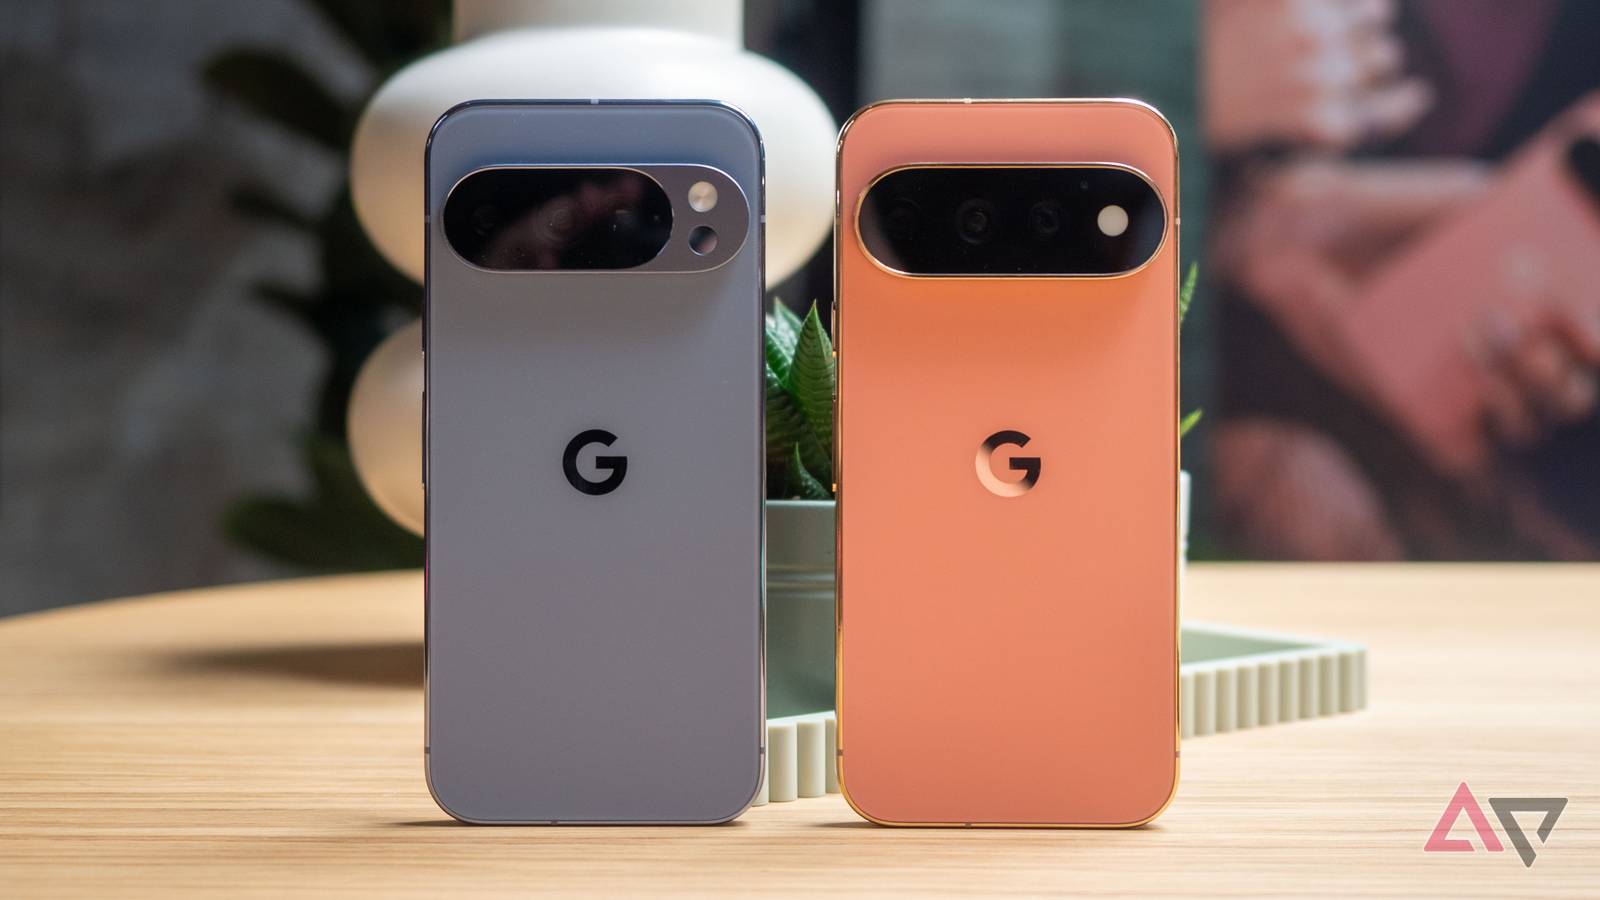
6 disabled Pixel Camera settings every owner should enable first
Full Article
Original Source
Read the full article at Androidpolice →KhanList aggregates and links to publicly available news content. We do not host full articles from third-party sources. Always verify important information with original sources.